
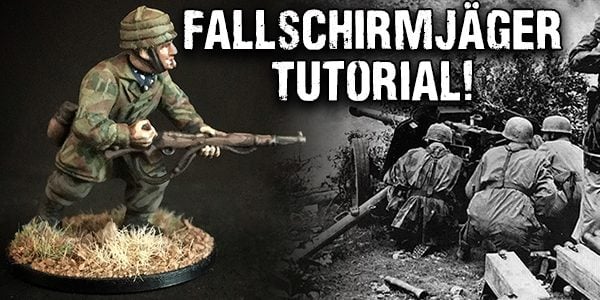
Step by step: Fallschirmjäger Painting Tutorial!

Andy sent in this superb Fallschirmjäger painting guide after we spotted some of his awesome work over on the Bolt Action Facebook group and asked him to drop us some details…
By Andy Zeck
Kameraden,
Here a quick guide how to paint those Green Devils in no time.
I gathered they’ve got their nickname for a reason, possibly the green-ish smocks. So again I’ve used Death Guard Green spray for the base coat:
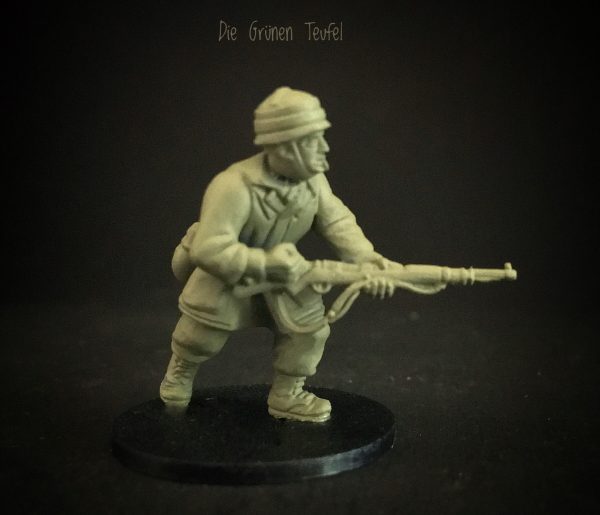
Next all the other base colours, trousers are Stormvermin Fur, boots Skavenblight Dinge.
Skin is Cadian Fleshtone. Rifle, canteen and belt are Gorthor Brown, rifle and helmet straps Dryad Bark, the scarf Kantor Blue with polka dots in white (very popular among Fallschirmjägers and sort of tradition since Crete). Metal parts are Leadbelcher and the bread bag, Eshin Grey, as it has a nice blue-ish tinge to it, fitting for Luftwaffe troops.
If you want you can now apply a camo pattern to the ‘Knochensack’. Fairly angular & splinter shaped patterns in Gorthor Brown and Waagh Green:
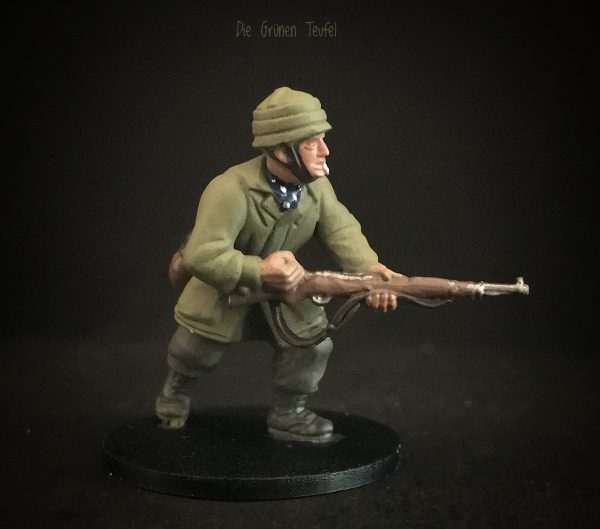
Wash with Agrax Earthshade, boots and rifle Nuln Oil.
Highlights with the appropriate base colours apart from the smock. Here I only added some very fine lines of Death Guard Green to create the impression of the rain drop pattern and lighten the by now somewhat dark camo a little.
Face gets an extra highlight with Kislev Flesh and a final touch with The Flayed One Flesh:
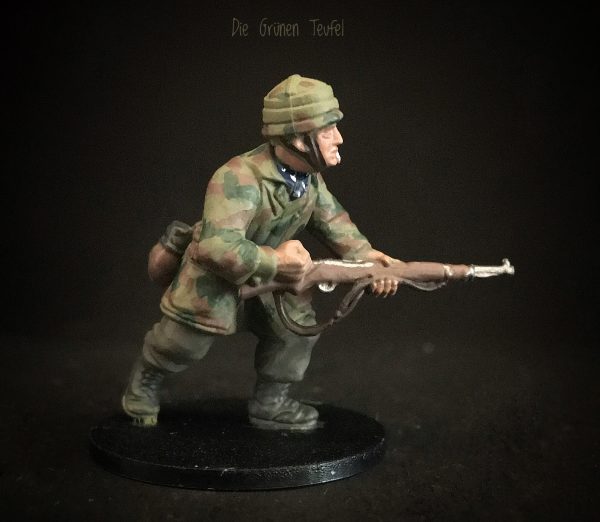
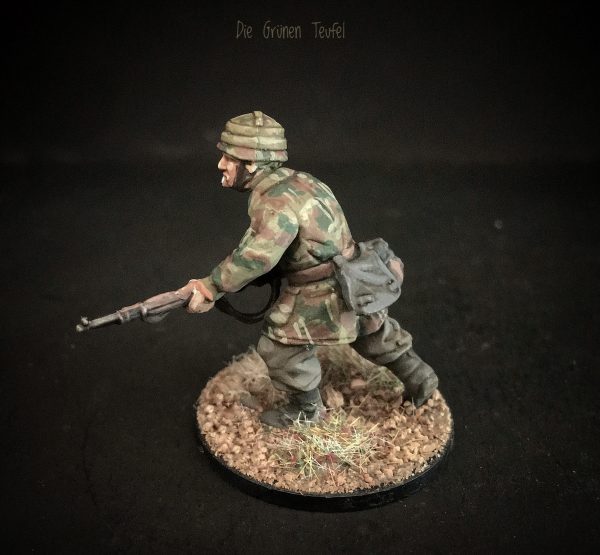
Your favourite basing method and a good coat of matt varnish (Winsor&Newton Professional Matt Varnish..duller than dull and flatter than flat!) and another elite soldier of the Reich is ready for battle:
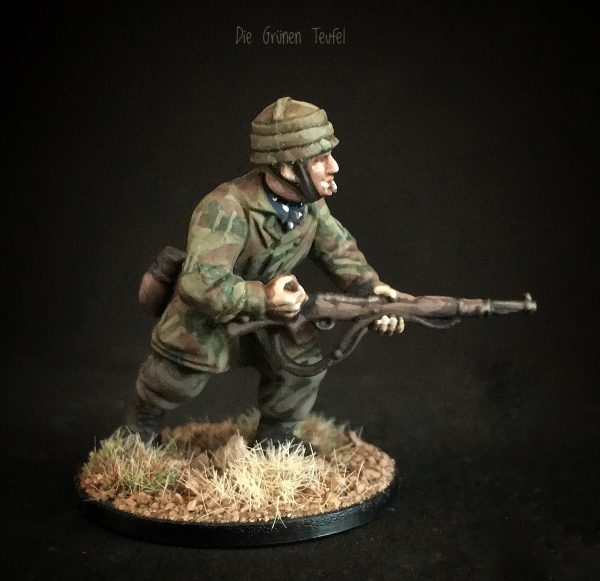
I’m aware it might not be the most accurate interpretation of the Luftwaffe Splinter camo but it’s dead easy, fast and a good enough approximation for the tabletop 
 Glück ab!
Andy
The post Step by step: Fallschirmjäger Painting Tutorial! appeared first on Warlord Games.