
Painting Your Tablescapes Tiles – Urban Streets pt. 1
Part 1: Introduction & Materials
The planning phase.
Before starting any big project like this one, you need to plan out how you will approach it. First, you will need to choose your colors, then decide how weathered or deteriorated you will want your tiles to be, and finally which type of details you want to add. From this, you will be able to establish a guideline of the various steps you will need to go through.
Choosing your colors.
For “Urban Streets” most of us have plenty of source material just outside our front door. You can also do a Google Image search with paved roads, sidewalks, manhole and such to obtain various references, until you find the right combination of color, weathering, and detail
.
I prefer, whenever possible, to go out and look at these details in real life. So on my way to my local butcher, I grabbed my small point and shoot camera (the camera in your cell phone will be just as good) and snapped images of various elements we find on our tile.
It was actually the perfect time of the year for it. I already knew I wanted a really dusty road. The pavement on our tile is broken at several places and I wanted to exploit that aspect. Winter just left, and the city has not yet cleaned the streets, so it was the perfect timing for a few pictures.
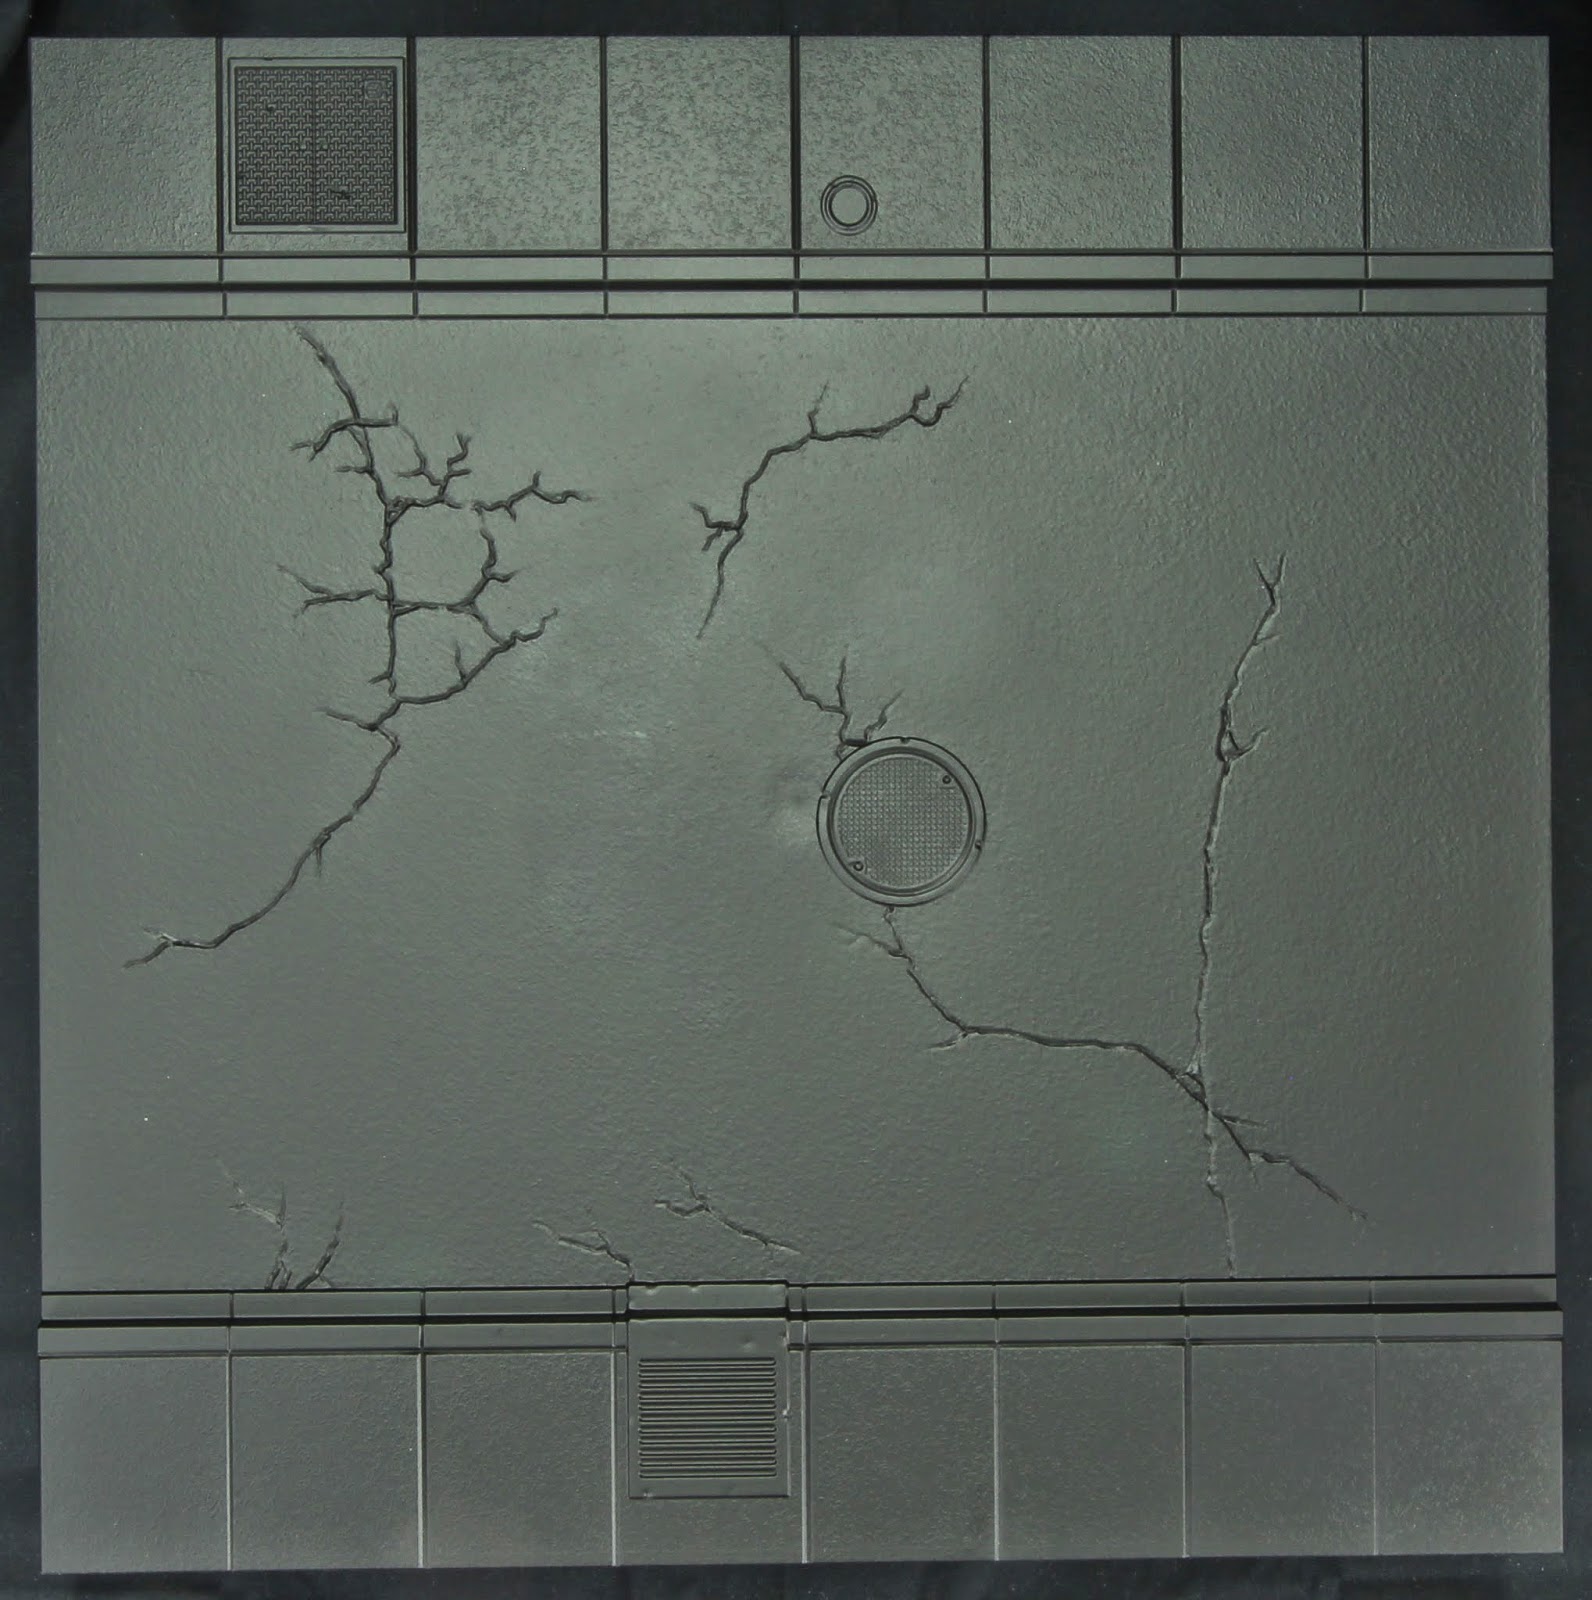
By looking at the tile I will be working on, the main elements standing out are:
- manhole covers
- vents
- sidewalks
- cracked pavement
Here are a few pictures:

We can observe 4 different manholes on the picture above. The common aspect of all of them is how the dust and dirt gathers around them or in the cracks. Take the time to observe how the dirt accumulates on the sides, and the irregular distribution. Also note the moisture surrounding the bottom right manhole while the cover is still dry. These are the type of details you want to observe and try to replicate. It will give you that extra edge of realism.
Also note how the rust works, its coloration, pigmentation and texture. It will come in handy toward the end of our project. Here is another picture of a gas and water entry showing different colors:

Note how one goes toward the yellow and the other toward the blue. Observing these various oxidation effects in real life gives you more tool to make the various elements of your scenery stand out.
Our second feature are sidewalks. It sounds silly, but once again observing the sidewalks close to your place can give you some good ideas. Pay attention on how the dirt accumulates along the cracks of the sidewalk. Also note how the moisture is patterned along the sidewalks in the following picture:

Our last feature is the cracked pavement. Luckily, our local government is not too good with our road infrastructure so pavement in bad shape is easy to find. Once again note how these cracks stand out and how dirt and dust accumulate around them.

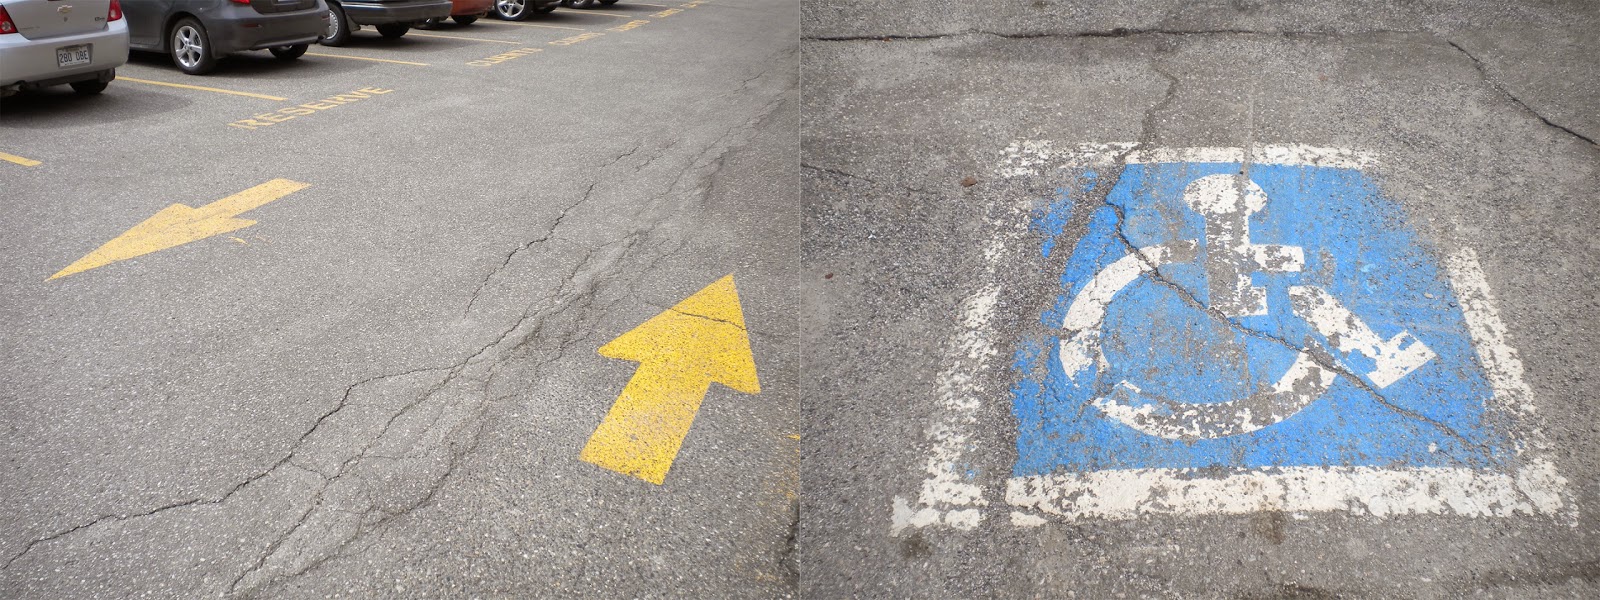
Another important feature I wanted to include was a crosswalk on the street. So I made sure to find some for reference. The example on the left is exactly what I was looking for. The classic yellow bands and, even better, totally abused by time and traffic. Perfect for the feel I wanted for this tile. The example on the right is a more fancy one just to show you the different possibilities within a short walk of my home.

To complement the crosswalk, I took pictures of different signs printed on the pavement simply to observe how it breaks apart.
Pay attention on how these signs peel off. How they react around cracks. These are all details you will want to re-create to maximize the realism of your Tablescapes Tiles.
As you go along with your project, make sure to always come back to your reference pictures. When you apply your dirt effect, go through your files to observe how dirt reacts around your various elements of your tile.
Your surrounding environment is the best source of inspiration for your project in most cases. Obviously, I do not recommend entering a war zone to observe battle damage and bomb craters. In these cases, Google Image is your best friend or it is a good excuse to watch your favorite wartime movie one more time.
One last thing is to remember that when using these pictures, is that they are simple reference. They are a guide to help inspire you. They are in no way a dogma to be copied. If you’re aiming for a more sci-fi setting, some changes would need to be made. Likewise, if you’re using the Urban Streets set for historical wargaming, you’d likely skip the painted road markings.
If I was to copy the pictures color-for-color I would end up with a boring tile in gray scale. I will be adding more colors to make it more lively. Furthermore, you need to remember that some of the texture you will observe in real life will not be realistic in our scale. At 1/48th scale the granular aspect of concrete is simply not possible to reproduce.
Make sure to use your common sense. Yes photos are a great reference material but that is what it is: reference. It is a guide for inspiration and how to achieve a certain degree of realism but never forget that you are allowed you own share of creativity.
Painting your tile.

The first step is obviously the primer. In this case I will go with black and it will most likely be the color of choice for all the tiles. By using an airbrush, it is much easier to build colors up from black. Furthermore, as you will see, we will be able to use the black to affect our colors through transparency for simple effects. In this case, the Formula P3 Black Primer from Privateer Press was used.

By using Badger Minitaire Concrete Slab, we apply a basecoat to the sidewalks. By using a narrower spray pattern I created an irregular basecoat capitalizing on the black undercoat. You can clearly see the black primer still showing through. By avoiding an even basecoat, I am obtaining a more natural feel from which we can build later.
Full and even coverage was applied along the edges of each panels. As said before, we need to make sure that all edges are the same color to guarantee the possible connection between tiles. This way, we also avoid a diagonal lighting as initially explained. Do not worry about over-spray on the pavement. We will cover it in the next few steps.

Minitaire Earth was heavily thinned down. I want to obtain a transparent paint in order to apply a subtle filter. I mostly concentrated it at the center of each panel in order to add some color to the sidewalks. I personally dislike simple grey. It is too desaturated. A pinch of color brings it up nicely.
Just like with the basecoat go for an uneven coverage. Go with a narrow stream to pattern the coloring as shown above. Lastly, using the widest stream possible, back away from the surface and apply and overall filter to the entire zone simply to enhance the grey and tie up everything together.
Remember to concentrate this color modulation from the center of the sidewalk panels toward the outside to avoid obtaining a sense of direction.

It is time to protect what you have worked on. I use Tamiya masking type. It protects your work really well without ripping off your paint. The tape is use to protect the edges of the zone that are touching the next area to be airbrushed. To cover up larger areas, I simply use plastic wrap. It is quicker and way cheaper than the masking tape.

By using Minitaire Rock, we follow the same pattern as for our sidewalks but on the pavement in this case. Once again, we are using the black primer through the paint transparency. In this case, I let the black show more instead of going lighter. Also note how I concentrated the color on one side of the crack in order to break apart the pavement. The side of the crack where the color is built up, varies in order to avoid consistency and, once again, assure all possible connections of your tiles without looking unbalanced.
You can also note that it is quite messy and does not have a nice finish. Do not worry, with all the filters, washes and pigments coming, it will not show.

Once again, a filter of Minitaire Earth is applied in order to include color and nuances. Follow the same instructions as for the sidewalks.

The masking tape was removed. You can notice how the sidewalks were totally protected. Furthermore, the over-spray from the initial work on the sidewalks is not showing anymore.
Stay tuned for part two, in which we begin weathering the tile…