
Painting Your Tablescapes Tiles — Introduction
Painting a gaming table can be simple and straightforward. Sometimes, it can end up as a gruesome task as we try to achieve too much. We all enjoy nice scenery on our table and it is, in itself, the principal point of attention. But the last thing we want to do is spend 200+ hours on the table itself.
This series of tutorials will give you step-by-step instructions on how to achieve great results in an efficient manner. We will be demonstrating on each set using one tile. For the sake of these tutorials, we will be pushing the end results fairly high. Note that these results do not require “masterclass” skills. If you are ready to spend the time, you too will be able to arrive at the same end.
These steps will follow a logical order. Feel free to stop at any of them. If midway through these instructions you look at your tile and are satisfied with the result, that is all you need to do. It is your Tablescapes Tiles set, and you know how you want it to look. Some of these steps will also be optional. Feel free to skip them. Once again these are your tiles, and how far you push the details, and which colors you choose, are entirely up to you. The important thing here is to make sure that you are able to obtain great looking terrain without too much complication. We want you to enjoy the process and rapidly play on your Tablescapes Tiles.
Modular tables: a few rules.
Painting a fixed table is pretty straightforward. Chose you colors and paint away. A modular table requires you to paint every tile in a manner that lets it fit with any of the other tiles of the set. It sounds simple but can definitely be a problem if you’re not planning for it from the start.
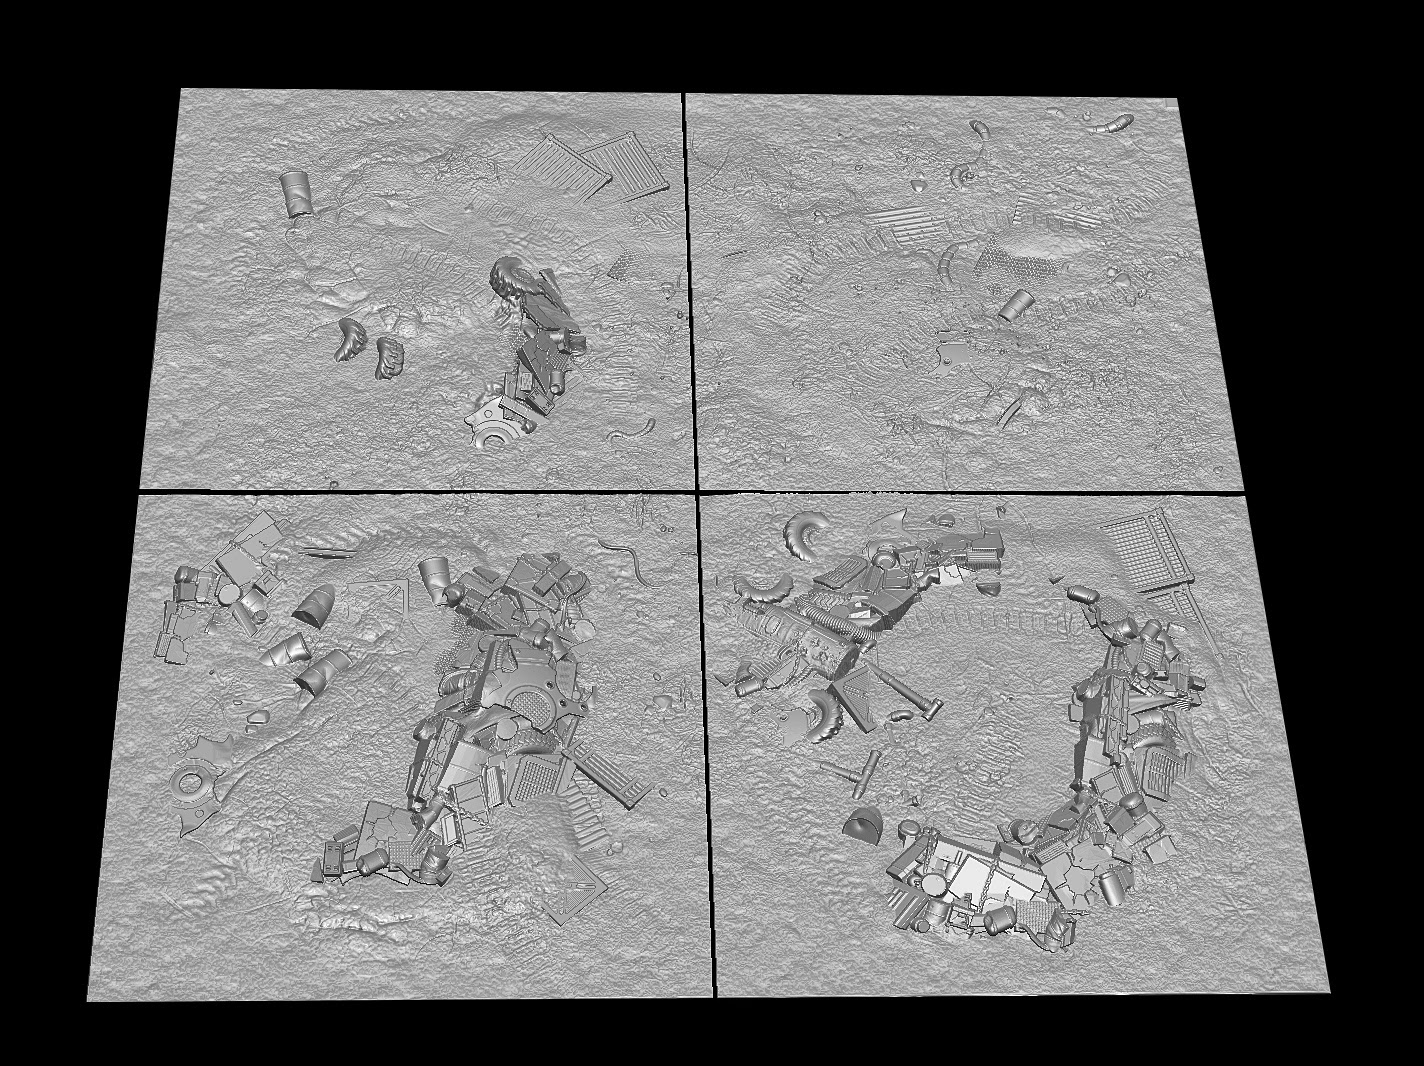
So here we have a simple group of 4 tiles:

No issue at the moment as no color has been applied. But let say we want to apply color in such a way:

(Notice how we concentrated one color in the center of these 4 tiles.)
Let’s say that we thought that concentrating one color in the center of these 4 tiles would look good, so we put the four tiles together, and painted a focus inside the red area. Some of you might already see the issue rising. We are dealing with a modular set here. Which means that we want to be able to place every single tile in whichever way we want. Therefore, we need to make sure that every tile will be painted in a manner that will not interfere with that primary characteristic. In the case above, yes there are some ways that we can move the tile around for them to match with each other but unfortunately, we have limited our options.
Pay attention to the following example:

In this case, every single tile can be placed in any combination we want without any issues. You can go as crazy as you want while painting your tiles as long as you remember that every edge should always be the same color. It is the only way to maximize the versatility of your Tablescape set. Obviously, try to avoid the same pattern on every tile as the circles I have drawn for our examples. You probably don’t want a a polka dot table or anything too regular.
The last concept is for more advance painters, those of you with an understanding of lights and how to portray it on various elements. When shading and highlighting square elements, we usually select a diagonal to which we stick for the entire project for consistency.

As shown above, you can clearly see the light progression following a diagonal from light to dark. Usually we would stick to that diagonal and portray light on every single square element in the same way. Unfortunately, once again, you can see the issue. By randomizing our tiles, the direction of that diagonal will constantly change. Light progression in this case will need to be from the center to the outside of the square elements, as we will see in various occasion throughout these tutorials.
The same goes with color variations. On a fixed piece we would usually paint those variation following the same direction. In this case, make sure to mix it up. If every modulation goes from left to right, these modulation might end up from top to bottom on one tile and right to left on the other depending on how you place your tiles in relation to others. As with lighting, try to make your modulation from the center of the element toward the outside.
Why are we stressing these points? Well it is simple. We want to make sure that you are able to maximize the potential of your Tablescapes Tiles set. There is nothing more frustrating than spending the hours necessary to paint your table only to realize, once you’re finished, that it does not fit perfectly with various direction of lights and colors, or you end up with a fixed position table because we did not pay attention to these few important guidelines in the beginning.
The tools.

A few tools will make your job much easier. The first one is definitely an airbrush. It will allow you to rapidly obtain great overall effect with minimum effort. Yes you can paint your Tablescapes Tiles set without it but you will have to rely on large brushes and dry brushing which will give you results miles away from ours. All the basecoats, first layers and effects were done with an airbrush for this tutorial. You can also expect the same for all the other tutorials. In all honesty, if you paint your fair share of scenery, you should definitely look into getting one. The time you will save will pay it back in a short amount of time.
Note that you do not need a high-quality airbrush in this case. A simple dual action airbrush will be sufficient. You should also avoid nozzle that are too small. A 0.4 or 0.5mm nozzle will be perfect for this kind of work. It will give you a wide spray, speeding up your coverage while allowing you a fair share of detail work. For these tutorials, we will be using a Badger Renegade Krome, but any airbrush with a 0.4mm or 0.5mm needle set will do the job.
There is no recommended set of paints for this project. The one you have handy will work perfectly well. You can use P3 or Citadel, but for these tutorials we’re using the Minitaire range from Badger.
Oil paints will also be a must and allow quick work and nice effect with minimal effort. You do not need to buy a full set of these. Concentrate on a few central colors for your set. 2 or 3 different colors should give you a nice range to play with. Be aware that a small tube goes a long way. These paints will be applied as washes so only a small amount at a time will be used. So get the small tube, and you should have enough for your lifetime.
You will need an oil paint thinner as well. Turpentine, white spirit and taltine are all good. You definitely want to obtain an odorless one if possible. It will make your workspace more enjoyable if you can avoid the strong odor of these solvent. Odorless does not mean less toxic. No matter how smelly your solvent will be, the fumes will be just as bad. Make sure to work in a well ventilated space when working with these.
The oil washes can be replaced by the Secret Weapon Washes. You would just need to thin them a little bit more. The main advantage of the oil is the time it takes to dry. It will give you plenty of time to fix your work just like you want it. The acrylic washes will quickly dry and mark the area where they will be applied. It does not give you the same liberties but are definitely safer to use. The other advantage of the oil is its low cost to use. A small tube will last you for ages. The most expensive part will be the solvent. In order to cover your entire table, you will most likely need several pots of washes. Keep you acrylic washes for some touches here and there as you will see.
Dry pigments will also allow you to add nice realistic touches to your tiles. You can definitely work without them and still obtain a great result but dry pigments will give you that extra edge. Once again, you do not need to buy a full set. 4-5 colors should be sufficient to cover your needs.
You will need various brushes. You will want a large flat soft brush and large flat hard brush. The soft brush will be used to apply your oil washes and the hard one to apply your dry pigments. Your regular brushes should cover the rest of the situation.
As you will see throughout these tutorials, several other products and tools can be useful but are not necessary. It will always depends on how far you will want to push your final result.
(TUTORIALS WILL FOLLOW THE INTRODUCTION AS THEY ARE AVAILABLE – LINKS WILL APPEAR BELOW FOR EACH THEME TUTORIAL)