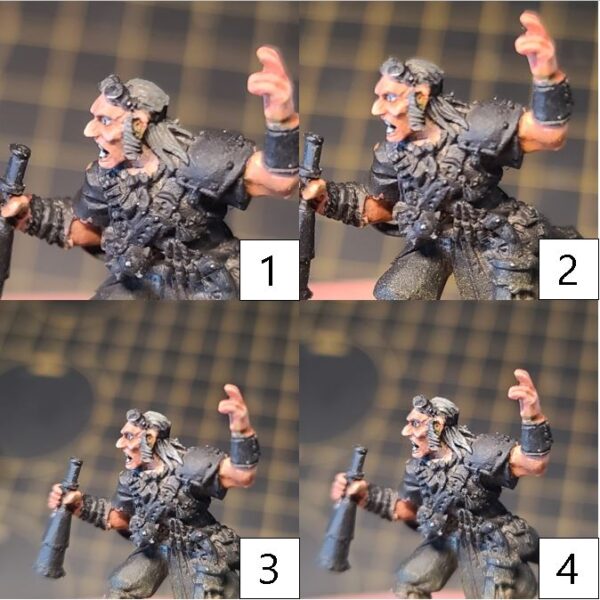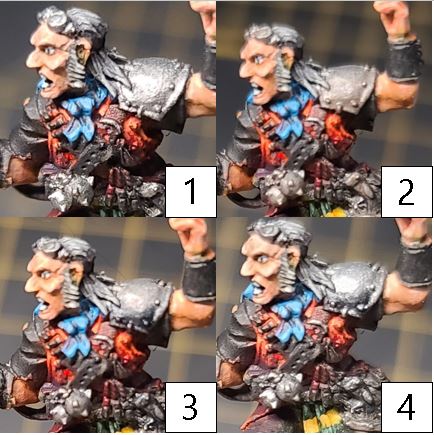
Painting Lord Rockbottom and Dougal
by Charles Foster III
Hello, hobbyists, and welcome back to another painting Insider!
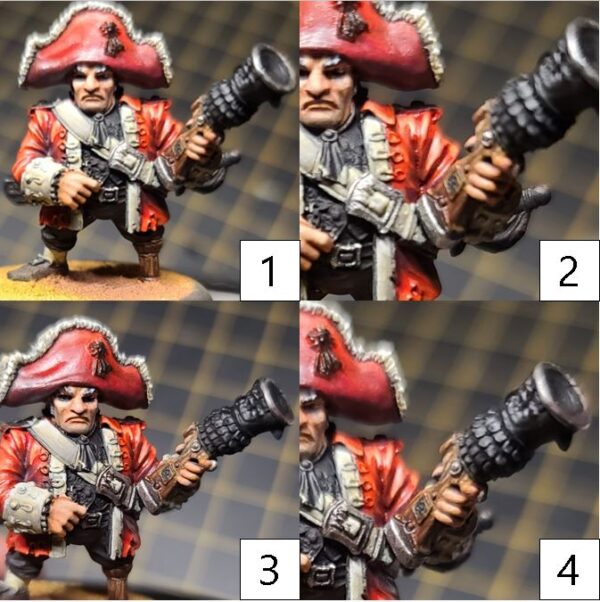
Last time, I threw some paint on Admiral Boomhowler from the Brineblood Marauders preview box. So, while I’m prepping the Reef and Deepborn Dire Trolls’ for their next steps, I thought it would be nice to show you how I tackled the paint jobs for Lord Rockbottom and Master Gunner Dougal MacNaile. Thus, let the year of pirates continue! Heave to and take in the sails!
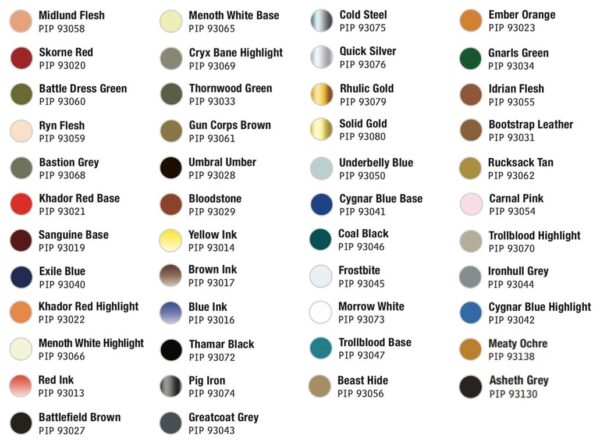
Colors Used
Lord Rockbottom
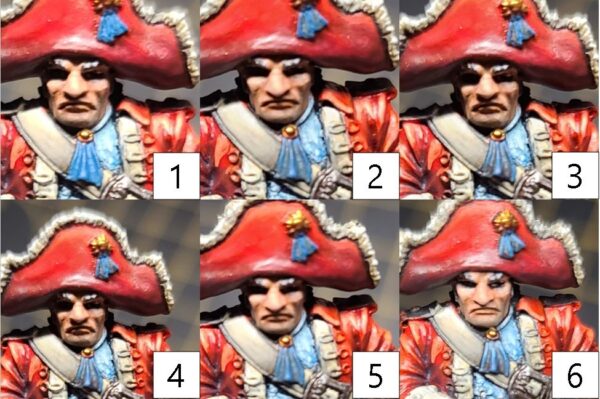
Skin Tones
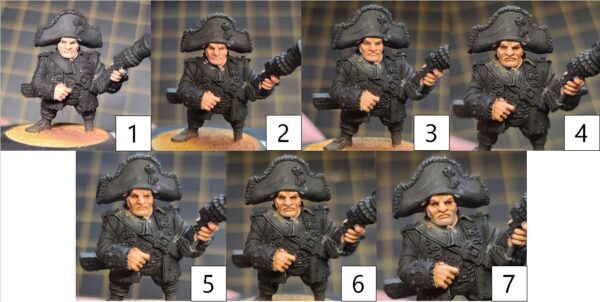
- Step 1) I start off Lord Rockbottom’s skin tones with a basecoat of Midlund Flesh. I keep the paint thin and make sure the basecoat is solid and uniform. This step could take a few coats, so we’ll need a little patience, but it goes a long way.
- Step 2) Next, I start my shading using a mixture of Skorne Red and Midlund Flesh. A 50/50 mix will do just fine.
- Step 3) To balance out the skin tone, I use a second shade of Battledress Green with Midlund Flesh. The green and red should cancel each other out, leaving a nice realistic skin tone.
- Step 4) I finalize my shades by mixing Battledress Green with Skorne Red. I use this color to define the lines on Rockbottom’s face.
- Step 5) With the shading completed, I move on to the highlights, which I start with a 50/50 mix of Midlund Flesh and Ryn Flesh. I apply this color to the cheekbones, forehead, nose, upper lip, and eyelids.
- Step 6) I continue the highlights with Ryn Flesh, making sure to focus on only the highest raised areas and surfaces.
- Step 7) Lord Rockbottom, while regal in his appearance, deserves the unclean five o’clock shadow fitting amongst the pirate crew. To give him this unshaven look, I mix Midlund Flesh with Bastion Grey and thin the mixture with a good amount of water. I apply the paint in multiple thin coats to his chin, jawline, and upper lip. In treating this like a glaze, three or four layers usually gets the right look I’m after.
Red Uniform
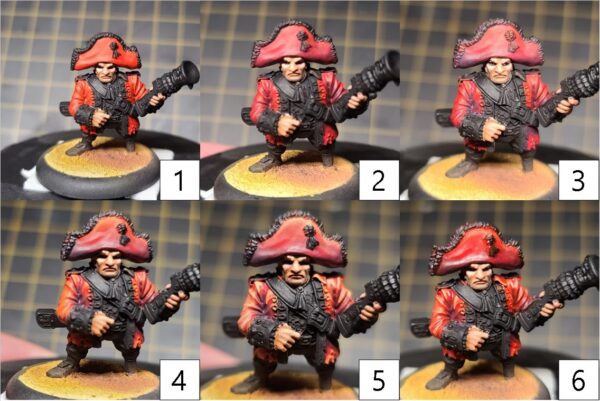
- Step 1) Time to tackle the uniform. Start off with a solid basecoat of Khador Red Base. Take time to ensure a smooth and solid basecoat.
- Step 2) For the first layer of shading, use Sanguine Base. Blend this color into the recesses and shadows.
- Step 3) To darken the shadows and create more depth, add a second layer of shading by mixing Sanguine Base with Exile Blue and apply this mix to the deepest areas.
- Step 4) With the shading complete; it’s now time to move on to the highlights. Start by mixing Khador Red Highlight and Khador Red Base in a 2:1 ratio. Then, blend this color across any raised areas and surfaces.
- Step 5) Continue highlighting by mixing Khador Red Highlight and Menoth White Highlight in 1:2 ratio. This color should almost look peach. It will seem a bit off or too bright, but no worries. as we will use a glazing step to bring it all together.
- Step 6) Time to make a glaze and shift all the colors to a deep red tone. Take Red Ink and add water in a 1:14 ratio. This extremely thinned-out ink is the final step. Apply this color evenly across the model in a thin layer, making sure it doesn’t pool up anywhere. This technique is known as glazing. In short, we are shifting the colors on the model to a more saturated red tone. To get this, apply about 12–15 layers of glaze, making sure that each layer completely dries before moving on to the next. Pro tip: Using a hair dryer on low and from a distance can speed this step up. But don’t rush this, as if it doesn’t dry completely before moving on to the next layer, it is possible to damage the previous layer of glaze. While a bit time consuming, the results will speak for themselves.
Whites
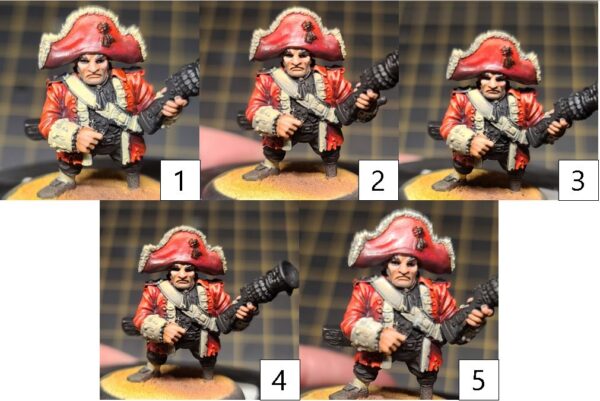
- Step 1) For the whites on the uniform, I start with a basecoat of Menoth White Base. I thin out the paint with a small amount of water to improve the flow, and I add a few thin coats to get proper solid coverage.
- Step 2) I apply my first shade to the areas using Cryx Bane Highlight, blending this color into the shadows.
- Step 3) To deepen the contrast, I apply a second shade using Bastion Grey.
- Step 4) To really make the white stand out, I apply a final shade of Thornwood Green to the deepest areas. I tend to be a bit on the reserved side using this color, as it can quickly overpower the other layers if too much is used.
- Step 5) With the shadows defined, I apply a highlight of Menoth White Highlight. To help blend this into the model, you may also choose to add a drop or two of Mixing Medium. (This will help improve flow and consistency.)
Woodgrains
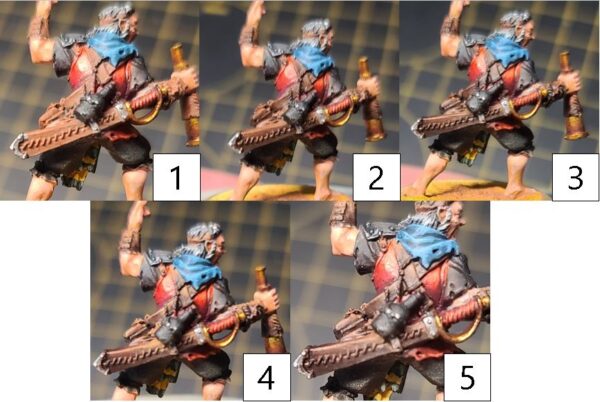
- Step 1) You guessed it, more woodgrain! Every pirate model seems to have a little bit of wood, eh? Lord Rockbottom has it on his peg leg and the wood on the stock of his Fire Breather gun. Time to pull out the tried-and-true woodgrain painting pattern. Start with a solid basecoat of Gun Corps Brown.
- Step 2) Next, using Menoth White Base, draw out the grain structures of the wood. Add small lines with the occasional bump or two to break it up from looking too uniform.
- Step 3) To create the depth in the wood texture, use Umbral Umber and do the same thing as you did in the previous step: draw small lines following near the Menoth White Base. Be sure to leave some areas of the Gun Corps Brown still showing to create multiple layers of color.
- Step 4) To generate those awesome wood tones, mix Bloodstone, Yellow Ink, and Brown Ink in a 3:1:2 ratio. Then taking this color, blend a glaze across the woodgrain structure—essentially, stain the wood.
- Step 5) Once the previous step has dried, repeat the step once more but only going about half of the distance.
- Step 6) To create your final shade, add a single drop—if not just a half-drop—of Blue Ink to the previous color. Blue Ink is a very strong color; if you use too much, it can quickly overpower the rest of the mixture and shift the colors to a blue tone. So, be cautious.
- Step 7) To finalize the wood areas, add a drop of Thamar Black to the mix from the previous step. Apply this color to the darkest areas and the spaces in between any planks to thoroughly define the separation of the boards.
Silver
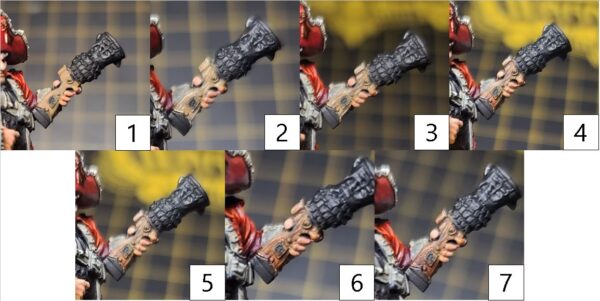
- Step 1) Next, I move on to the silver metals. I start off by applying a solid basecoat of Pig Iron to the steel areas.Step 2) I start my shading of the area using a mixture of Greatcoat Grey, Battlefield Brown, and Pig Iron.
- Step 3) To finalize my shading, I add a dot of Thamar Black to a mixture of Brown Ink and Blue Ink for the final shading.
- Step 4) With the shading complete, I move on to my first highlight using Cold Steel.
- Step 5) For the final highlight, I’ll return to the area after the model has been sealed with matte sealant and apply some final edged highlighting with Quick Silver.
Golds
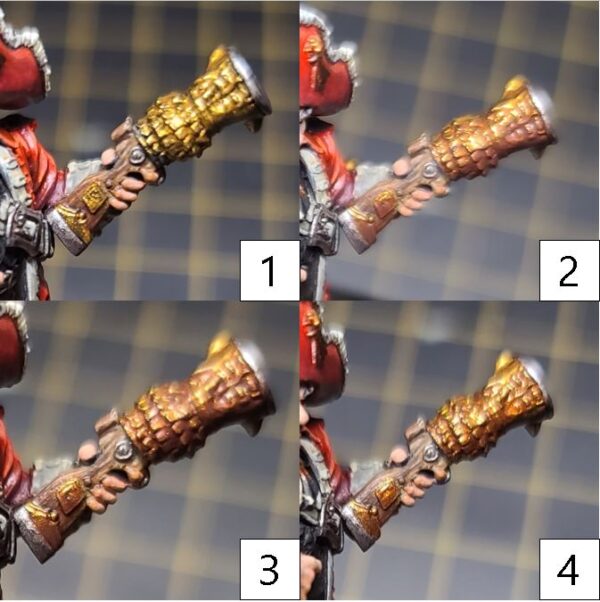
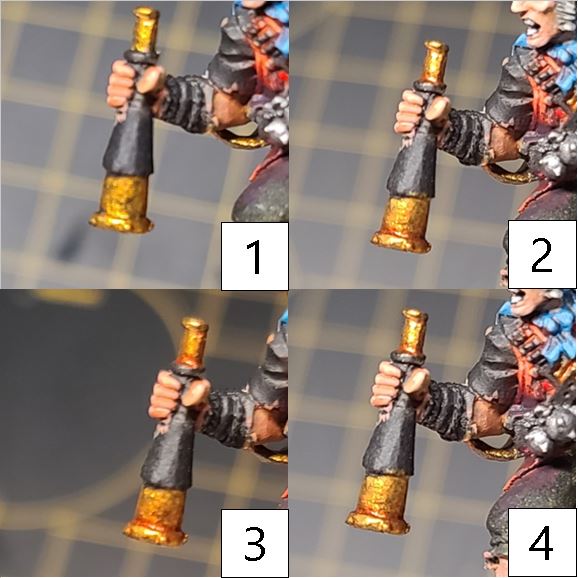
- Step 1) With the silvers complete, let’s move on to the golds. Create a solid basecoat by building up multiple thin layers of Rhulic Gold.
- Step 2) To start shading, Mix Brown Ink and Yellow Ink together with some Rhulic Gold and blend in some shadows.
- Step 3) Continue shading with a mixture of Umbral Umber, Sanguine Base, and Brown Ink. Apply this to the deepest areas or places used to separate the golds from other areas.
- Step 4) To highlight the gold areas, use Solid Gold and apply it to any raised surfaces or edges.
- Step 5) Finally, once the model has been sealed with a matte sealant, return to the areas, and add one final highlight of Solid Gold mixed with Cold Steel in a 50/50 mix to any raised edges or areas that light would be reflecting off the model.
Blue Shirt
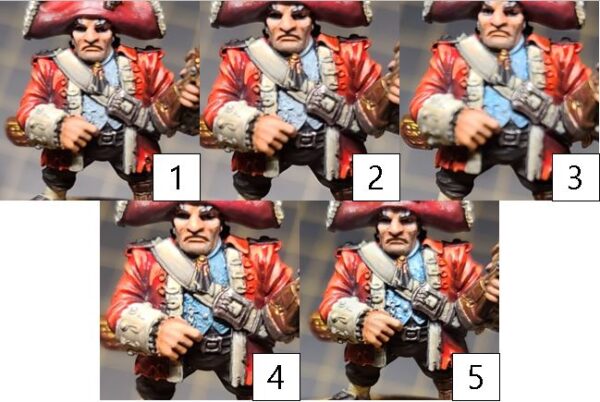
- Step 1) Time to tackle Rockbottom’s blue shirt. I start with a basecoat of Underbelly Blue.
- Step 2) To shade the shirt, I mix Underbelly Blue with Cygnar Blue Base and blend it into the shadows.
- Step 3) For additional effect and some nice definition, I deepen the shading by making a glaze of thinned out Coal Black with water in a 1:14 part ratio. I then take this color and apply thin glazes to the darkest areas, taking care not to let the color pool up. I repeat this process until the shadows are a nice offset to the bright Underbelly Blue basecoat.
- Step 4) With the shading complete, I start my highlights off by applying Frostbite to the raised surfaces.
- Step 5) To close out the shirt, I apply a final highlight of Morrow White mixed with Frostbite in 1:2 ratio so we retain that small amount of blue hue in the final highlight.
Blue Ribbons and Broach
- Step 1) Now to create a deep blue hue for the the ribbons and broach on Rockbottom! Basecoat the tassels and tabard detail with a mixture of Trollblood Base and Cygnar Blue Base.
- Step 2) Start your shading on the blue elements of the figure with the basecoat color from the previous step mixed with Battlefield Brown.
- Step 3) Add one final shade to the deep areas and undersides of the area with a mixture of Exile Blue and Umbral Umber.
- Step 4) If your transitions look a bit harsh or if you would like to smooth the colors, you can create a glaze by thinning out Cygnar Blue Base with some water and applying this evenly over the surfaces a few times to blend the previous steps together.
- Step 5) Begin to highlight the blue areas with a mixture of Trollblood Base, Cygnar Blue Base, and Frostbite.
- Step 6) To close out the area, add Underbelly Blue to the previous step’s mixture and apply some final highlights to the blue areas.
Brown Pants
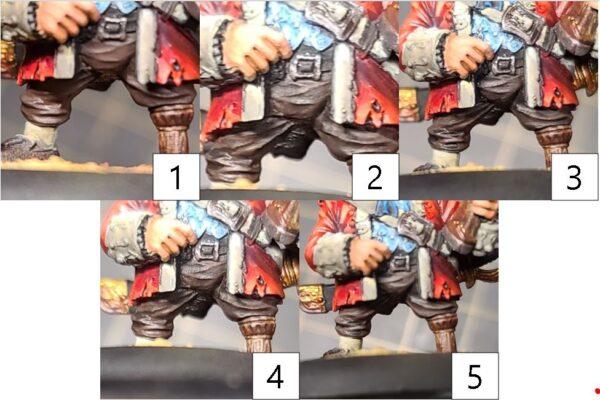
- Step 1) To tackle Rockbottom’s pants, I start out with a solid basecoat using Battlefield Brown. You know about pirates and their brown pants, right?
- Step 2) I apply my first layer of shading with Umbral Umber, blending this color into the recesses and shadows.
- Step 3) The darkest areas get a final shade with a mix of Umbral Umber and Thamar Black.
- Step 4) For my first highlight, I mix Beast Hide with Battlefield Brown and apply this color to any raised surfaces.
- Step 5) To finalize the look of Rockbottom’s pants, I make one final edge highlight to the area with Beast Hide.
Black Shoes
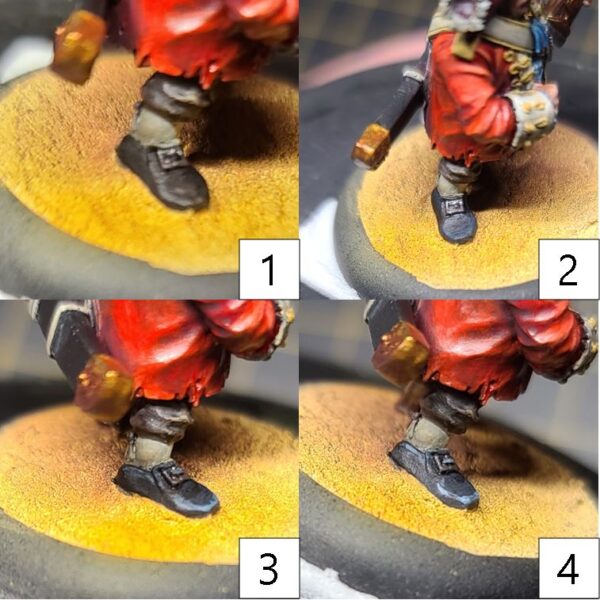
- Step 1) If you used black primer, you could skip the basecoat stage and paint directly over the primer. If you have accidentally got paint on the shoes or if you used a different color to prime, simply paint the area in Thamar Black.
- Step 2) For the first layer, mix Coal Black and Exile Blue with a small amount of Thamar Black and use this to apply some broad highlights.
- Step 3) Continue building up the layers by adding Underbelly Blue to the previous mixture and applying additional highlights of the new color along the raised areas and edges.
- Step 4) Finally, to finish off the shoes and our Rockbottom model, add Frostbite to the previous mixture and carefully use this to put some edge highlights on the shoes.
With Lord Rockbottom complete, it’s now time to move on to Master Gunner Dougal MacNaile. Several of the colors and areas will be similar to the steps completed on Lord Rockbottom.
Master Gunner Dougal MacNaile
Skin Tones
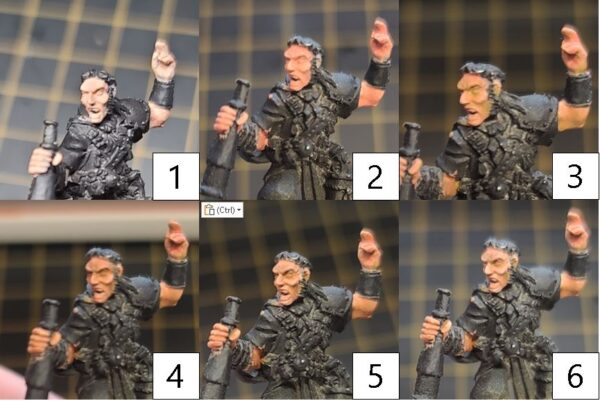
- Step 1) Just as with Lord Rockbottom’s skin tones, I start with a basecoat of Midlund Flesh. Remember to keep the paint thin, and make sure your basecoat is solid and uniform.
- Step 2) I begin my shading like before, using a mixture of Skorne Red and Midlund Flesh. A 50/50 mix will do the trick.
- Step 3) To balance out the skin tone, I apply a second shade consisting of Battledress Green mixed with Midlund Flesh.
- Step 4) To finalize the shading, I mix Battledress Green with Skorne Red and apply it to the various regions of the face, taking care to focus on the eye sockets, brow line, nose, lines of the cheek, furrows in the brow, and crow’s feet around the eyes.
- Step 5) I start off highlighting with a 50/50 mix of Midlund Flesh and Ryn Flesh and then apply this color to the cheekbones, forehead, nose, upper lip, and eyelids.
- Step 6) I continue the highlights with Ryn Flesh, making sure to focus on only the highest raised areas and surfaces.
Hair
- Step 1) To start Dougal’s hair, lay down a solid basecoat of Bastion Grey.
- Step 2) Apply a shade to the hair by blending Asheth Grey into the recesses.
- Step 3) Start to highlight the hair using a mixture of Bastion Grey with Menoth White Highlight.
- Step 4) Finally, to give that grey the brightness it deserves, apply some final edge highlighting using Menoth White Highlight.
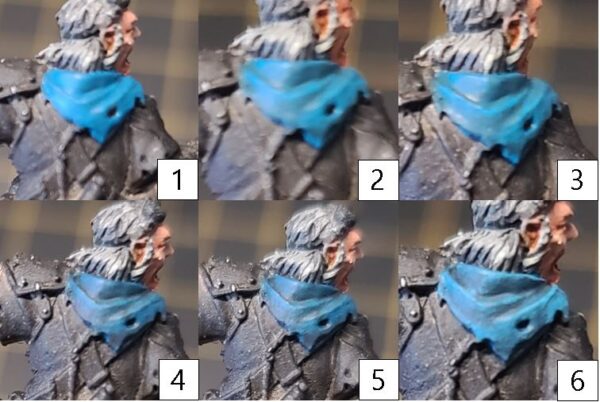
Blue Bandana
- Step 1) Time to add some color to that bandana on Dougal. I start with a basecoat mixture of Trollblood Base and Cygnar Blue Base.
- Step 2) I start my shading of the blue elements of the figure with the basecoat color from the previous step mixed with Battlefield Brown.
- Step3) I add one final shade using a mixture of Exile Blue and Umbral Umber, paying close attention to keep this to the deepest areas.
- Step 4) To brighten the transitions of the previous steps, I create a glaze by thinning out Cygnar Blue Base with some water and applying it evenly over the surfaces a few times. This will blend the previous steps together.
- Step 5) I highlight the blue areas with a mixture of Trollblood Base, Cygnar Blue Base, and Frostbite.
- Step 6) To close out the area, I add Underbelly Blue to the previous step’s mixture and apply some final highlights to the blue areas.
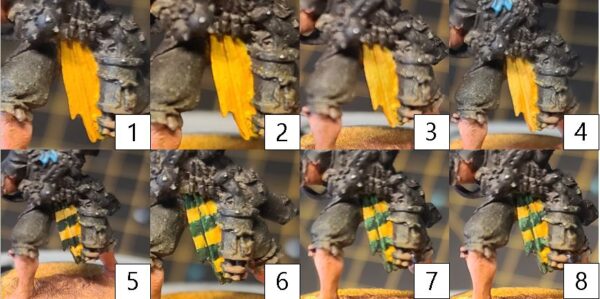
Orange-and-Green Sash
- Step 1) Time to tackle the orange-and-green sash on Dougal. For this, we will do all of the lighter color first (the orange), and then move on to the darker green. Start by basecoating the area in Meaty Ochre.
- Step 2) For the first layer of highlights, blend in some Ember Orange. Make sure to leave some of the Meaty Ochre color showing from the previous step.
- Step 3) Next, go ahead and highlight the area using Ember Orange mixed with Menoth White Base in a 50/50 blend.
- Step 4) Finalize the orange colors by adding a hard-edged highlight of Ember Orange mixed with Menoth White Highlight.
- Step 5) Now it’s time to start on the greens. Box in your greens using Gnarls Green mixed with Thamar Black. I suggest doing so at a slight angle.
- Step 6) Next, begin highlighting the green with a layer of Gnarls Green. Take care not to go over any of the areas of orange.
- Step 7) Continue highlighting by using a mixture of Gnarls Green and Menoth White Base. Apply another layer, making sure to leave the previous steps showing through.
- Step 7) Finally, to finish of this area, add a drop of Menoth White Highlight to the previous mix and apply this mix as a final hard line to define the green areas.
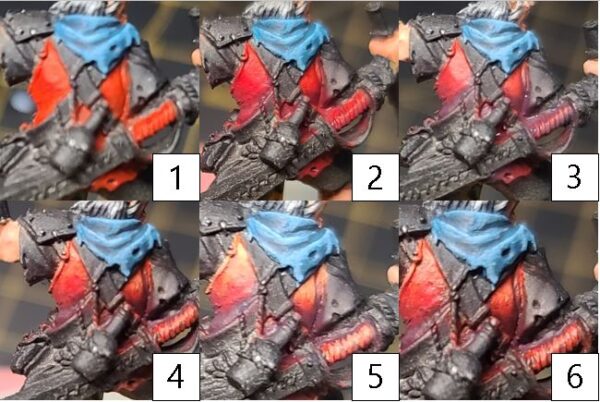
Red Vest
- Step 1) With the sash completed, I turn my attention to the red vest. As on Rockbottom’s uniform, I start off with a solid basecoat of Khador Red Base.
- Step 2) For the first layer of shading, I start with Sanguine Base, blending this color into the recesses and shadows.
- Step 3) To continue my shading, I use Sanguine Base mixed with Exile Blue and apply the deepest areas.
- Step 4) I start my highlights off by mixing Khador Red Highlight and Khador Red Base in a 2:1 ratio. IK blend this color across any raised areas and surfaces.
- Step 5) For my second layer of highlights, I mix Khador Red Highlight and Menoth White Highlight in 1:2 ratio. I apply this to the highest areas and edges.
- Step 6) To create the saturated red I’m looking for, I make a glaze of Red Ink and add water in a 1:14 ratio. I apply this color evenly across the model in a thin layer, making sure not to let any pool up. To get the color I’m looking for I will repeat this step anywhere from 12–15 layers. I make sure that each layer completely dries before moving onto the next.
Silver
- Step 1) Next, let’s tackle Dougal’s silver metals. Start off by applying a solid basecoat of Pig Iron to the area.
- Step 2) Begin shading the silver areas using a mixture of Greatcoat Grey, Battlefield Brown, and Pig Iron.
- Step 3) To finalize the shadows, apply a final shade using Thamar Black, Brown Ink, and Blue Ink for deepest shadows.
- Step 4) Apply Cold Steel as your first layer of highlights.
- Step 5) Finally, after the model has been sealed with matte sealant, apply some final edged highlighting with Quick Silver.
Golds
- Step 1) Next, I move on to the gold. I start off with a solid basecoat of Rhulic Gold.
- Step 2) To start shading, I mix Brown Ink and Yellow Ink together with some Rhulic Gold and blend into the area to create some shadows.
- Step 3) I continue shading by mixing Umbral Umber, Sanguine Base, and Brown Ink. I apply this to the deepest areas and also use it to separate the golds from other areas.
- Step 4) For a highlight, I use Solid Gold and apply it to any raised surfaces or edges.
- Step 5) Finally, once the model has been sealed with a matte sealant, I return to the area and add one final highlight of Solid Gold mixed with Cold Steel in a 50/50 mix to any raised edges or areas where light would reflect off of the model.
Leathers
- Step 1) With the metals complete, now is the time to tackle the leathers on Dougal. Start with a solid basecoat using Idrian Flesh.
- Step 2) Begin shading the leathers using Umbral Umber and blending this color into the recesses.
- Step 3) Continue to deepen the shadows on the leathers by mixing Brown Ink and a small amount of Thamar Black and applying this to the deepest areas or any place where a separation between the leathers is needed.
- Step 4) Next, start the highlights on the leather with Bootstrap Leather, keeping the highlights to the raised areas and edges.
- Step 5) Finally, finish off the highlights using a mixture of Bootstrap Leather and Rucksack Tan.
Rope
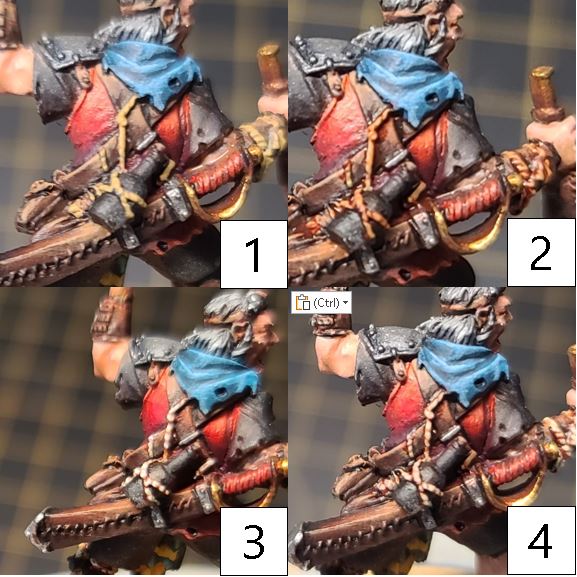
- Step 1) Next up, I tackle all the ropes by laying down a basecoat of Rucksack Tan.
- Step 2) To shade the area, I take a small amount of Brown Ink, thin it out with some water, and apply this as a wash over the Rucksack Tan, being careful not to let this ink get on any of the non-rope areas.
- Step 3) I lay down a highlight of Menoth Base White for my first highlight.
- Step 4) And to finalize the ropes, I apply one more highlight of Menoth White Highlight.
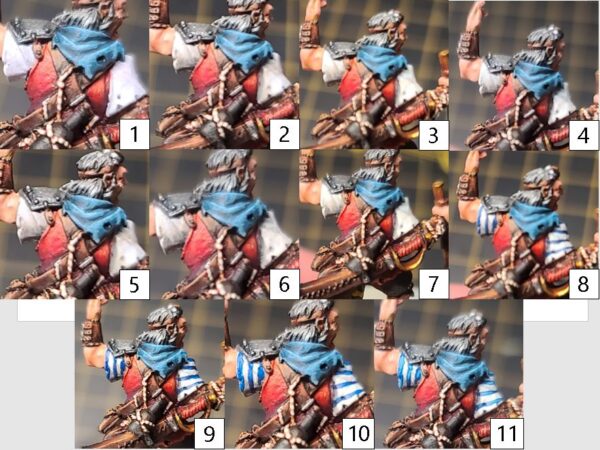
Blue-and-White Shirt
- Step 1) To finish off Dougal, let’s tackle the blue-and-white striped shirt. Start off by basing the area in Frostbite mixed with Carnal Pink.
- Step 2) Shade the previous step by blending Trollblood Highlight into the recesses.
- Step 3) Continue to darken the shadows with a second layer of shading using Bastion Grey.
- Step 4) Finally, on the darkest areas and shadows, add a small amount of shading with Ironhull Grey.
- Step 5) Begin highlight layers with a mixture of Carnal Pink, Menoth White Base, and Menoth White Highlight.
- Step 6) Continue to highlight with a layer of Frostbite mixed with Menoth White Highlight.
- Step 7) To cap the highlights on the white, apply a final highlight of Menoth White Highlight.
- Step 8) Next, add in the basecoat for the blue using Exile Blue. Simply choose your angle and draw in your stripes.
- Step 9) Add your first blue highlight of Cygnar Blue Base. Be sure to avoid the white areas and to leave some of the Exile Blue showing through from the previous step.
- Step 10) For the second layer of highlights, apply Cygnar Blue Highlight to the area.
- Step 11) Finally, to really bring the color together, use a mixture of Cygnar Blue Highlight and Frostbite. Apply this color to the highest edges to bring some pop to the shirt.
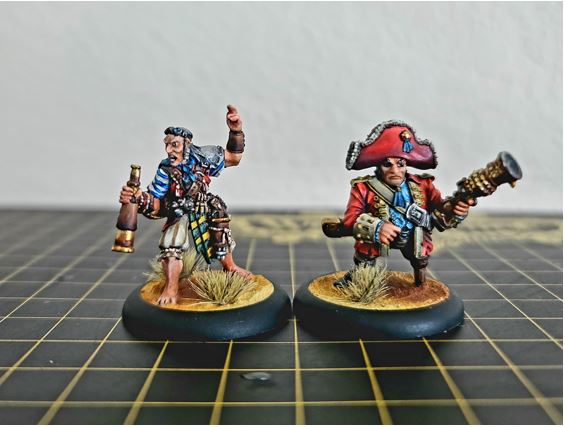
With that, these two Talion Charter solos are ready for the table!
I hope you enjoyed this Insider! We are only a few more weeks away from Gen Con, and I’m excited to let loose some pirates on the tables. I hope to see you all there so you can check out all the great and amazing stuff coming soon to WARMACHINE.
Join me next time when we hop back to the Brineblood Marauders with the Reef Troll. Until then, hoist your colors high!
The post Painting Lord Rockbottom and Dougal appeared first on Privateer Press.

