

Insider 7-6-2015

In my last Insider, I shared some tips for staying focused and motivated to finish painting your armies. Today I’m going to walk through the method I am using to paint my Skorne army for our office slow-grow league.
I’m so fond of painting models quickly to a tabletop standard in part because of the limited amount of time I have for hobbies. I have three young kids waiting for me when I get home from work, and by the time I feed, clean, and remove the fury from those little creatures so they can pass their pre-bed time frenzy checks, I don’t have much time to spend on my other little creatures.
Because family time is my top priority when I’m home, I’m fortunate to work in an environment where my coworkers don’t mind when I break out my models and paint during lunch. Focusing on a model for 45–60 minutes a day pushes me to work efficiently and to stay motivated. But what can you really accomplish in such short painting periods? Well, I’m glad you asked, and my friend Molik Karn has the answer for you.
Day 1
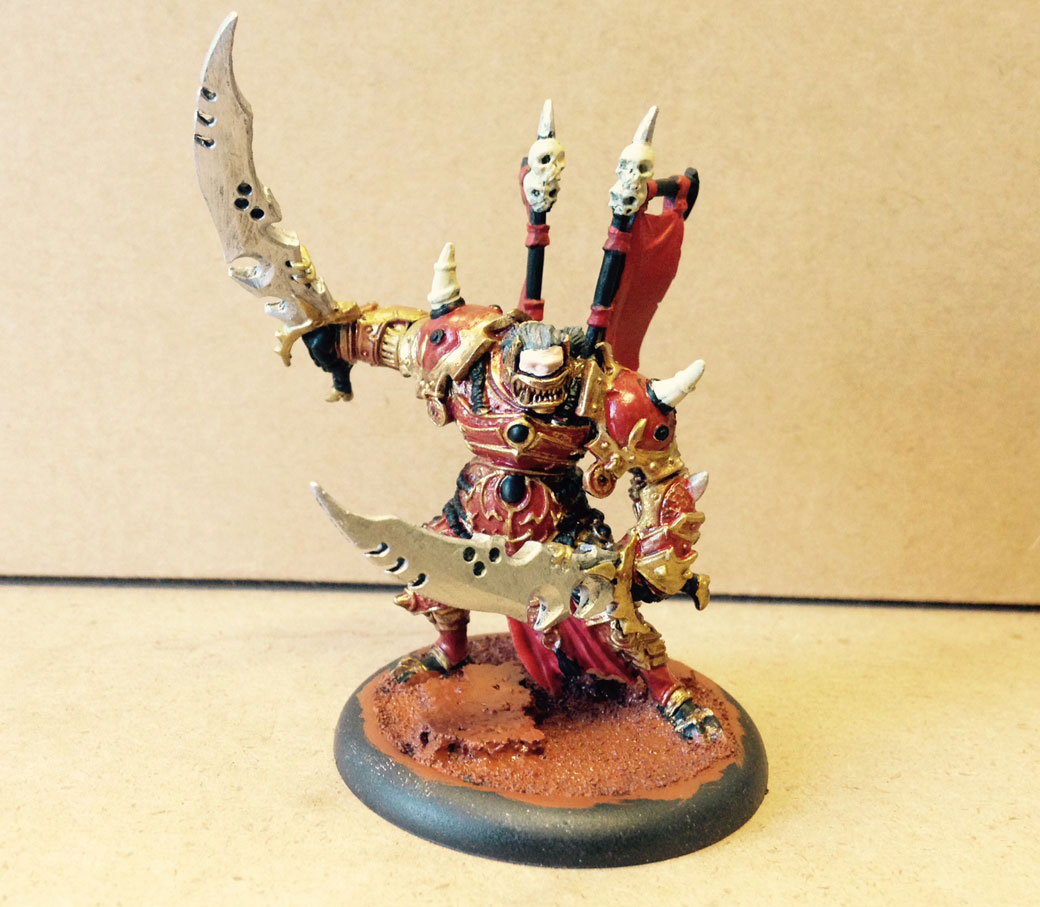
1. I had previously assembled, based, and primed my model with Formula P3 Black Primer.
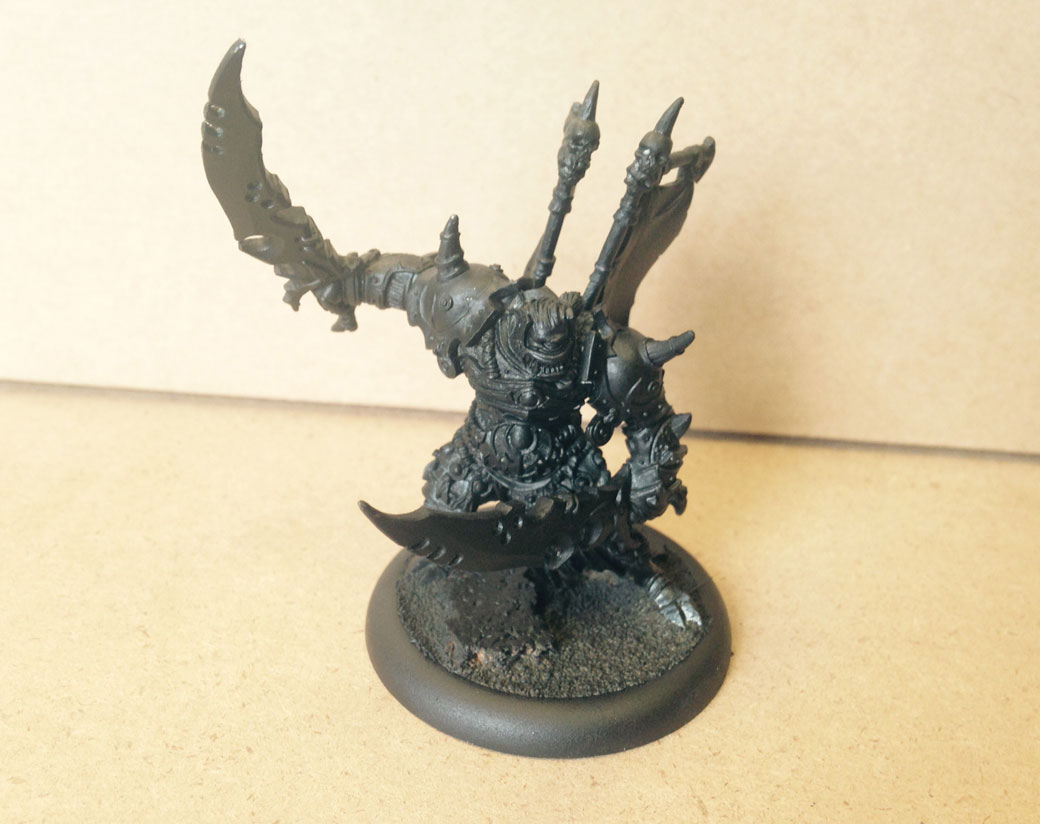
2. I painted all of the armor areas with Brass Balls (yes even the areas that will be red) and the swords and other steel areas with Quick Silver.
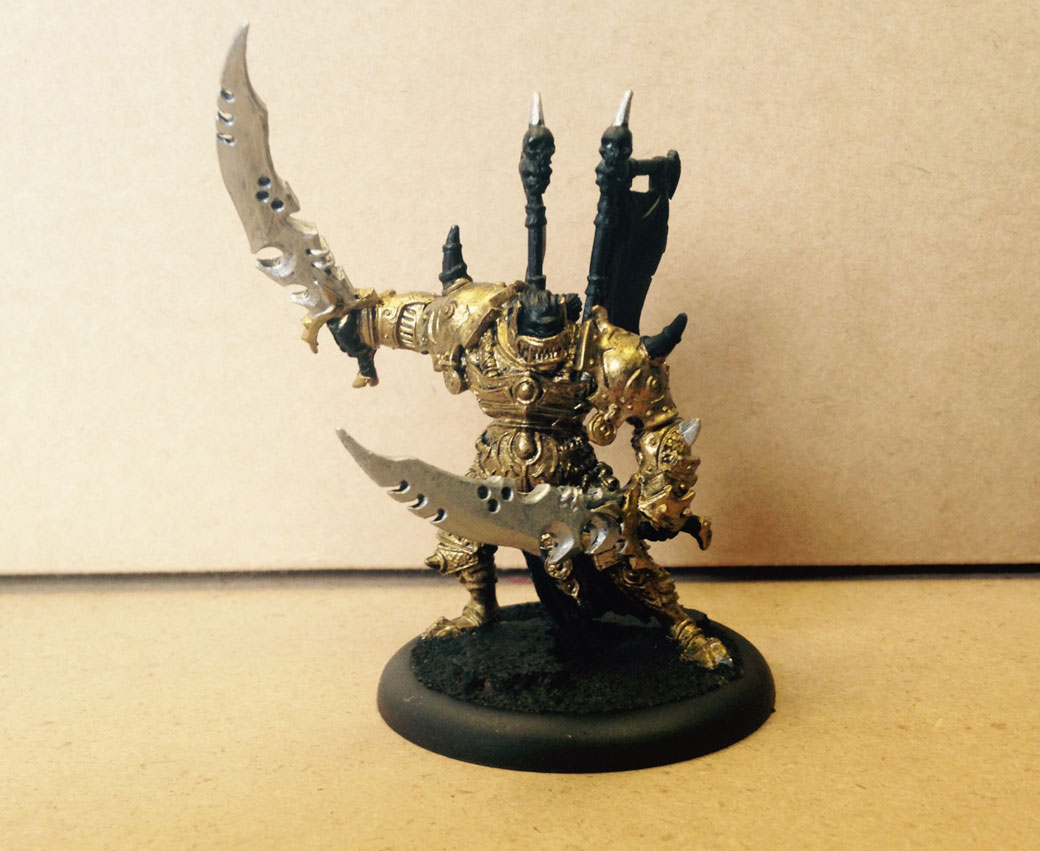
3. I inked all of the brass areas with a mix of Red Ink, a dab of Skorne Red, and Armor Wash.
4. I went back over areas of the armor I wanted to be entirely red with a mix of Red Ink, Skorne Red, and floor shine.
The floor shine takes a while to dry, so I usually save that step for the end of my painting day to let it dry overnight.
Day 2
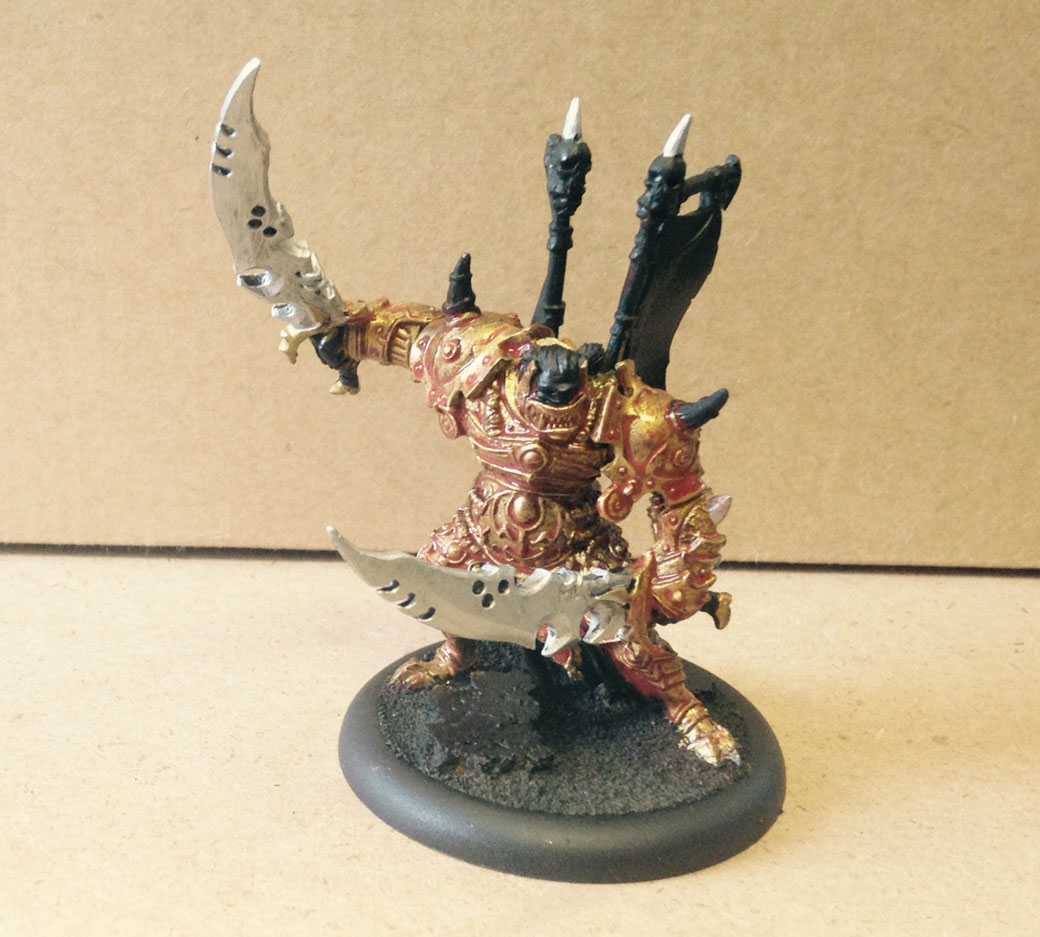
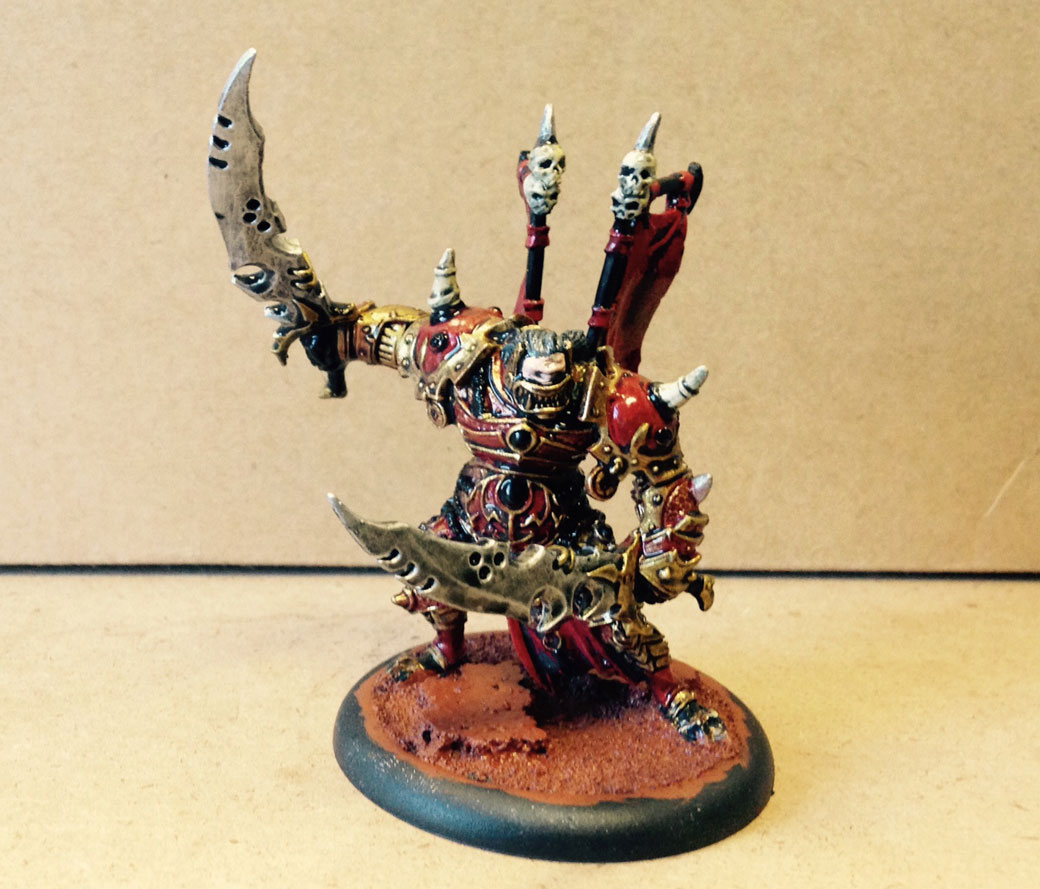
1. I used Brass Balls to paint over areas of the armor I wanted to be gold.

2. I painted the base with Bloodstone, the banners and cloth areas with Skorne Red, the skin with Ryn Flesh, the skulls and spikes with Menoth White Base, and the ropes, tassels, gems, and gloves with Thamar Black.
3. Here is where the magic happened. I mixed Turquoise Ink, Red Ink, water, and floor shine to make a black wash, and I applied it to the entire model. Then I put my brushes away and let the model dry overnight.
Day 3
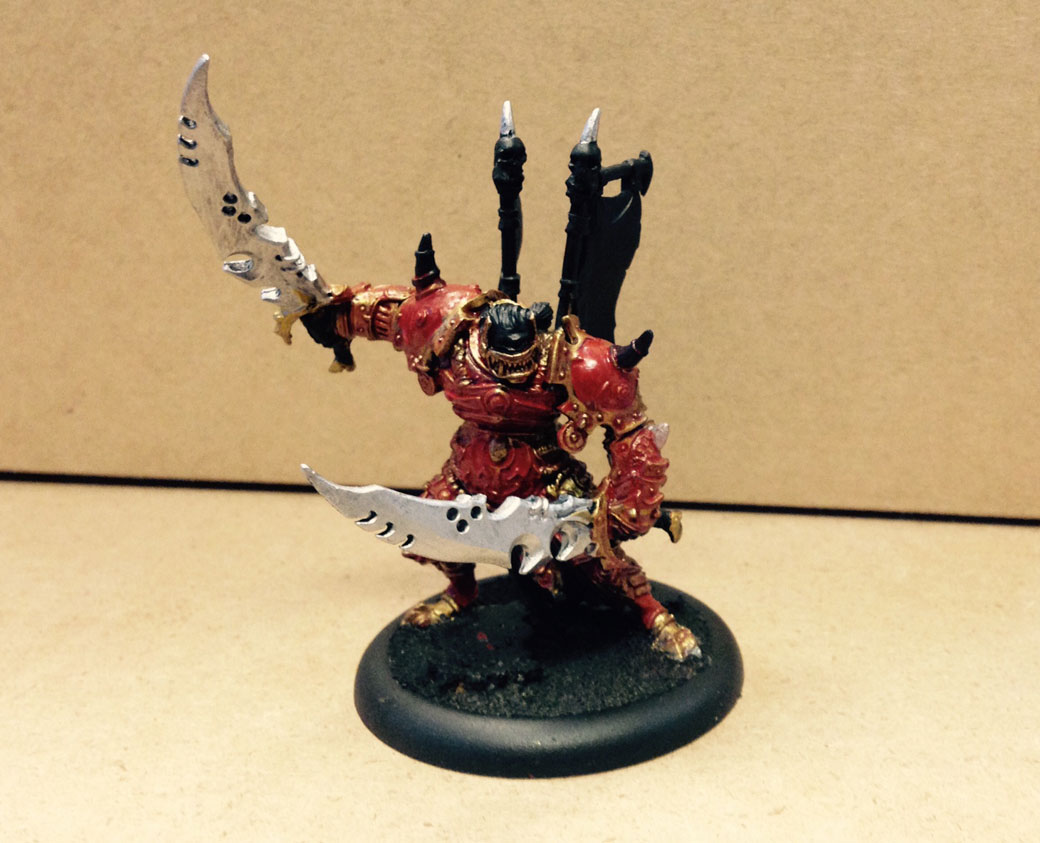
1. Because the model is much darker now as a result of the wash, I used the basecoat colors to highlight key areas of the model. Then I drybrushed the base with Rucksack Tan and then again with Moldy Ochre and cleaned up the base with Thamar Black.
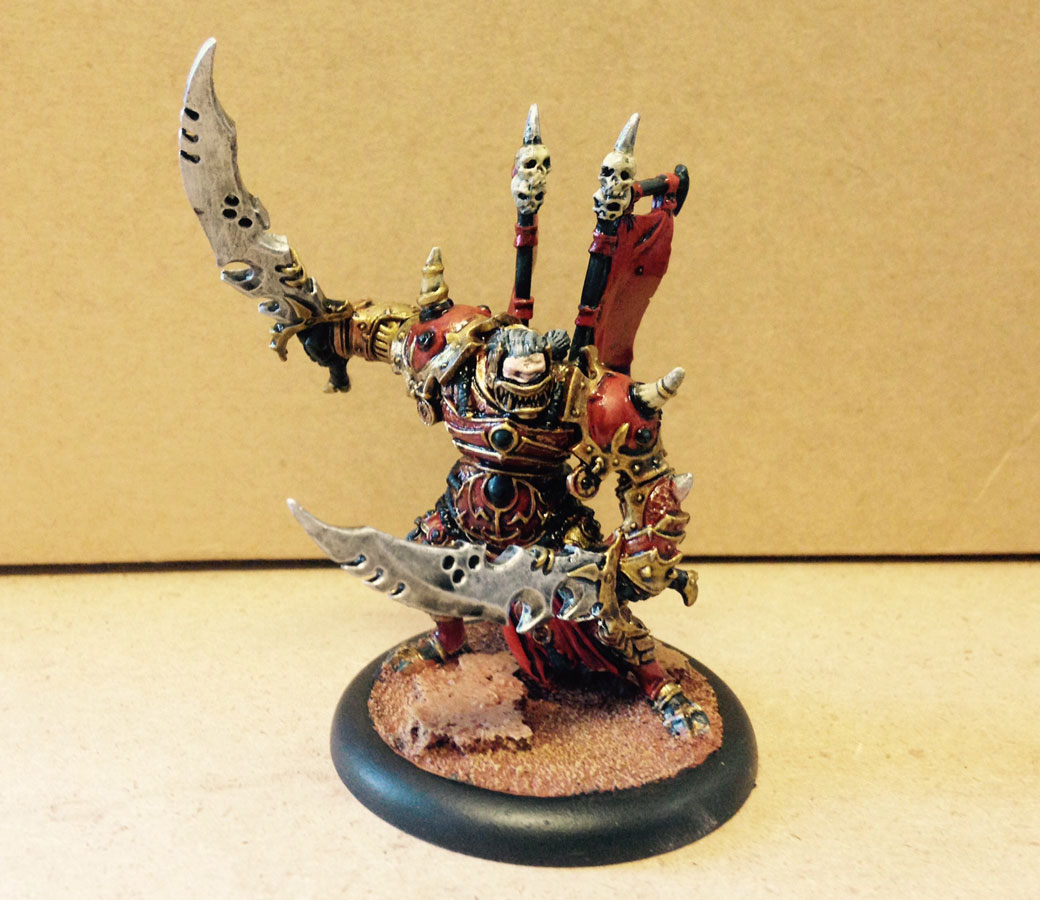
2. I painted a few more details like the eye and highlighted black areas with Coal Black. Then I sprayed the whole model with a matte varnish, and there you have it: a fully painted Molik Karn in less than three hours.
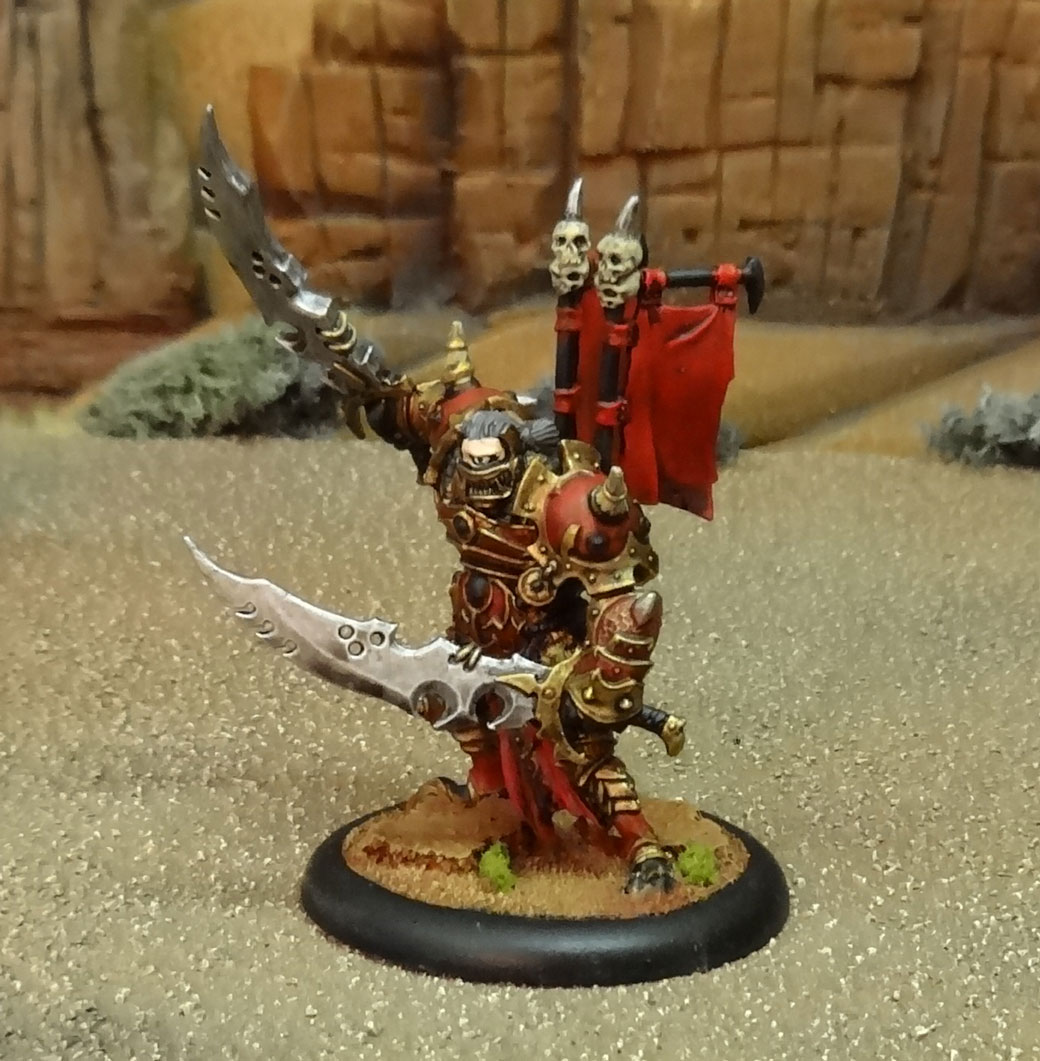
I am very excited to have added another warbeast to my growing Skorne army, and I hope you picked up a trick or two to help you get your armies fully painted and on the table!