
Insider 4-13-2015

As a photographer as well as a graphic designer, I handle the photography for pretty much everything Privateer Press makes. One of the fun things I get to do as a photographer here is put together the model photos for WARMACHINE and HORDES product packaging. These may look like straightforward photos of models on terrain, but a great deal of Photoshop work goes into each and every one. Today, I’d like to show you how a box shot comes together. For an example, we’ll take a look at Khador’s newest, meanest warjack, Ruin.
I try to establish a unique setting for each faction when I create its box photos. We have loads of terrain to choose from, thanks to Privateer’s awesome terrain builders. Normally I would use a snowy atmosphere for Khador, but I want the warpwolf pelt to really pop so I’ll opt for a lush green forest and dark blue sky. After gathering together a rocky piece of terrain, a Khadoran fortress, and some trees, it’s time to get to work framing the shot.
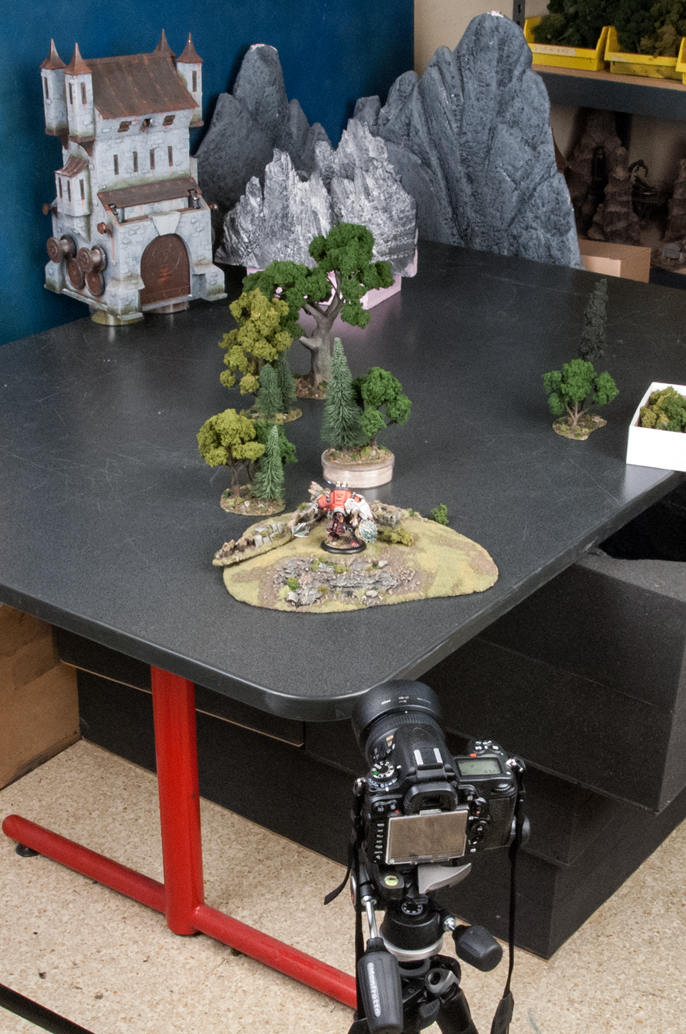
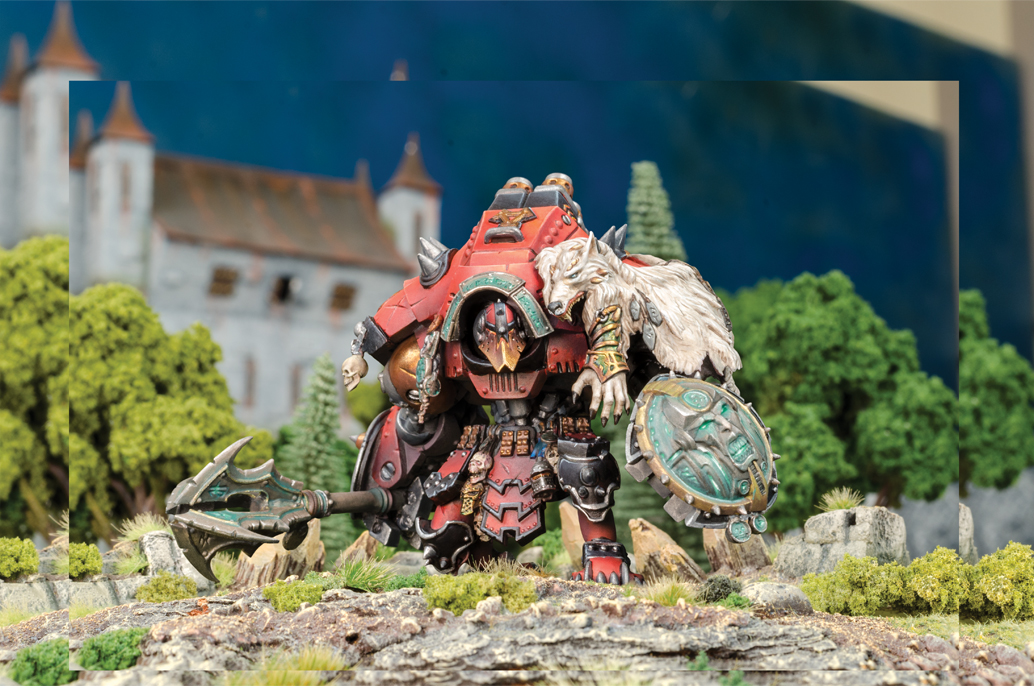
First, I set up the camera and start putting everything in place. The terrain looks very different through the camera lens, which can make setup a bit difficult. I like to shoot these from a low angle to present the models as if they were life-size. Ruin looks especially menacing from down here!
Now that everything is placed and the lights are set up, I can start shooting. It’ll take some trial and error to get the lighting, exposure time, and depth of field where I want it, but the result will be worth the effort. Our painters do an incredible job, and I want to make sure these models look as good in two dimensions as they do in three. Once I get the right photo, it’s time to shoot the terrain by itself.
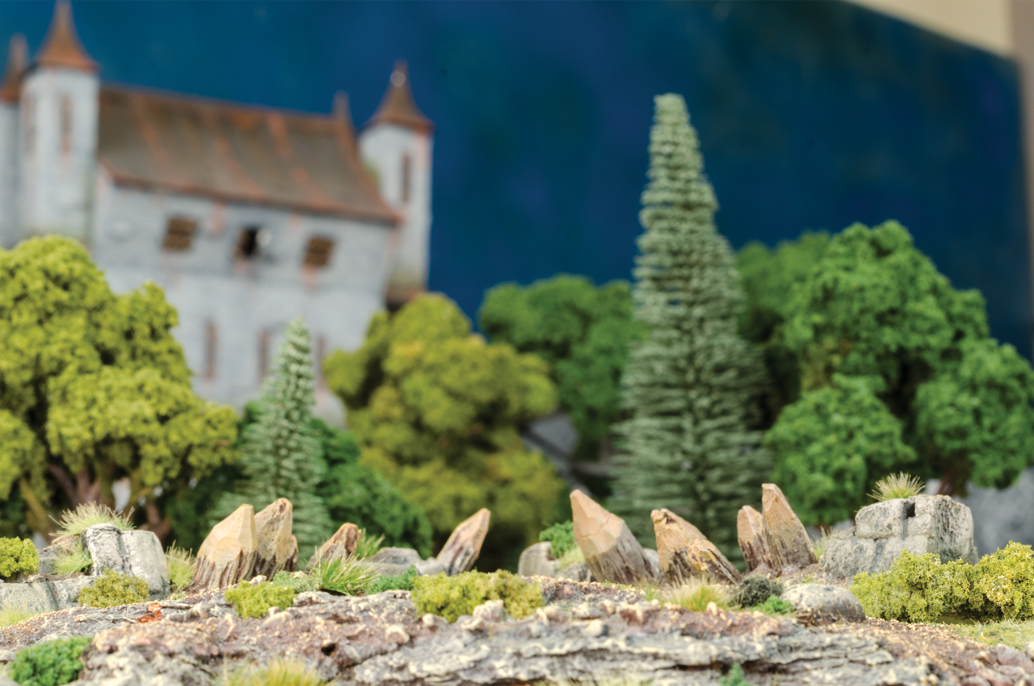
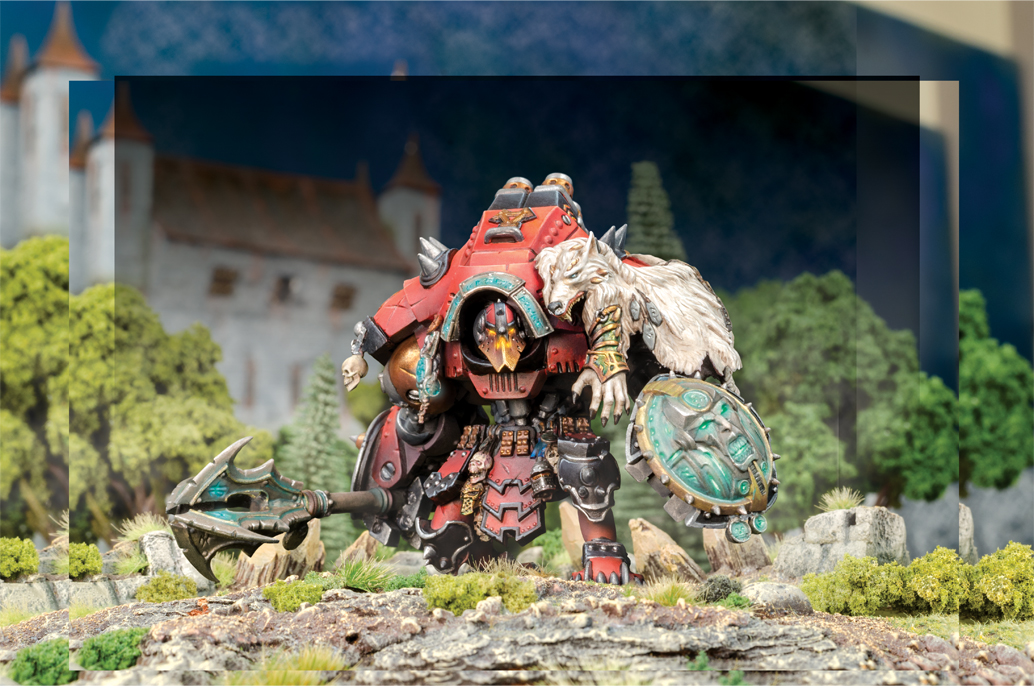
I don’t want the model’s base to show up in the final image, so I need to Photoshop it out. Because the base adds height to the model, shooting a separate photo of just the background allows me to move the model down onto the terrain without having to fill in the background hidden by the model in the original photo. I use a layer mask to clip out Ruin, move the model down a bit, and shrink the background to get the framing I want. Here’s what I have so far:
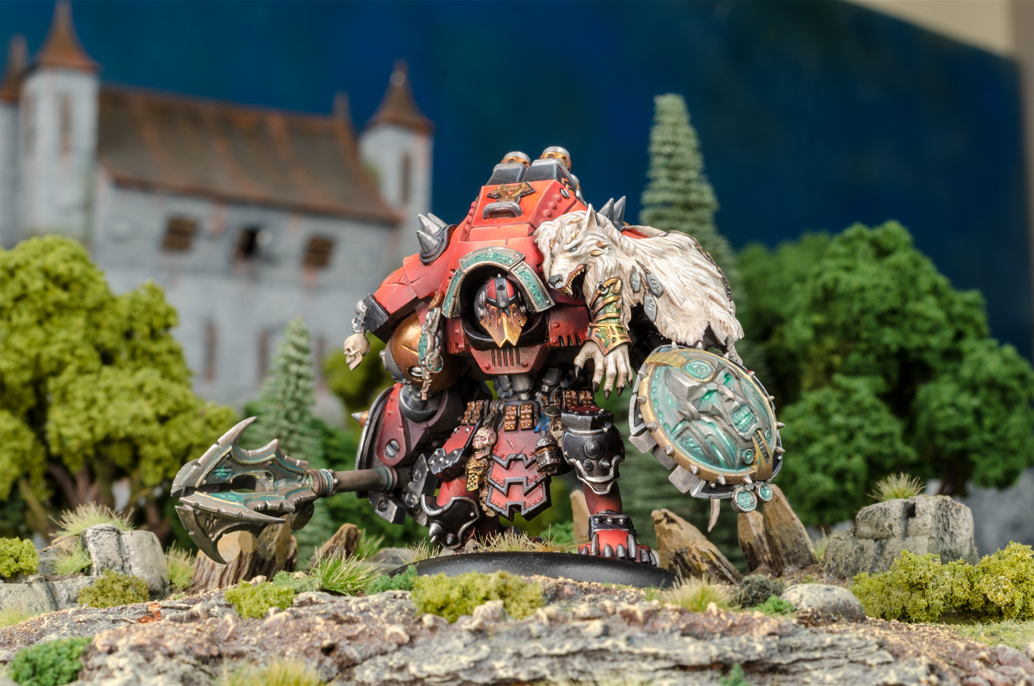
This is looking pretty good, but I want Ruin to stand out a bit more. I’ll darken the sky, add atmospheric effects, adjust the contrast and saturation, and introduce glow effects to the model.
The last step is to fit this image onto the front of the box. This can be tricky because the area reserved for the cover photo is smaller than the original photo. Luckily, Ruin fits quite nicely in the allotted space and the terrain adds color and texture around it. I create an extra layer over the top to get the stacks and the Black Iron Mace to pop out of the frame, and we’re done!
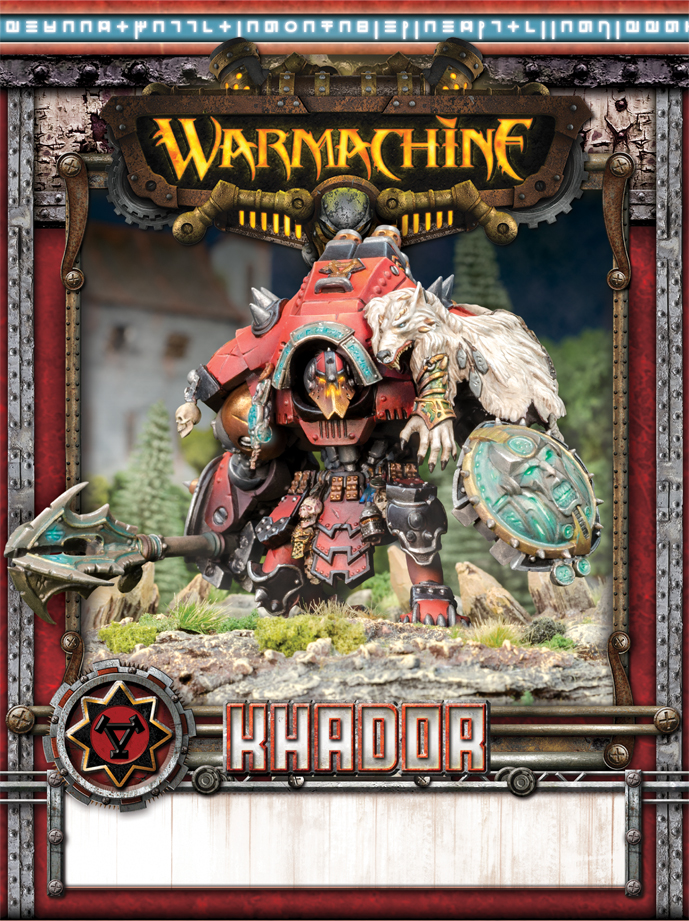
I’m quite pleased with the way Ruin turned out, and I hope you all enjoy the finished photo as well. I’m already looking forward to finding out what the next subject will be for tomorrow’s photo shoot here in the P3 Studio.
![]()