Hellboy: The Board Game – Exploring & Encounters

Welcome everyone to another of our thrilling entries exploring the intricacies of Hellboy: The Board Game. Just in case you’re still catching up, we’ve already covered: Agent Cards, Case Files, the HQ Board and Deck of Doom… phew, that’s a lot of stuff and we’re not finished yet. Today we’re talking about how you explore the board.
Back in the early days of development we always knew that we wanted the board to grow as the players explored the location. After all, the BPRD agents often don’t know the exact location of their target and end up taking unexpected twists along the way (often through the floor too). As a result, when you’re playing the Hellboy game, the playing area will change along the way.

Work in progress. Subject to approval.
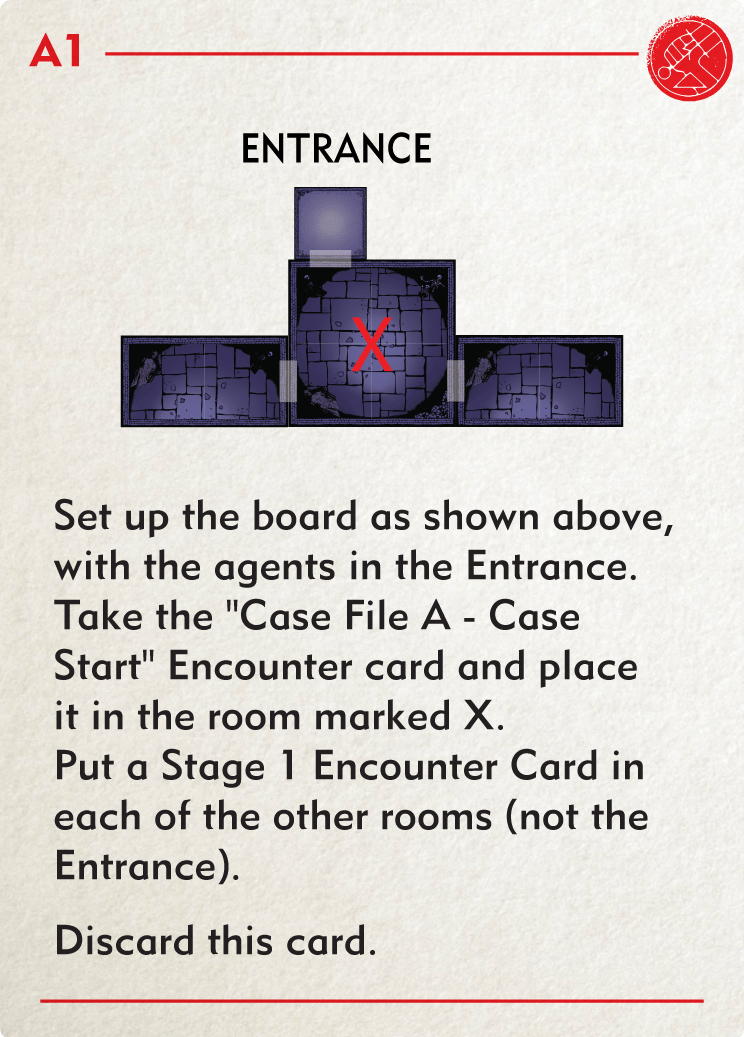
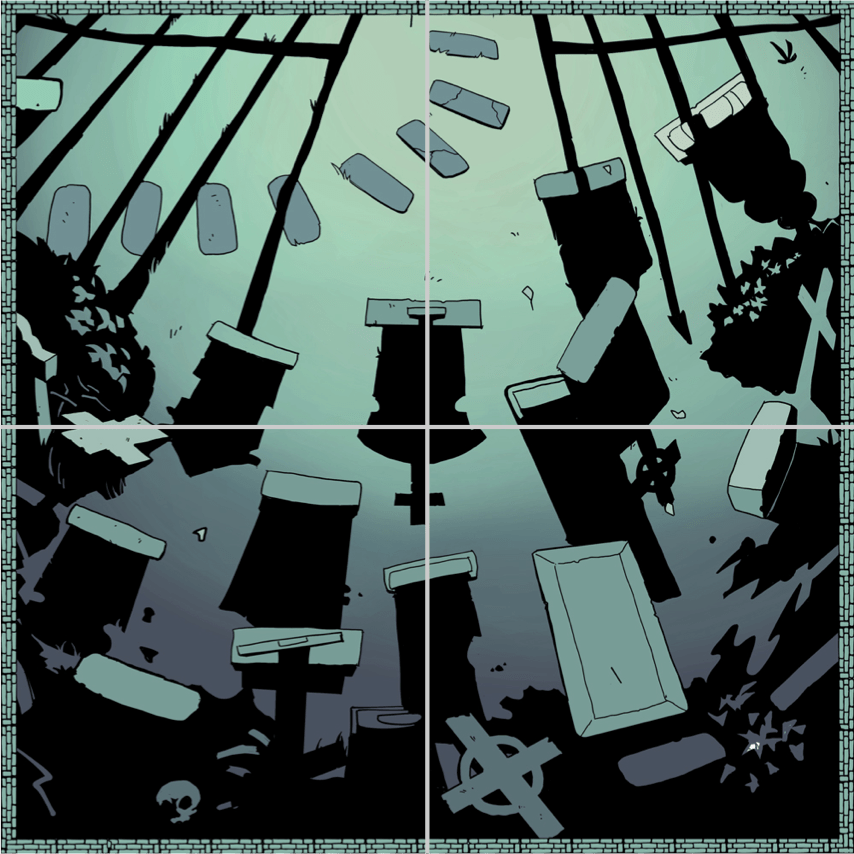
The initial set up is dictated by whatever Case File (remember those? Keep up, we only talked about them the other day) you’re playing through. This will show you what tiles to place and which way to arrange them. Taking a closer look at an example tile above (please bear in mind this is still work in progress so could change) you’ll see it’s split into four areas.

Work in progress. Subject to approval.
But why is the tile split into four areas? Well, fret not dear reader because we’re about to tell you. There are actually a few reasons for the split. Firstly, and perhaps most importantly, the areas show how far you can move. Agents can move up to two areas (orthogonally or diagonally).
Secondly the areas dictate which enemies you can attack. An enemy that’s in the same area as an agent can be attacked with a Fight action. Whereas an enemy that’s in a different area must be shot at with a Shoot action. What’s more, in order to interact with a Clue or Point of Interest you’ll need to be in the same area.
ENCOUNTER CARDS
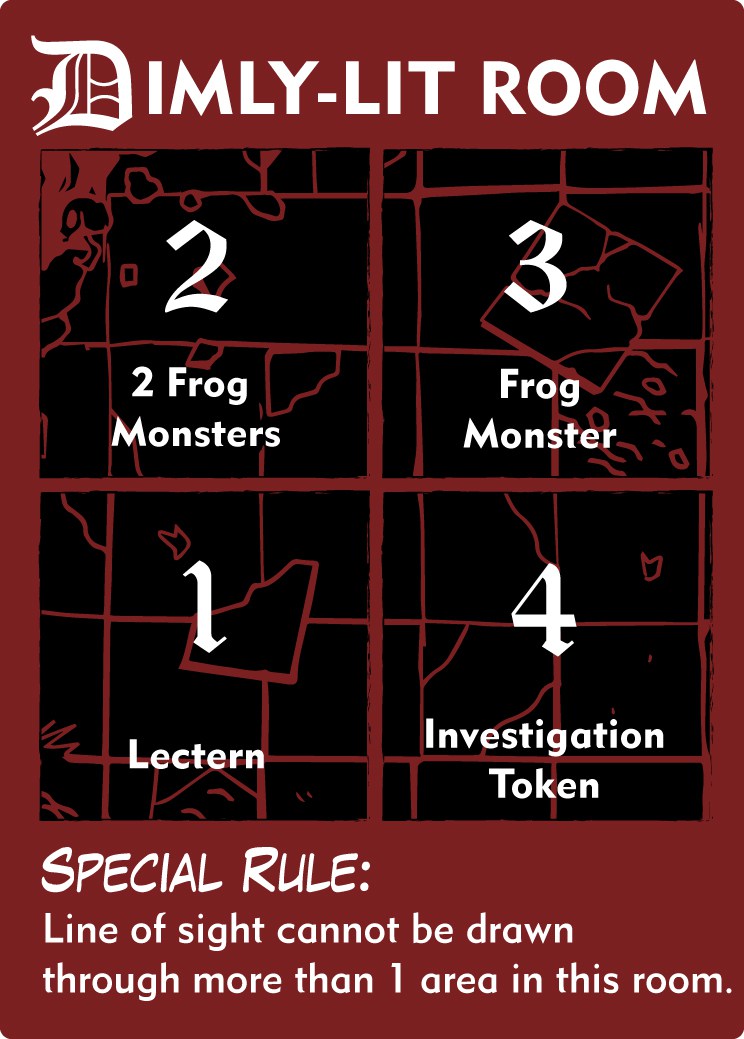
However, the most exciting element about the split is that it’s used to dictate exactly what you’ll find in the room. You see, each unexplored room has an Encounter Card placed face down inside it. When you first enter the room you flip the card to reveal what’s inside. There will then follow a moment of suspense as you check what’s inside.

Work in p… you know the drill by now!
Each Encounter Card has four elements, each of which might contain nothing, or some enemies, or some scenery, or some Investigation Markers. These are all set up in the newly explored room.
You then place the first element in the area closest to the agent making the action, then go clockwise around the room. In a 2-area room, the first and third elements are in this area, and the second and fourth are in the other.
The Encounter Deck is split into Stage One, Stage Two and Case Start encounters – this determines the rough order they’ll appear in, but the exact order is random. As you explore you’ll be placing the Encounter Cards down to determine what’s in each room. However, the great thing about this is that the exact order is random. So even if you’ve played a mission before, the order of the encounters can be entirely different, which could make for a very different gameplay/tactical experience. This means the replay value of even just the core game is fantastic.
So, there you have a quick run down of the Encounter Cards and how you explore.
REMEMBER, THE HELLBOY KICKSTARTER LAUNCHES ON APRIL 25th. HOPE YOU’VE ENJOYED ALL THE PREVIEWS SO FAR. WE’VE GOT TWO MORE THIS WEEKEND TOO. AGENT ACTIONS WILL BE HANDLED BY JAMES ON SATURDAY AND WE’LL BE BACK ON SUNDAY TO TALK DICE MECHANICS.
The post Hellboy: The Board Game – Exploring & Encounters appeared first on Mantic Blog.
