Building a Test of Honour Battlefield
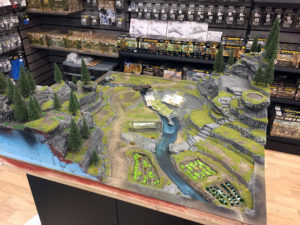
Warlorder Rich C crafts a detailed Test of Honour battlefield for the Warlord HQ store!
From Sketch to almost complete – just in time for Warlords open day 2017!
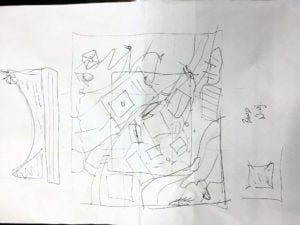
RichC: Test of Honour is a firm favourite here, right from word go during playtesting with Andy and Grahame the cinematic scope of this game was huge. With so much inspiring imagery to work with, it was all about what theme we wanted for the battlefield in the HQ store. Then came the bandits and brigands and the idea developed for a mountain village attack. Starting with sketches to firm up in my mind what I was after and it was time to set to work…
Step one… after the sketch
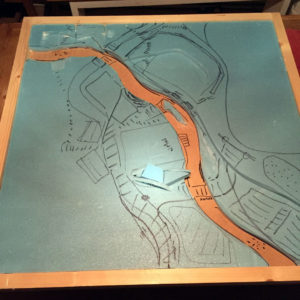
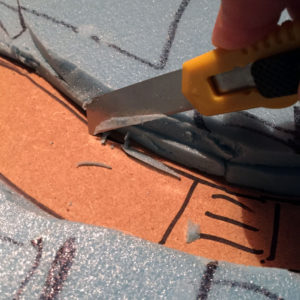
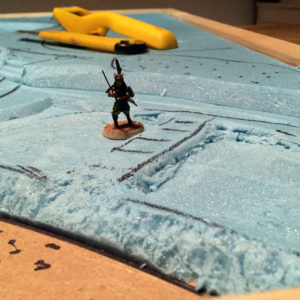
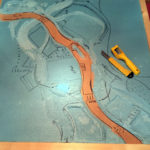
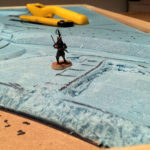
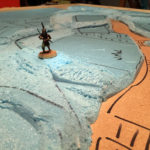
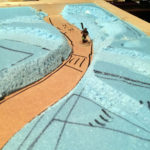
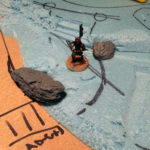
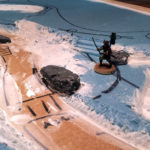
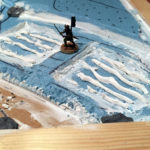
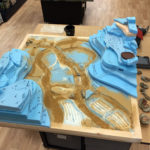
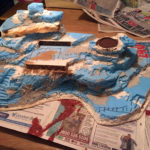
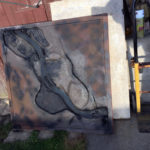
I set to work firstly by cutting a 900mm x 900mm 18mm thick MDF board with batons glued and screwed into place to protect the edges. I cut a sheet of firm Blue foam to size and cut the river shape. Then using a figure for scale I quickly cut some basic detail to give me a feel for scale.
Step 2… shaping
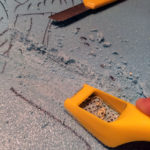
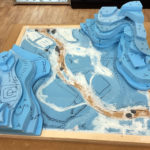
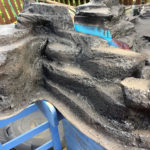
Using a rasp I followed my marked lines to develop texture and shape. Having a model to hand makes it much easier to scale correctly. I also made sure the buildings I was planning on using would fit as well.
Step 3… filling
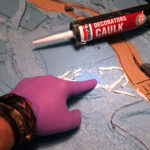
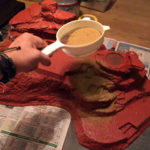
Now we get messy. Up till now, everything was loose & not yet glued – using no more nails or similar instant grip glue in dabs or thin lines prevents any warping that might occur (and it’s far quicker than PVA) I glued pieces into place then moved on to fill any gaps. You can use various fillers. If I use a polyfiller/plaster type I will always mix in some PVA to provide extra ‘stick’ and flex to prevent cracking but I also use a builders caulk as it can be sanded and is also quite flexible with the different material being used. use a glove and smear it well into the cracks and use a little water to blend it back into the top surface.
Step 4… first texture
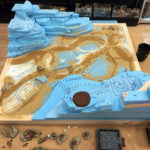
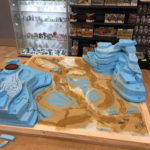
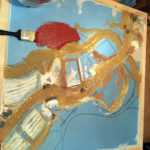
I like to add a little sand at this point (a) to fill gaps & (b) to help me visualise what my final look will be. a layer of watered down PVA 50/50 mix and a sprinkle of sand through a sieve.
Step 5… painting the base layer
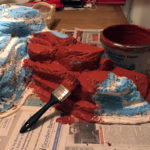
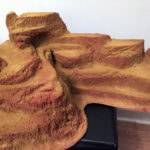
Using a textured paint in as a base coat will help key further layers later and allows you to spot what you miss. I also take the opportunity whilst the paint is still wet to add more texture with a layer of sand. Of course the same steps also then happen with any placed terrain like the 2 mountainsides that will add the hight to the table.
Step 6… painting the board
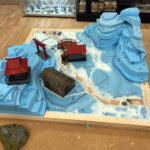
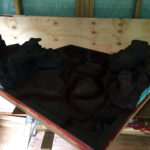
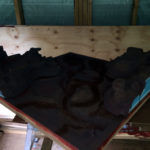
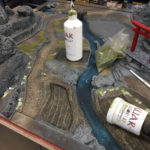
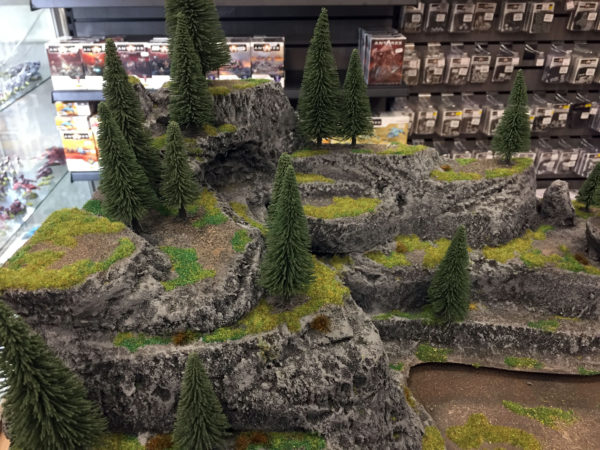
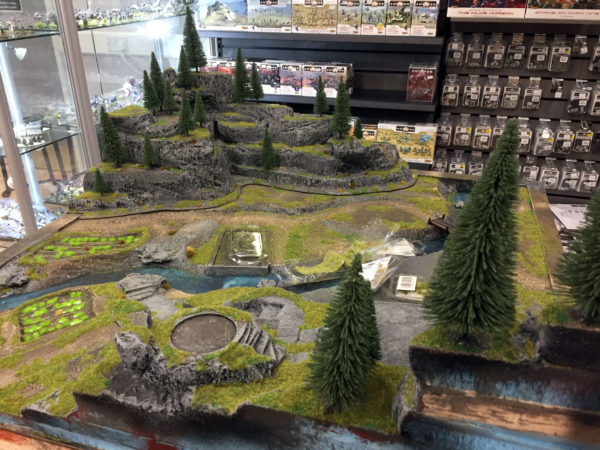
Looking at the terrain I wanted a dark volcanic look so painting in layers – firstly black, then add blue followed by a heavy drybrush of grey then lighter grey. A rich red/brown for the soil works well. For a little blending, I cheat with a few sprays as well of a similar colour and finish with a light drybrush. this step can be quite rough as we’ll move onto flocking next.
Step 7… get flocking!
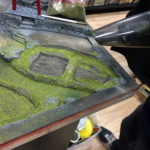
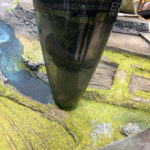
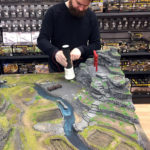
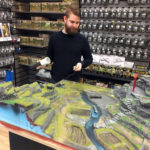
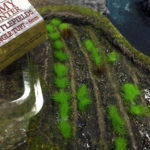
War World Scenics come in at this point with a lovely little machine, glue and various static grasses. The static grass applicator is ideal for larger areas and, with the help of a visiting customer (thanks Jakob ;)), you can rattle through a whole battlefield in no time. It can be good to work in patches of slightly different shades or even blend shades of different grass in the applicator its self (The Terrain Tutor has some great advice, if you want to find out more head here: The Terrain Tutor). Don’t forget to vacuum up the grass and reuse it to get the most out of what you have.
I also leave gaps for the trees which can be added with a good glue or a hot glue gun. Be sure to mess around with the trees positioning if they’re going to be fixed in place, find what looks best to you by looking at the layout from all angles and picture your samurai or bandits working their way through the mountains…
Step 8… add detail
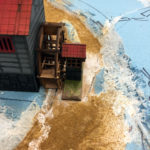
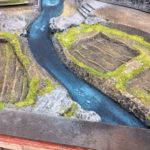
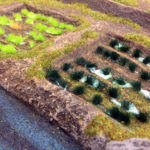
Both War World Scenics/Warlord tufts & materials get used here as well as some Army Painter tufts (Trees supplied by Arcane). & dot of glue will help the tufts survive the rigours of daily combat in the shop! There is a point to remember here in that we’re trying to balance the aesthetic look with the fact we’ll be pushing our lovely samurai models around on the table and we don’t want the balancing on top of tufts everywhere… aim to tuft areas less trodden – banks of rivers, paddy fields, edge of slopes etc.
Finale
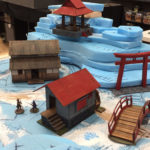
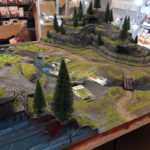
There you go, one Test Of Honour Battlefield ready to go! you can keep adding detail whenever you like from this point but we say it’s ready for battle and you can pop in and have a game on this table in the Warlord HQ store any time! We hope to see you soon and perhaps you can help build the next table we’re working on for Bolt Action…
Test Your Honour
More Test of Honour!
The post Building a Test of Honour Battlefield appeared first on Warlord Games.


