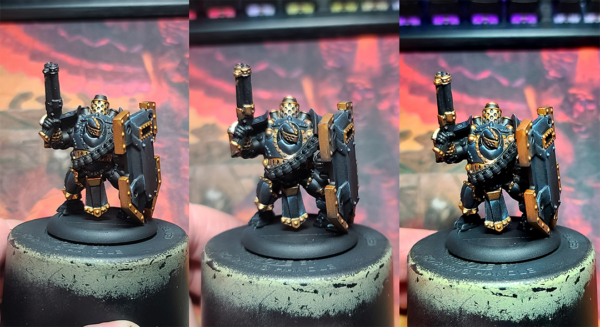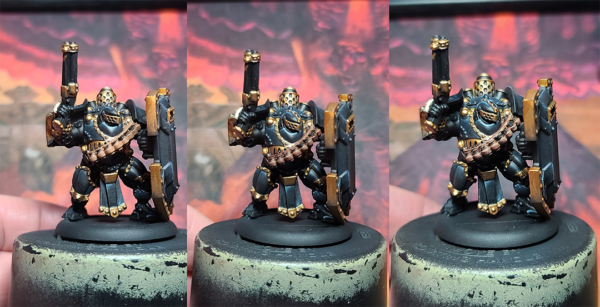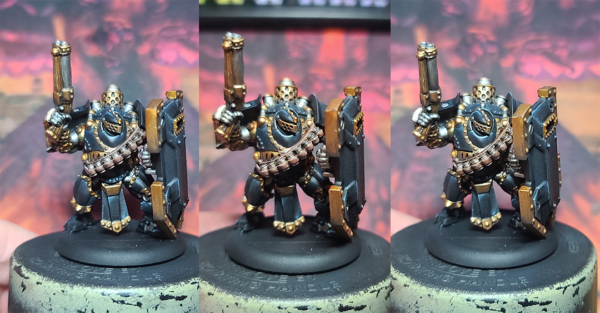
Black Dragon Bulkhead
by Charles Foster III
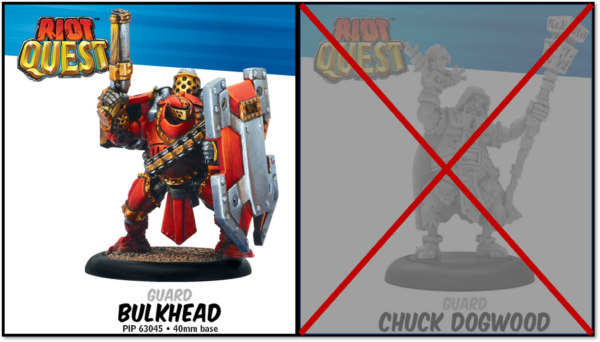
Last week, we launched a painting adventure with the Riot Quest models. In the weeks to come, I hope to completely paint all the models in the game. So, I posed to you readers two important questions: the first was to ask in what style you’d like to see me paint the models, and the second was to see which model I should start with.
The votes are in, and the winners are:
And there you have it! Overwhelmingly, you chose Alternative Color Schemes and to start with Bulkhead. So, let’s go!
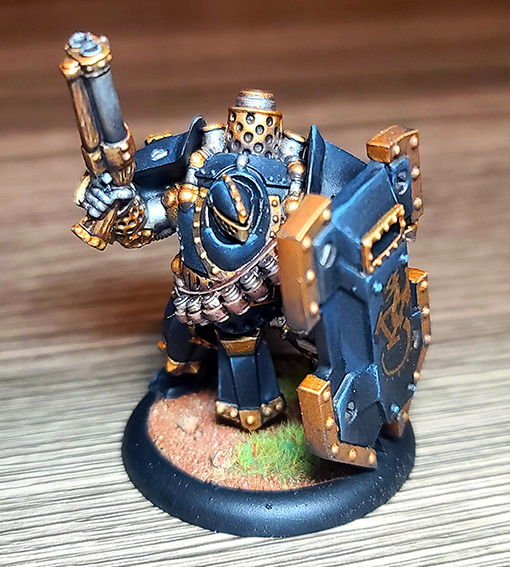
Had to mull this one over quite a bit, but in the end, I decided we needed a Black Dragon Bulkhead!
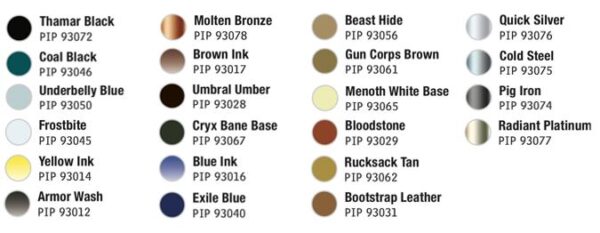
Here is a list of the colors used in today’s Insider:
Prepping the Model
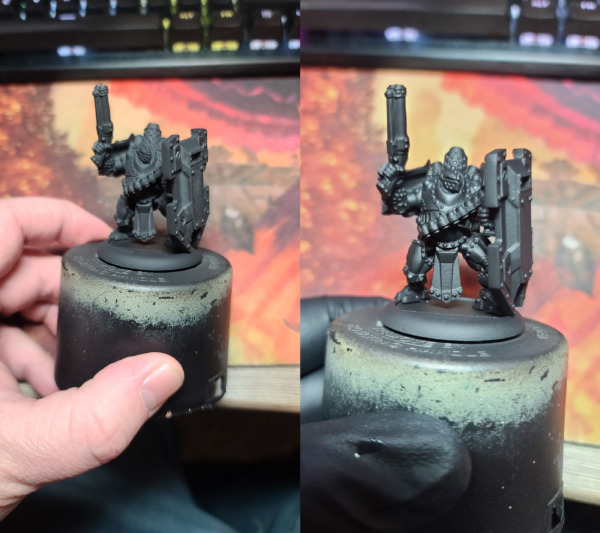
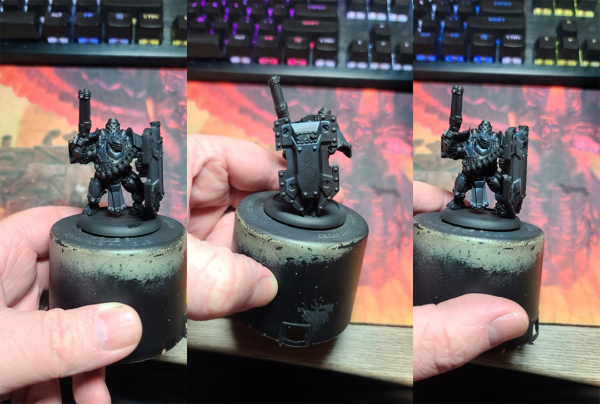
Since we’re going with a dark scheme on this one, let’s start off with black primer. Once we have good coverage, we can lay down a quick base layer using Thamar Black. And since we have a great starting point after that, we can start by working on the armor.
Black Armor
Step 1) I started with a Mix of Coal Black and Exile Blue plus a small amount of Thamar Black and used this color to apply some broad highlights. I used a ratio of 3:2:1 Coal Black: Exile Blue: Thamar Black.
Step 2) For the next layer, I added a little bit of Underbelly Blue to the previous mixture and applied a small number of highlights to the highest raised areas.
Step 3) For the final highlight, I added a little bit of Frostbite to the previous mixture and went for the highest and brightest areas. Be very careful with this color, as it can easily overpower your previous work.
Note: During this step, the more Thamar Black you use, the darker the armor will look. If you get too much of a blue hue showing up, feel free to use a bit more Thamar Black to blend a little more shade into it.
With the black armor done, we’re ready to move on to the yellow metals.
Yellow Metal
Step 1) Start by taking some Molten Bronze and adding a drop of Brown Ink. I used a 4:1 ratio of Molten Bronze: Brown Ink.
Step 2) Let’s add some shade by mixing Umbral Umber, Cryx Bane Base, and a drop of Armor Wash. I go with a 3:2:1 ratio of Umbral Umber, Cryx Bane Base, and Armor Wash. I use a little bit of blending where I can work it in, and for the rest, I focus on any area I think should be just a bit darker, such as under rivets and in the folds of the armor.
Step 3) This is the perfect time to reclaim some of the areas where the shade gets away by using regular Molten Bronze. Use this as a highlight to really bring the areas to a nice-looking yellow hue.
Step 4) After using Dullcote to seal the model we will return for the final highlight: we want to mix a little Molten Bronze and some Radiant Platinum. Apply this highlight only to the highest edges and raised areas.
Before we head into the white metals, I am going to take care of the leather and wood grain effects.
Leather
There’s a rather large ammo pouch over the center of the model, and it will be much easier to paint the leather before we paint the ammo.
Step 1) Start by painting a solid basecoat of Bootstrap Leather.
Step 2) Mix in a small amount of Brown Ink with the Bootstrap Leather to make a nice brown wash. Apply this on the lower areas of the ammo. I tried to leave a little Bootstrap Leather showing through the wash to separate the shade and highlights later.
Step 3) To really make the leather pop, take a little bit of Thamar Black and mix a few drops of Brown Ink in. I tried for a 1:3 ratio of Thamar Black: Brown Ink.
Step 4) Add a highlight by mixing a 1:1 ratio of Bootstrap Leather and Beast Hide.
Woodgrain
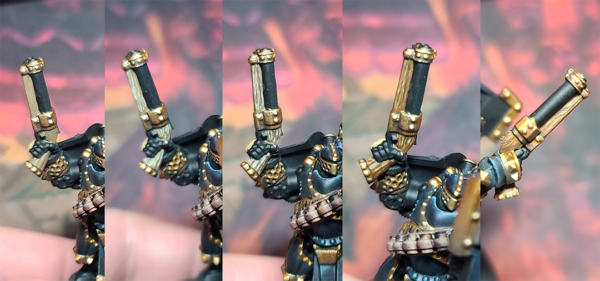
With the leather ammo pouch taken care of, let’s go ahead and knock out the woodgrain on the gun stock.
Step 1) Lay down a nice even basecoat of Gun Corps Brown.
Step 2) Using Menoth White Base, we want to go in and paint texture lines.
Step 3) To really add in some definition, I go back and add some lines with some Umbral Umber. Make sure not to go over any of the areas of Menoth White Base and to leave some areas of Gun Corps Brown showing.
Step 4) Mix Bloodstone, a drop of Yellow Ink, and some Brown Ink in a 3:1:2 ratio. With this color, we add a glaze across the woodgrain to make the colors pop.
Step 5) To really bring the woodgrain to the level I’m looking for, I’m going to add a single drop—if not just a half-drop—of Blue Ink to the previous color. Be careful when adding the Blue Ink; P3 Blue Ink has strong pigments and can quickly overpower the previous color. Once mixed, apply a final shade to the deepest recesses in order to finish the wood effect.
White Metals
Step 1) Start off with a nice basecoat of Pig Iron. I usually do two thin coats to make sure I get solid area coverage.
Step 2) For the first shade, I mix some Molten Bronze with a very small amount of Brown Ink in a 4:1 ratio. I take this color and add the first layer of shading.
Step 3) To make the shadows stand out, I mix Umbral Umber with Exile Blue and a small amount of Blue Ink in a 3:3:1. Apply this color to the deepest recessess and shadows only.
Step 4) Use Cold Steel to add your first layer of highlight.
Step 5) Finally, after using Dullcote or your sealer of choice on the model, add a final highlight of Quicksilver on the raised edges and highest highlights.
Black Dragon Logo
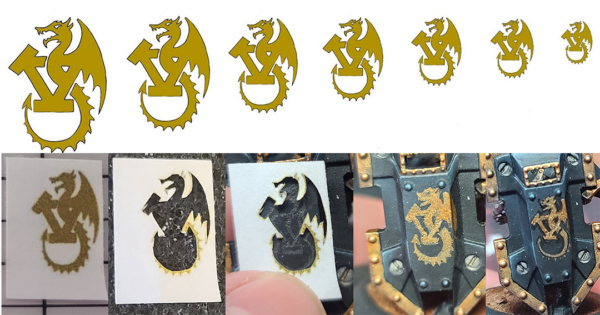
Now to really take the model up to the next level, we need to add in the Black Dragon Logo to the shield.
Have you ever had one of those really good ideas on paper and when you try to actually execute on it, it fails? Well, I should totally not be allowed to freehand models without a lot more practice. In my head, I thought this is going to be super easy. To reiterate: in my head.
Step 1) I will just use a stock image of the banner (No Quarter #40, p. 34), remove the background, and ink the lines on the outside before scaling it down to the appropriate shield size.
Step 2) I will then cut it out and stencil it onto the shield with a mechanical pencil.
Step 3) Next, I’ll use the Molten Bronze with Brown Ink to fill in the colors.
Step 4) And finally, I’ll use Thamar Black to make any necessary corrections (as it’s the same color as the base color of the shield), and tah-dah! We should be good to go.
Well, when I cut it out and stenciled it on, I forgot I’m still pretty much a newbie at painting and art. When I stepped back in and looked at it, it made me think I was trying to order the Wish version of the banner. I cleaned it up the best I could, and while I think it turned out all right, I’m definitely going to add “freehand” to the list of things I need to work on.
Basing
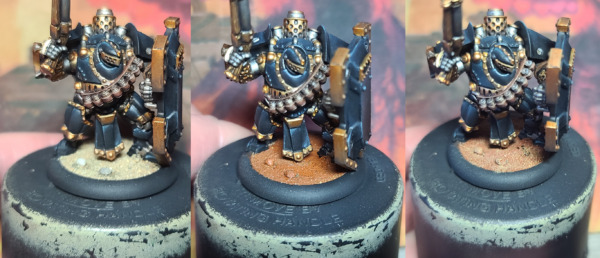
Step 1) Add in sand and ballast with Elmer’s white glue and let it dry completely.
Step 2) Water down a bit of Bloodstone and apply across the base material to let it soak in.
Step 3) Once it’s dry, I drybrush on a little bit of Rucksack Tan.
Step 4) I drybrush on one final highlight of Menoth White Base.
Step 5) Glue on some static grass.
There you have it! Black Dragon Bulkhead is now ready to join the fray in my next Riot Quest or WARMACHINE game!
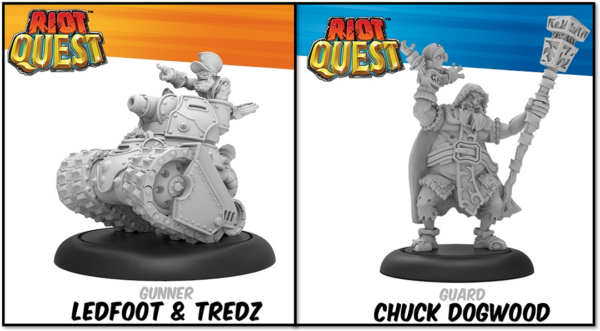
With so many Riot Quest models to go, it’s still too hard to choose. Sooooo… let’s do another poll:
Which Model Should I Paint Next?
See you next time, painters!
The post Black Dragon Bulkhead appeared first on Privateer Press.


