

Battle Plans
An X-Wing (TM) Turn Zero Article by 2013 World Champion Paul Heaver
“The Empire doesn’t consider a small one-man fighter to be any threat, or they’d have a tighter defense. An analysis of the plans provided by Princess Leia has demonstrated a weakness in the battle station.”
–General Dodonna
In his “Turn Zero” articles, reigning World Champion Paul Heaver offers a look at one of the most critical components in mastering the game of X-Wing™… getting started.
Previously, Paul explored the importance of asteroid placement and of determining how best to place your starships at the start of your game. Today, Paul continues his exploration of the important decisions that you make in every match well before the first shots are fired and the first defense dice are rolled…
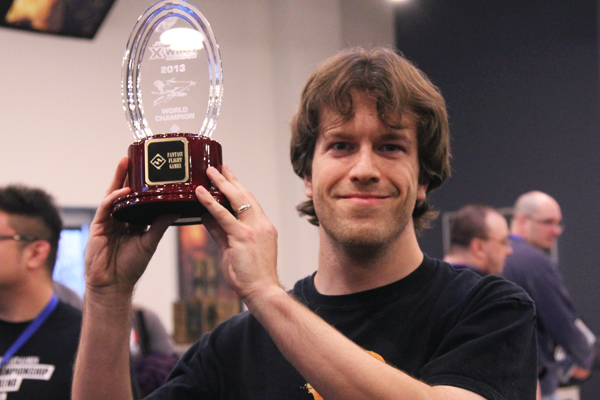
2013 X-Wing World Champion Paul Heaver
2013 X-Wing World Champion Paul Heaver on Forming a Battle Plan
Welcome back to “Turn Zero”! In this edition, we’ll look at how to form a plan for victory.
There are multiple steps to consider, starting with one that you can begin days or even weeks before an event begins:
Step One: Study the Metagame
The first step in your tournament preparation is to analyze the current metagame. For example, as I prepared for tournaments toward the close of FFG’s 2014 Store Championship season, Rebels had posted more wins than Imperials, primarily with a variety of four-ship builds. Usually, these utilized some combination of B-wings and X-wings.
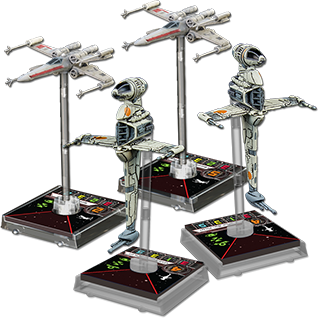
Squads of two X-wings and two B-wings are common at tournaments.
Five-ship Rebel builds were also seeing some popularity, and builds that utilized Chewbacca plus two other fighters were still going strong.
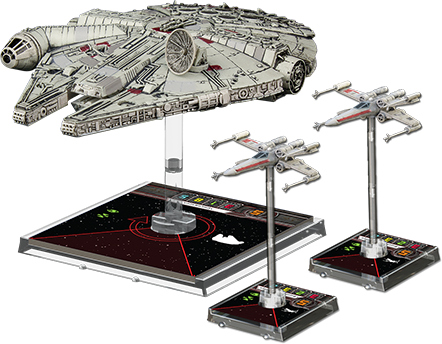
Chewbacca remains a popular addition to squads with two X-wings.
On the Imperial side, the TIE swarm still reigned.
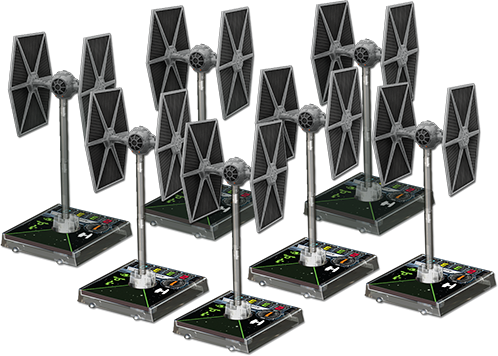
The TIE swarm is still as every bit as effective as it is intimidating.
Sometimes, a shuttle replaced two of the TIE fighters. After the swarm, I saw Imperial builds that used three Bounty Hunters, or two Bounty Hunters and another ship or two for support.
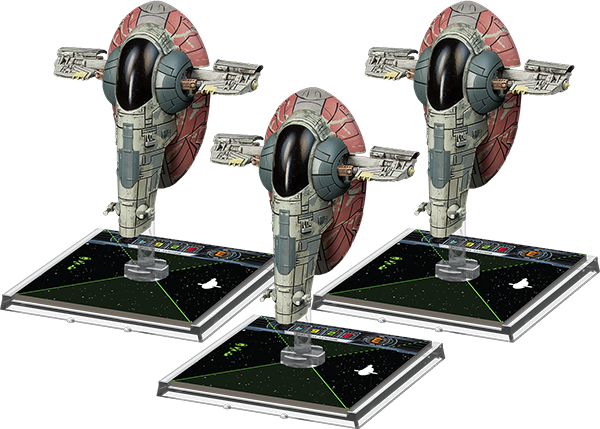
Squads of three bounty hunters use the Firespray-31 to great effect.
All told, as I planned to head to tournaments toward the end of the Store Championship season, I expected most people at my event to be running lists that could be placed into one of the major archetypes listed above. Since my region tends to be heavy on Rebels, I planned on facing squads with two B-wings and two X-wings, as well as builds with Chewbacca and two fighters. I also expected to face a few Imperial swarms. Of course, your local metagame might be different!
Once you form an educated guess about the lists that you’re likely to face, you need to decide what to play. You don’t want to play something that will fall apart to the most popular builds in the metagame! For example, if you have someone that always shows up with a squad that uses two YT-1300s and consistently does well, you might want to think twice about a three-ship list featuring TIE interceptor aces.
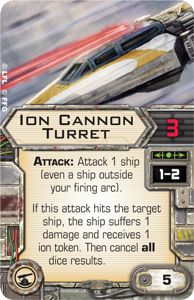
Generally, I also like to avoid complete mirror matches, so if I choose to play a common archetype, I try to bring something specifically for the mirror of my list: I may include a HWK-290 with an Ion Cannon Turret in my four-ship Rebel build, or I may drop my TIE swarm to ninety-six points to win initiative.
Step Two: Plan Three Turns Ahead
So, if you’ve figured out which builds are likely to be the most popular, what’s your plan for facing them?
At the very least, I recommend developing plans for asteroid and ship placement against two or three of the popular builds. I always start by planning how to confront TIE Swarms since their setups are well-documented. You know they want to set their asteroids as close to them as possible to minimize their impact, and you know they’ll place their ships first in one of the usual formations. Next, I’d plan to face the popular Rebel lists that utilize two B-wings and two X-wings. Usually, two detailed plans are good for most events. My previous articles dealt with asteroids and ship placement, so you can look there for my advice.
Once you’ve developed your plans for asteroids and ship placement, you’ll want to practice three turns of maneuvers. Usually, that’s about the length of time it takes for both fleets to approach the first round of combat. As you practice, you’ll assume the TIE swarm you are practicing against is going to move toward you as aggressively as possible while dodging asteroids. On the other hand, the Rebel squad of B-wings and X-wings will run roughly halfway down the edge of the board before turning into the center.
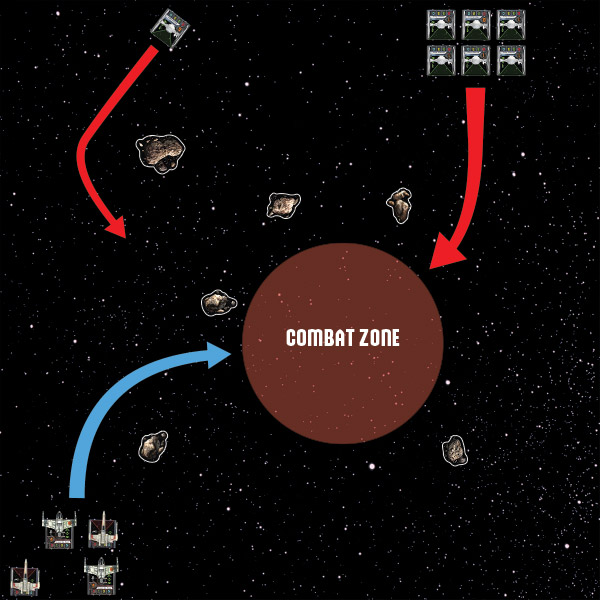
Understanding and anticipating your opponent’s maneuvers helps you better plan your initial approach. Here, we see how a squad of two X-wings and two B-wings and a swarm of TIE fighters might approach each other.
How can your squad take advantage of this knowledge? Ideally, you’d find a way to get a free round of shots at your opponent, but, realistically, that won’t happen. In most cases, the best that you can do is develop an opening that allows you to encounter your opponent’s starfighters after they’ve lost actions bumping into allied ships or performing barrel rolls and boosts to bypass asteroids, and if all goes well, you’ll have saved your actions for focuses and target locks. Additionally, a perfect opening is one in which you can encounter your opponent’s squad with all your ships in range to fire, but one or more of enemy ship lagging behind and out of range. Practice is essential to the development of such a successful opening.
Another bonus to planning out the game’s three opening rounds is that you can place your dials quickly in the beginning of your matches. Being able to project confidence in your plan is often enough to cause your opponents to question their plans, second-guess themselves, and make mistakes.
Step Three: Study Your Opponents
Once you get to the event, look around! Study your opponents. Most people will have their ships out, ready to set up, and visible. Did you guess the metagame correctly? You’ll have a chance to find out. If you see a ton of YT-1300s, you should start thinking about what you need to do to work around their powerful turrets. If you see a lot of bright red TIE interceptors, you should start planning what you’ll need to do to block their moves and prevent them from dodging out of your firing arcs.
Then, throughout the tournament, take time to watch other matches after you complete yours. You may possibly discover some interesting tactics you might not have thought of, and you may also see how your future opponents act. Do they avoid asteroids at all costs, or do they fly over them for a tactical advantage? Do they clear stress tokens immediately, or do they sacrifice actions in favor of position?
Finally, when you get to the table, you need to determine how your opponent plans to win and which are his most important pieces.
- Does he have a vulnerable wingman that he plans to hold away from the front lines to give bonuses to his other ships? “Howlrunner,” Biggs Darklighter, and most of the HWK-290 pilots fall into this category. Usually, you want to destroy them first.


- Is there an ace pilot that he’ll try to use to establish a flank? Set up your asteroids to make flanking difficult. Alternatively, you can plan on setting up a trap where you can pounce on the flanker without exposing yourself to the rest of his fleet. If you use just two asteroids to protect your planned attack routes, then you can use the last one to close off your opponent’s most obvious attack route.
When you place your ships, you’ll want to think about your three-turn plan, and how it will interact with your opponent’s probable location after three turns.
Switching to Plan “B”
In some cases, you’ll need to abandon your plan. After placing your asteroids, you may realize that if you follow your ship placement and three-turn plan, you will be woefully out of position. Do not just stubbornly follow the plan anyway! Spend a moment to think about what you can to do to salvage this situation. Perhaps, you can move super slowly to react to your opponent’s movement, or you might rocket down the edge of the map as fast as possible to throw off his plan.
Hopefully, by now, you will realize how important it is to master the game before the game. As in a chess match, you can sit down knowing nothing but the rules and still win, but you stand a much better chance if you know a few openings and known counterattacks. Games of X-Wing are often won or lost before the first shot is fired.
Thanks, Paul!
In X-Wing as in the original Star Wars trilogy, matches are won and lost with daring maneuvers and heroic shots. Still, just as in the original Star Wars trilogy, your victory also requires careful planning. It takes a great deal of coordination to get all your heroes into position to make the most of their contributions, and that planning starts well before you sit down to the table.
If you’re looking to improve your skills as an X-Wing player, then, it would serve you well to follow Paul’s advice, and while you’re thinking about how to develop and counter a number of different opening gambits, you can share your thoughts with the members of our community forums!
…