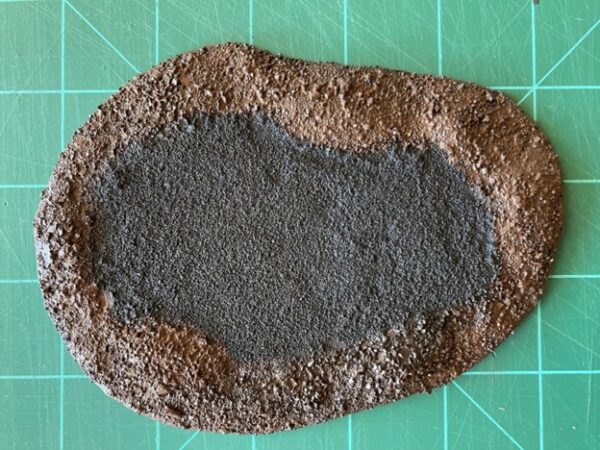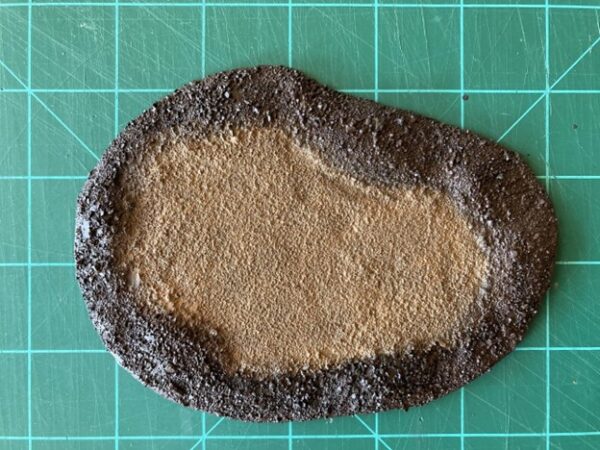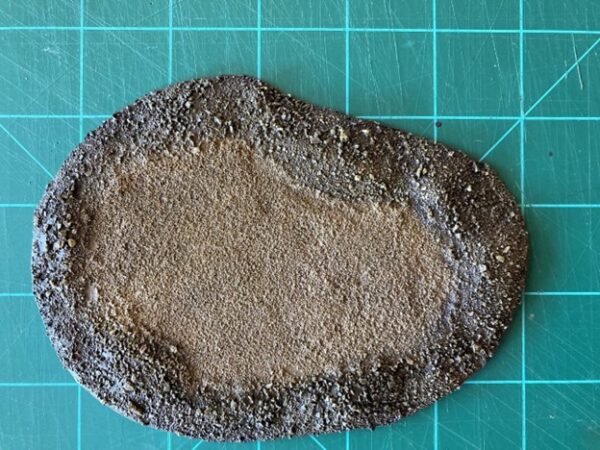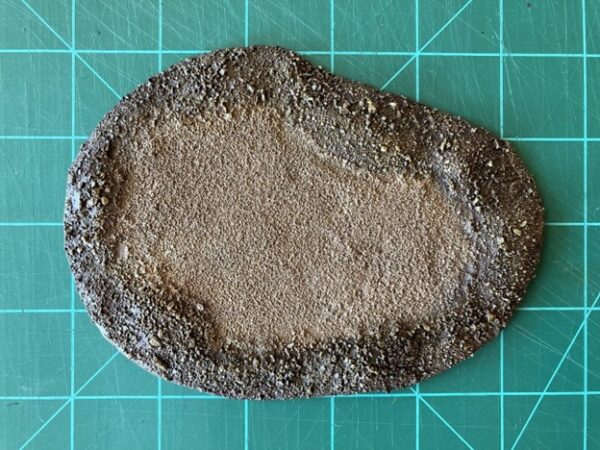
Basic Quicksand Terrain
by Michael Kessler
Hi there! I’m Michael, and today we’re going to make some basic Quicksand terrain!
Quicksand was introduced as a terrain type in Steamroller 2021. The in-game rules are mechanically interesting, but in my experience it has not a well-represented terrain type in the community.
Until now!
This article demonstrates techniques to create some basic quicksand terrain, though a future article will discuss more advanced techniques. (Spoiler alert! Stay tuned for “Advanced Quicksand Terrain” and maybe even “Tall Grass Terrain” in future installments!)
| MATERIALS & TOOLS | |
| 1/8″ MDF board
Wood glue White glue (optional) Sandpaper (120–220 grit) Jigsaw or scroll saw Sanding block or belt sander Chip brush Wood filler putty Model railroad ballast/gravel mix |
Play sand or extra-fine ballast
Grass tufts |
| A note on safety equipment
Although not strictly mentioned above, be sure you have—and use!—all proper safety equipment, especially when working with power tools! |
CREATING THE BASE
Bases are built in the same manner as we’ve discussed previously, so these steps won’t deeply retread this ground.
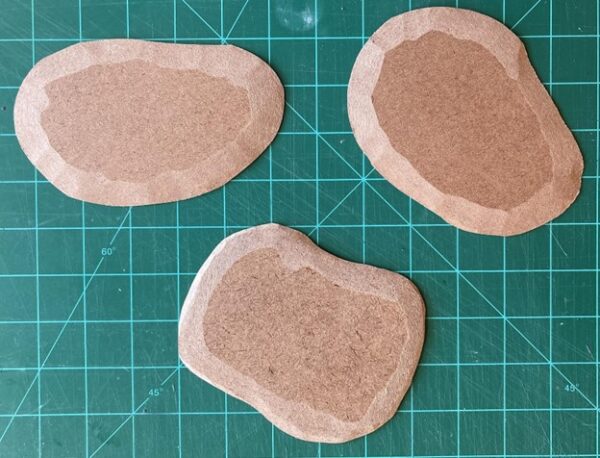
- Begin by drawing organic blobs on ⅛˝ MDF. Per the Steamroller rules, Quicksand terrain should not be larger than 5˝ in diameter, so keep your shapes fairly small and limit them to 5˝ or less in any dimension.
- Cut out your shapes using a jigsaw or scroll saw.
- Bevel the edges using sandpaper or a belt sander. Your final result should resemble this:
BUILDING THE PERIMETER
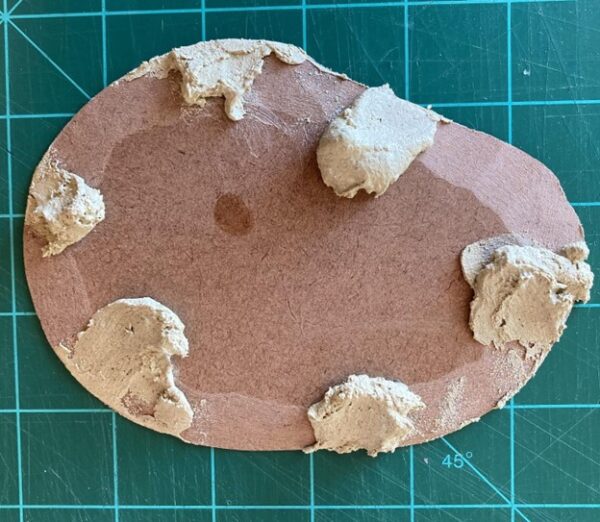
We’re going to use wood putty to build up the outer edges slightly and give the piece some definition. You want to create a suggestion of a perimeter around the quicksand without fully and distinctly building up the edges like you would for a water terrain feature.
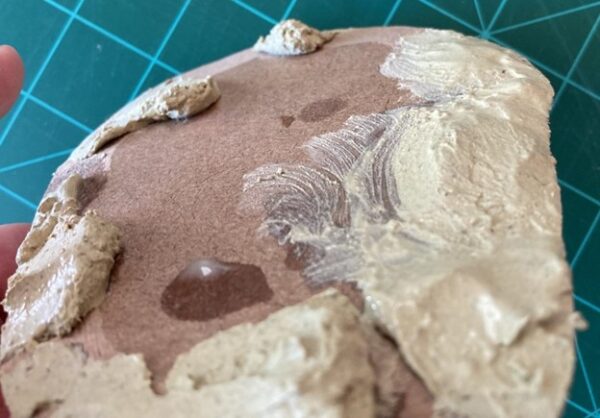
- Start by placing a few lumps of wood putty at irregular intervals around the edges, like so:
Use relatively small amounts of putty. Remember, the outer edge will be not as continuous or as deep as the banks of the water feature linked earlier.
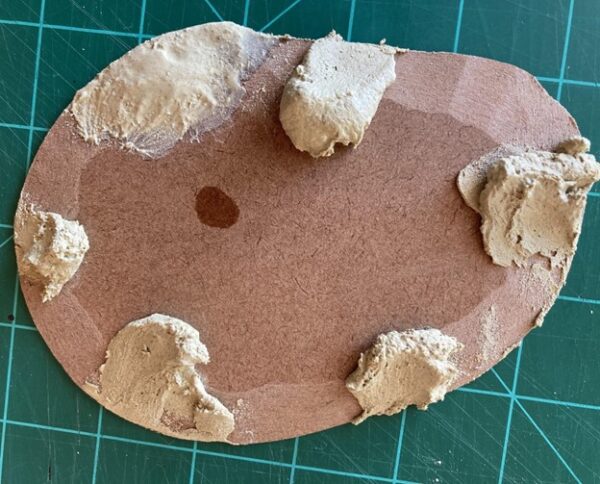
- Wet one of your fingers slightly and begin smoothing out the lumps of putty:
- Work your way around the piece, smoothing out the putty as you go. Try to avoid leaving sharp ridges, and don’t concern yourself with uniform smoothness or worry about completely filling all the gaps between the putty lumps.
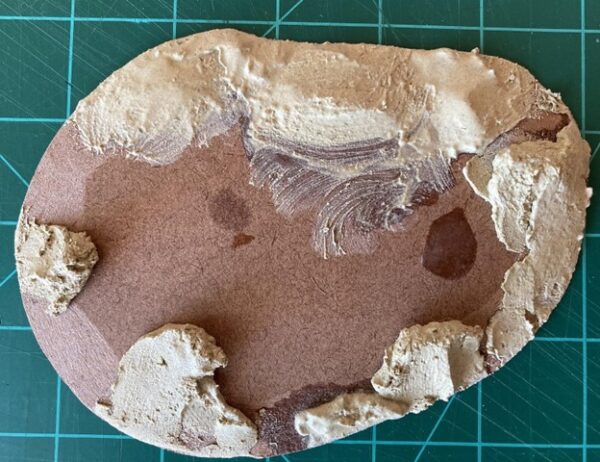
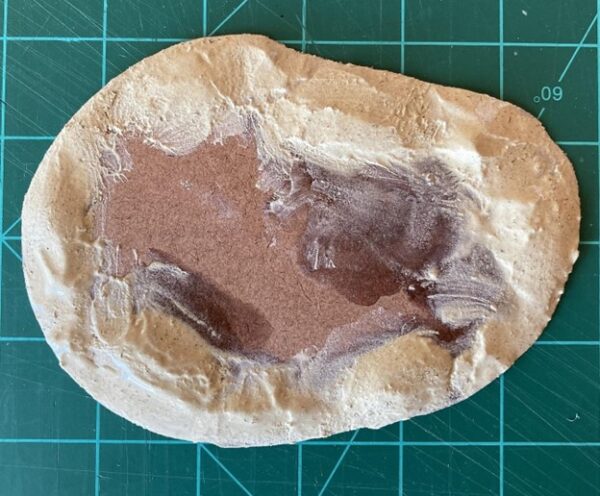
- Once the putty is dry, smooth away any particularly sharp ridges or peaks like you see on the left in the below image.
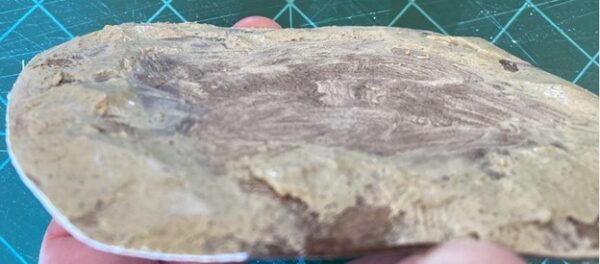
Here are some edge-on shots. You can see that the putty depth is fairly shallow. The putty ridges should be around ⅛˝ tall at the highest.
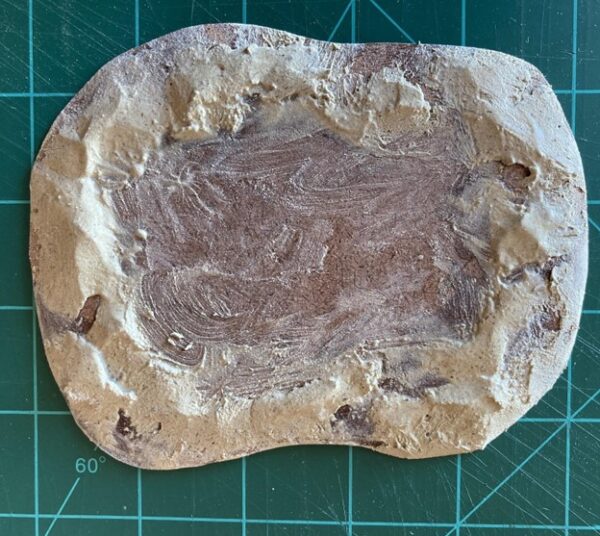
So, here’s an example of your terrain should look so far:
TEXTURING THE PERIMETER
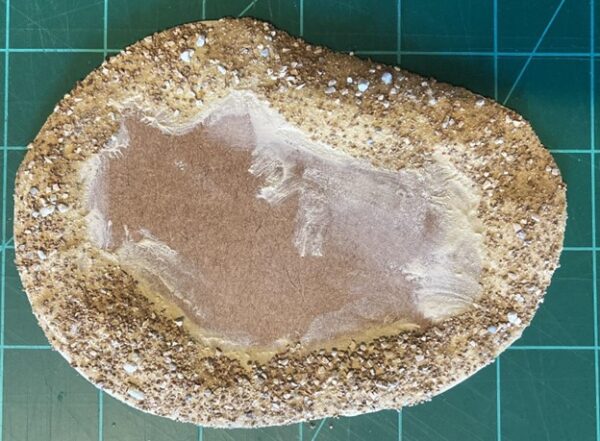
The next step will take a bit of care. We’re going to apply our ballast/gravel mix only to the outer edges of the terrain.
- Start by painting a mix of roughly 2:1 wood glue and water around only the outer edges of the piece, taking care not to get any glue on the inner surface. You should coat only the putty ridges with the glue mix at this time.
| Keeping Your Brush Clean
Use a chip brush or even a large flat paint brush to apply your glue mixture. Remember to clean your brush with some dish detergent and running water before the glue dries. With a bit of diligence, you’ll be able to reuse this brush on dozens of future projects! |
- Press the piece into your coarse sand and ballast mixture. (You can also sprinkle the mix over your base, but I personally feel like I get a more natural-looking distribution by pressing the piece into the ballast mix. Your mileage may vary!)
Let this dry completely before proceeding to the next step.
| A note on a Good Ballast/Gravel Mix
I prefer a mix of very fine play sand, Woodland Scenics fine ballast, Woodland Scenics medium ballast, and a small amount of Woodland Scenics coarse ballast, in a roughly 4:4:1:0.5 ratio. Of course, this all comes down to personal preference, so use what works best for you! |
TEXTURING THE SAND TRAP
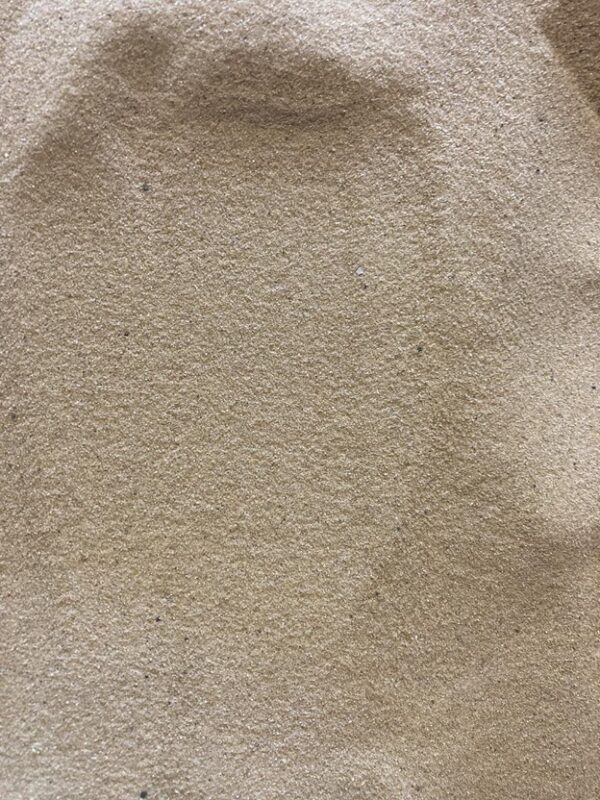
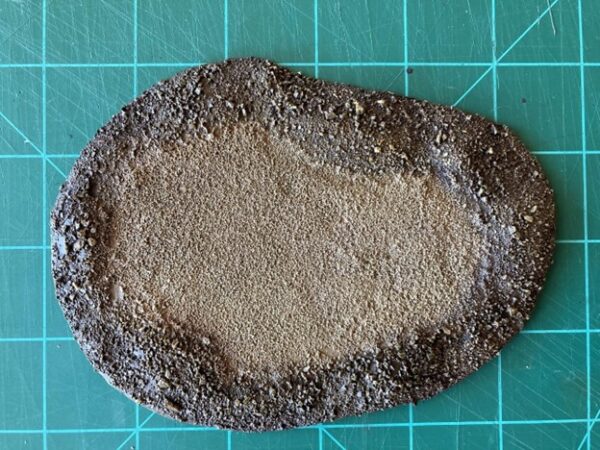
We’re going to use a different ballast mix to differentiate the quicksand itself from the surrounding ground. Use very fine sand, such as children’s play sand or extra fine ballast, for this step. The grains should be small and more or less uniform, like so:
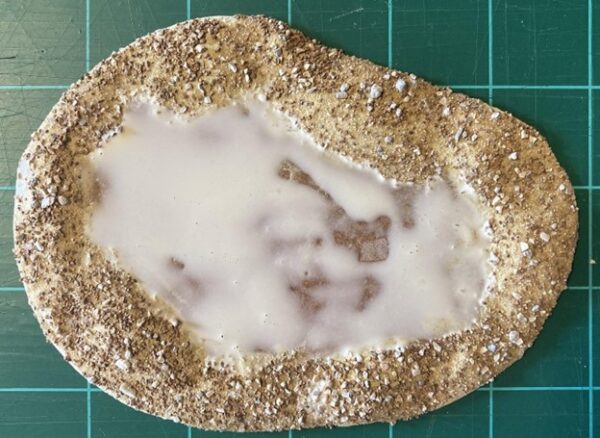
- Paint your glue mixture in the inner areas of the piece, taking care to avoid the existing ballast on the outer edges. Try to apply an even, uniform layer of glue, because any uneven areas will show through on the final piece.
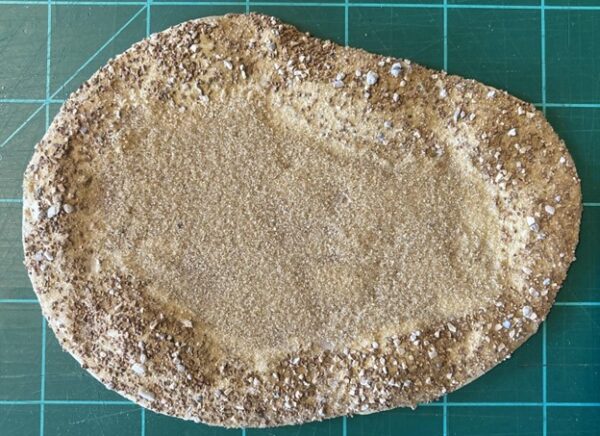
- Press the piece into your fine sand mix (or sprinkle the sand on the top if you so desire). Take care to keep the sand from piling up around the edges where the two textures meet. Use a finger to smooth out any unnatural-looking spots around the banks.
Let this dry before continuing.
PAINTING THE TERRAIN
Painting this terrain is fairly straightforward: both the outer ground and the inner sand areas share several of the same colors. Painting in the following manner saves some time and effort compared to painting the two areas separately and provides a better end result.
The outer banks follow the standard Privateer Press ground recipe:
- Umbral Umber
- Rucksack Tan
- Menoth White Base
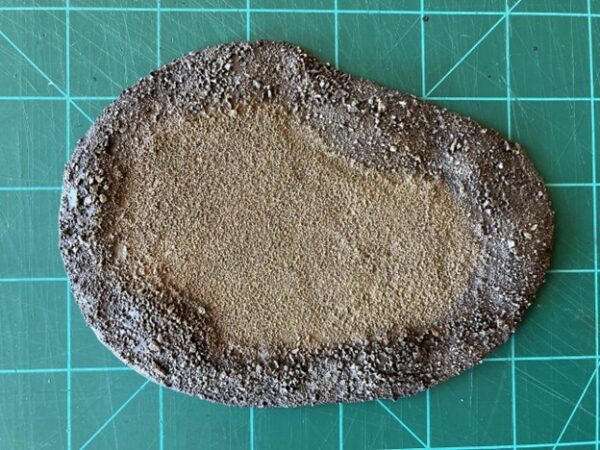
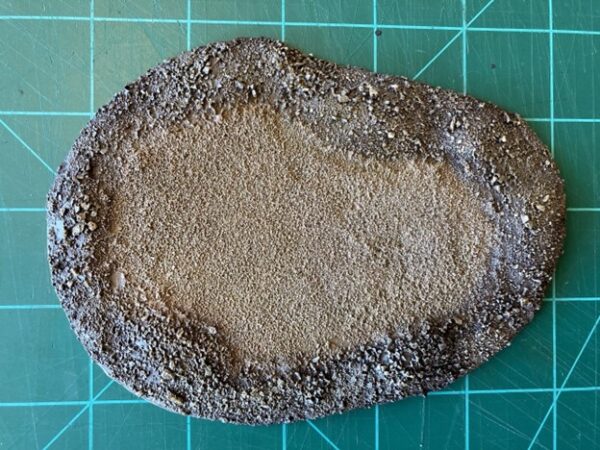
The sandy area is painted using a modified version of the Bloodstone Marches desert sand recipe from No Quarter 55:
- Gun Corps Brown
- Rucksack Tan
- Hammerfall Khaki
- ’Jack Bone
- Menoth White Highlight
- Prime the piece using black spray primer.
- Basecoat the outer banks with Umbral Umber.
- Basecoat the sand with Gun Corps Brown. Apply the basecoat while the Umbral Umber is still wet to smooth the transition where the Gun Corps Brown and Umbral Umber meet.
- Drybrush Rucksack Tan across the entire piece.
- Apply a heavy drybrush of Hammerfall Khaki to the sand. The darker colors should still show through, but this begins significantly changing the tone of the sandy area. Take care when applying this layer to confine it to the inner sandy areas only, though a little spillover will not cause much of an issue.
- Drybrush ’Jack Bone on the sandy area. This brings a warmer tone to the sand and makes it look more sand-like. Confine the ’Jack Bone to the sandy areas only.
- Apply a final highlight drybrush of Menoth White Base to the outer banks. Keep this fairly light so the Umbral Umber and Rucksack Tan do not appear “washed out.”
- Apply a final, light drybrush of Menoth White Highlight to the sand. As above, try to confine this highlight to only the sandy areas, though a minimal amount of spillover will not cause major issues.
FINISHING THE TERRAIN
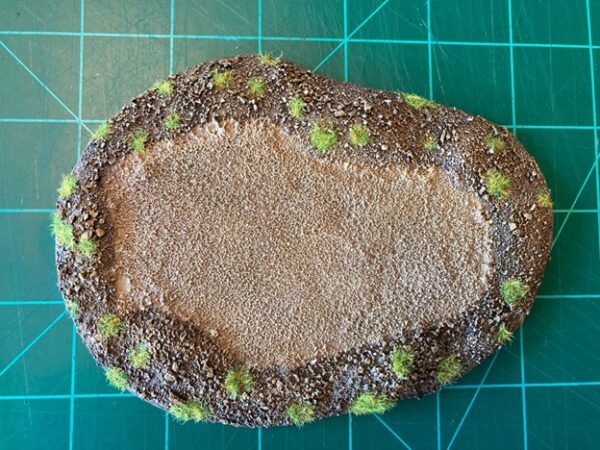
The last step is to add some tufts of static grass. Using an old paintbrush, sporadically dab small spots of a mixture of 2:1 white glue:water around the outer edges and apply static grass or grass tufts.
I used a brighter, more summery static grass mix in this article, but a browner, more yellow/brown desert-like static grass mix could work well, too!
CONCLUSION
And with that, we’ve completed some basic quicksand!
Quicksand terrain—like all good terrain—gives players meaningful decisions to make during their games. I hope this tutorial sparks your creativity and inspires the community to make quicksand terrain of their own.
We’ll take these techniques and expand upon them in a future article, so stay tuned!
Until next time, stay safe and play some games!
The post Basic Quicksand Terrain appeared first on Privateer Press.

