Riot Quest – Painting Pe(s)ts
by Charles Foster III
With only a few more weeks until AdeptiCon, it’s time to really put some paint on some models. So, in this week’s Insider, I’ll be painting up one of my favorite core models—
(KNOCK ON DOOR)
Oh, hey, Matt, what’s up? … Yeah, I’m getting ready to do the Insider for this week where I paint up Gubbin. … Other models instead? What, you mean the test models are here? … AdeptiCon for play? Oh… Oh my… well, then… Sure, of course!
If you were hearing those Charlie Brown teacher squawks there, he always sounds like that.
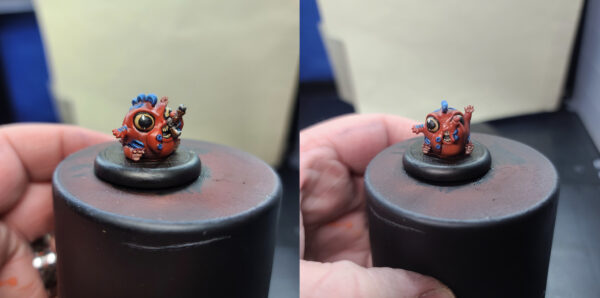
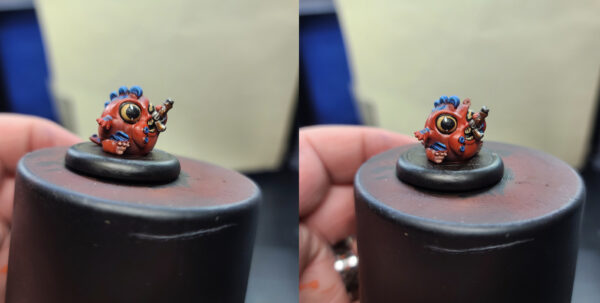
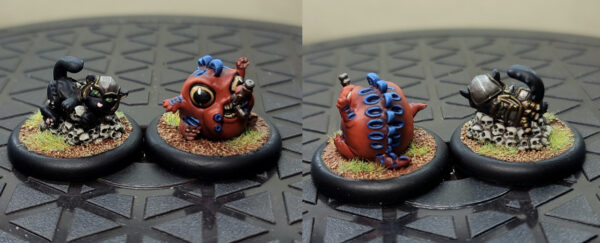
Anyway, where was I? Oh yeah, so, this week we will be painting…these models Matt has just handed me the Riot Quest PE(s)TS! In particular, we will apparently be taking on the Thrullg Hatchling and Ferox Kit!
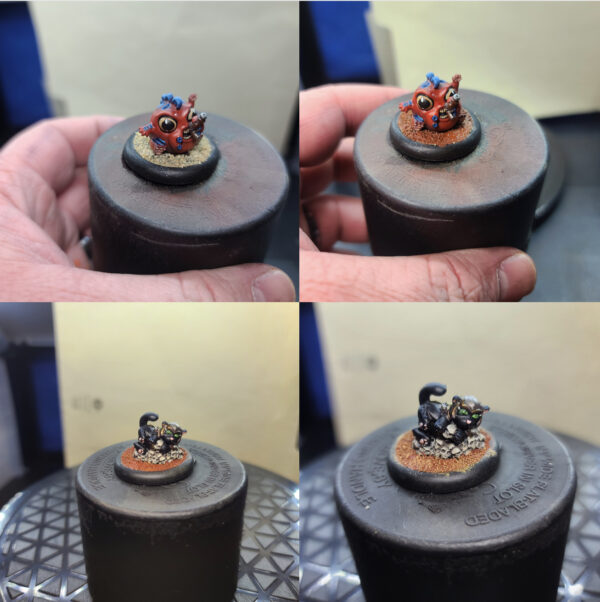
Let’s go ahead and start with the Thrullg Hatchling. For this article, I will be doing both models at the same time, so I’ll be cutting some corners with an airbrush here and there. If you don’t have an airbrush no worries—any of the steps can be completed by simply layering the paint on normally or shading via normal methods. Okay, then, let’s do it!
Prep Thrullg Hatchling
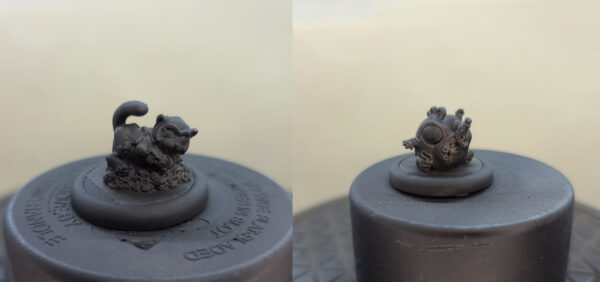
As usual, I elect to go with a base of Black Primer on both models. Nothing fancy here on these pests—er, models.
Red Skin
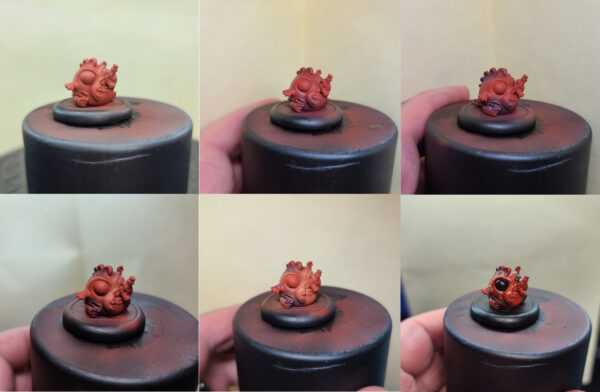
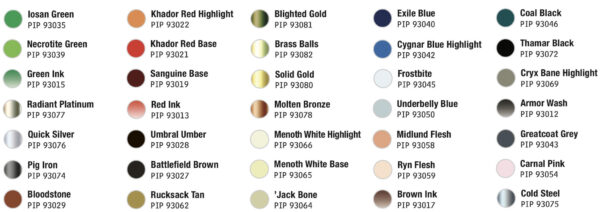
Step 1) I start by airbrushing on a solid basecoat of Khador Red Base.
Step 2) For my first shade, I start by using an airbrush to– apply Sanguine Base.
Step 3) For my next shade, I mix Sanguine Base with Exile Blue. Again, I apply using an airbrush into the deeper areas of the model. Don’t worry if this shade looks a bit extreme—we will be using a glaze later on to blend all the layers together.
Step 4) I apply my first highlight by mixing Khador Red Base with a few drops of Khador Red Highlight.
Step 5) I apply a final layer of Khador Red Highlight to the model. You can take it one step further by mixing in some Menoth White Highlight and applying additional highlights to get your desired look.
Step 6) Now to blend all of the layers together, I take some Red Ink and add water. I want this to be a very watered-down mix, so I use 16:1 Water to Red Ink. I apply several layers of this glaze (usually about 4-6 times to get the look I want), letting each layer dry completely before applying the next. To speed up the drying time in this process, I suggest a hair dryer set to low heat and held about 10 inches away from the model.
Blue Pockets and Spine
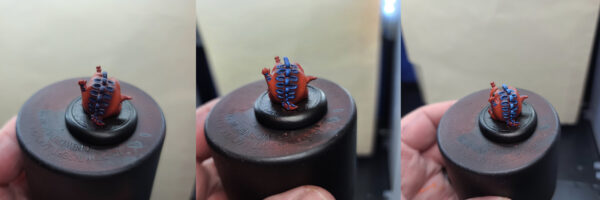
Step 1) To add further contrast and color to the model, I want the pockets to bring in some levels of blue. Start with a basecoat of Exile Blue.
Step 2) To bring the blue up to the next layer, add in some Cygnar Blue Highlight.
Step 3) Finally, mix some Frostbite with Cygnar Blue HHighlight in a 1:1 ratio and apply as a final highlight to make the blue stand out.
Eyes
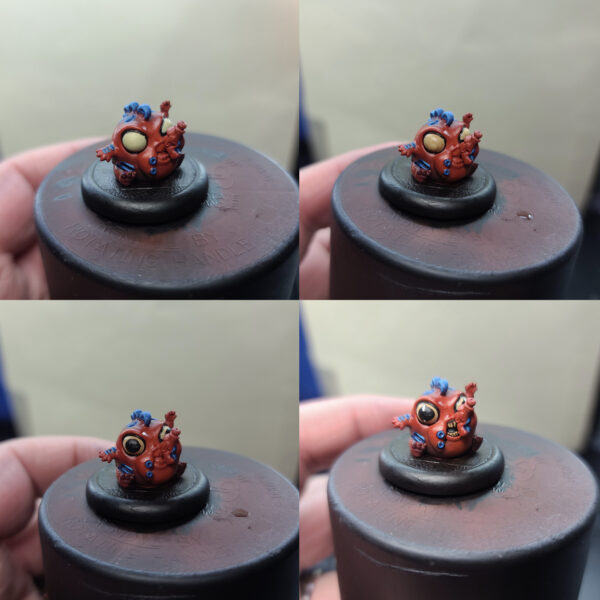
Step 1) For the eyes, I black out the area using Thamar Black.
Step 2) Leaving a little Thamar Black from the pervious layer showing, I add add some Menoth White Base to start defining the eyes.
Step 3) I want to shade this same color by watering down some Brown Ink until it is almost translucent and then apply this color as a wash.
Step 4) Next, I go in with Thamar Black to create pupils.
Step 5) To make each eye look as if it has that big shiny effect, I add two lines of Menoth White Highlight to the top and bottom of the Thamar Black used for the pupil.
Teeth
Step 1) Next up, let’s tackle the teeth. I will start this by blacking out the area using a bit of Thamar Black.
Step 2) I add a base layer of Bloodstone.
Step 2) For the next layer, I use Rucksack Tan, making sure that I leave a little of the Bloodstone showing through from the pervious layer.
Step 3) For a final highlight, I apply some Menoth White Base. Look at those shiny pearls! Teeth only a Thrullg mom could be proud of.
Paws
Step 1) For its paws, I start with a little Midlund Flesh.
Step 2) I water down a little Ryn Flesh and apply in a few sparse areas as a highlight.
Gun
Step 1) For the firearm, I add Pig Iron in areas where I want silver, and Molten Bronze in areas where I want gold trim.
Step 2) I add a quick shade by thinning out a little Armor Wash with water and applying as a wash.
Step 3) To highlight the silver areas, I apply a couple of hard-edged highlights with Quick Silver after we seal the model with a matte sealant.
Step 4) For the gold areas, I apply a highlight of Solid Gold, again after the model is sealed with a matte sealant.
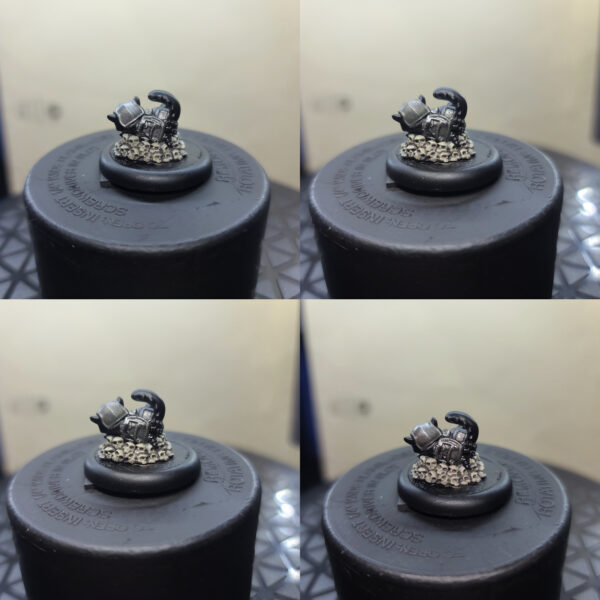
Prep Ferox Kit
Again, a base of Black Primer here.
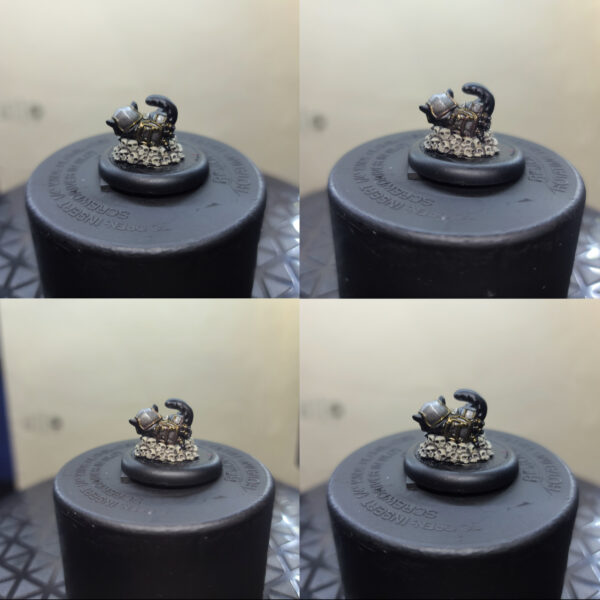
Skulls
Step 1) Time to start in on the Ferox Kit by applying a solid basecoat of ’Jack Bone.
Step 2) For the first shade, I create a wash by adding water to Cryx Bane Highlight.
Step 3) I apply a second shade by mixing even parts Battlefield Brown and Greatcoat Grey.
Step 4) For the first highlight, I apply an even mix of ’Jack Bone and Menoth White Highlight.
Step 5) For a final highlight, I apply Menoth White Highlight to the highest edges to really make the skulls pop.
Blighted Steel
Step 1) Basecoat the area with multiple layers of Pig Iron until you achieve a solid coating.
Step 2) I shade the metal using Cryx Bane Base to give it a slight green tinge.
Step 3) To further the shade, I mix Brown Ink with half as much Green Ink with a small dot of Thamar Black and apply this color to the deepest areas.
Step 4) To highlight this area, I use a little bit of Cold Steel.
Step 5) For a final highlight, I use Quick Silver after applying a matte sealant to the model.
Blighted Gold
Step 1) Basecoat the areas using Blighted Gold.
Step 2) I add my first shade by mixing Cryx Bane Base and Brown Ink.
Step 3) For a final shade, I mix even parts Umbral Umber with Coal Black and apply to the deepest recesses.
Step 4) To highlight this color, I use Brass Balls.
Step 5) Once the model is sealed using a matte sealant, use a 1:1 mix of Brass Balls and Radiant Platinum.
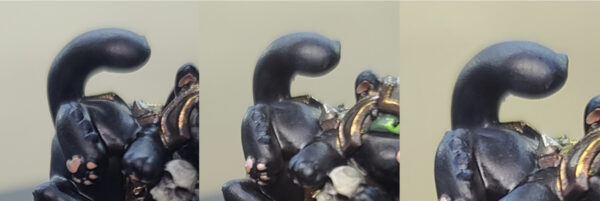
Fur
Step 1) I mix some Coal Black and Exile Blue with a small amount of Thamar Black to use for broad highlights.
Step 2) Add a small drop of Underbelly Blue to the previous mixture and apply additional highlights over the spines and raised areas.
Step 3) Add a final highlight layer by mixing in some Frostbite to the previous mixture.
Toe Beans and Nose
Step 1) For the toes and nose, I add a small basecoat of Midlund Flesh.
Step 2) To highlight this area, I use Carnal Pink on the edges and raised areas.
Eyes
Step 1) I basecoat the area in Thamar Black.
Step 2) To start, I use Iosan Green, making sure to leave a little bit of the Thamar Black showing through.
Step 3) To raise this color, I mix even parts Iosan Green and Necrotite Green and apply this as a layer highlight, making sure to leave the previous colors showing through.
Step 4) For the next layer, I use Necrotite Green.
Step 5) For the final layer, I mix with Menoth White Base with Necrotite Green and apply small amounts to the eye to make it stand out.
Step 6) To create the look of a pupil for this model, I draw a small horizontal line through the previous colors from the top using Thamar Black.
Step 7) To finalize the eye look, add some Menoth White Highlight at the corner of the eyes and on the top of the pupil.
Basing
Now, bases aren’t part of these models, but I like to add them anyway for a consistent look and feel with my other models, so here we add one final step.
Step 1) Add in sand and ballast with Elmer’s white glue and let it dry completely.
Step 2) Water down a bit of Bloodstone and apply across the base material to let it soak in.
Step 3) Once it’s dry, I drybrush on a little bit of Rucksack Tan.
Step 4) I drybrush on one final highlight of Menoth White Base.
Step 5) Glue on some static grass.
There is so much coming up for Riot Quest and Privateer at the moment that I thought I would take a few seconds to highlight some of what’s going on.
Huge news: the Kickstarter for the Riot Quest Board Game will officially kick off on March 29th ! You can see some of the awesome details of all the models going into the box and how to get your hands on the new PE(s)ST expansion by checking out this link! Sign up to get notified when the Kickstarter will go live:
https://home.privateerpress.com/2022/02/22/riot-quest-board-game-coming-soon-to-kickstarter/
And in case you didn’t know, we are currently hosting a competition to get your own card added to the Riot Quest Board Game by taking part in our ongoing contest, Your Gear Here! You now have a chance to leave your own mark of insanity on the Riot Quest Game (which is quite an accomplishment, considering the game in question)! For full details, check out this link below:
https://home.privateerpress.com/2022/03/01/your-gear-here/
Two down and only four to go! For the next Insider, I will take on another two PE(s)TS models—what can I say, these things are just so cool looking. Besides, I’ve always wanted a pe(s)t. If you are as excited as I am to get these on the table and play with them, you are in luck: I will be bringing all six of these crazy creatures with me to AdeptiCon to smash, bash, and Riot my way to victory. So, come find me at AdeptiCon and let’s get a few games in!
The post Riot Quest – Painting Pe(s)ts appeared first on Privateer Press.

