

Savage Core: Speed Painting’ Thinking Brow’s Troop
Steve Saleh one of Warlords talented, if a little enigmatic, in-house sculptors has been beavering away at a little project called Savage Core…
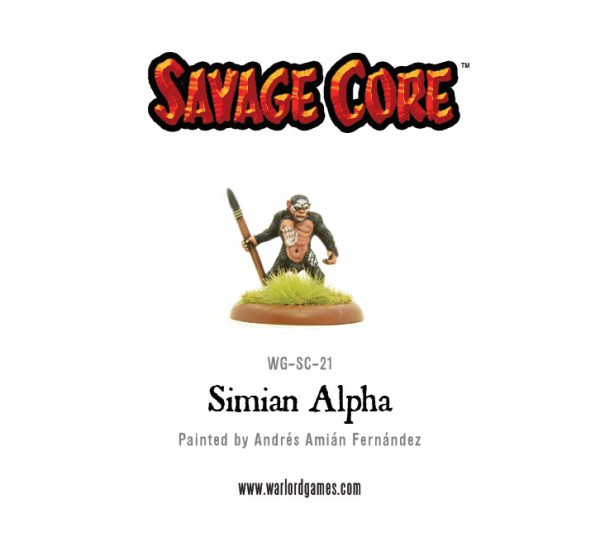
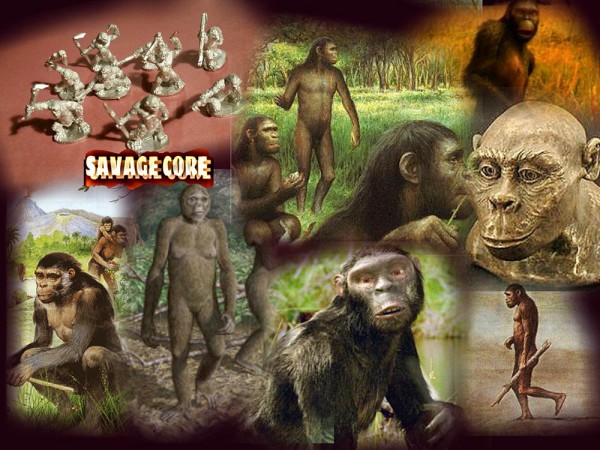
Steve: So it’s high time I got to do some painting and to get me into the swing I’m going to simply paint, (or ‘speed paint’), a group of Simian models which I’ll call ‘Thinking Brow’s Troop’. Thinking Brow is going to be the Alpha of the group, blessed, as he is, with an upright gait and a keen mind. I’m going for a colour scheme which reflects these Simian’s origins which is Orrorin Tugenensis. Orrorin are the species of proto humans from which the Simians come. Tool users but standing much smaller than modern humans, their leader, Thinking Brow is the only one to maintain his upright stance whilst moving, as befits his alpha status in the troop. I’ve started by collecting together some great reference pics.
Thinking Brow and his troop live high up in the mountains, near the frosted shores of the Glass Lake, (it’s not all steaming jungles in the Savage Core!), and this will give me chance to use some snow flock and frosted tufts on the bases. This will help to lift the basic colour palette I plan to use on the models. So, without further ado, I’ll clean the models up, base and prime them!
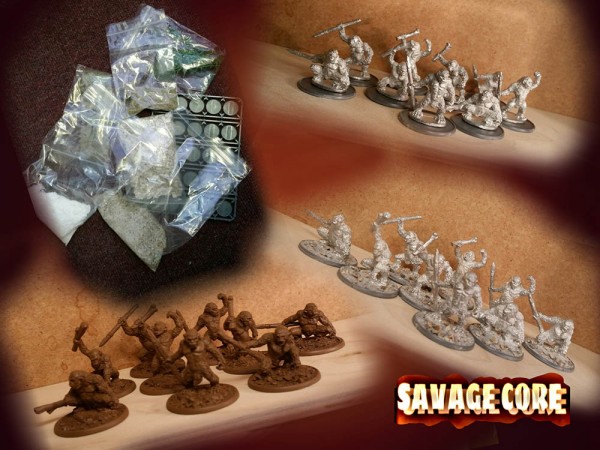
So, I’ve done all of the cleaning of the models and the base edges and I’ve got my collection of strange bags filled with odd materials and I’m using flat(ish), plastic bases this time round. I decided not to do any conversion work simply because the troop may be used in pictures and I didn’t wish to confuse or anger anyone with converted minis that aren’t actually commercially available! (You talented guys may like to add something maybe like a weathered cloak to your alpha to make him even more impressive?)
I usually texture my bases before priming, I know not everyone does this but I find that it helps adhere the texture material to the base and completes the look of the whole figure so I get an idea of what the finished artifact is going to look like. My particular favourite texturing is a mix of sand of different grades and birdcage floor material, (available at all good pet stores). Sometimes I’ll add one or two pieces of cat litter or some such with superglue, but not in this case. As I mentioned, a lot of the base will be snowed under anyway. Amongst the bags pictured (below) is a bag of snow material as well as frosted grass and tufts and a few leaves I may use to add extra interest. After cleaning and gluing the figures to the bases, I’ll carefully paint on some PVA glue where I would like the grit to end up. I’ll leave about a millimetre clearance around the actual figure to avoid texturing the model. After applying the glue, I dip the base into the bag of texture material and shake off the excess back into the bag. I usually tamp down any overly proud pieces of texture with a sculpting tool for the sake of realism. After letting this completely dry, I’ll spray the whole model, base and all with a leather brown spray primer.
As you can see, all of this prep work is now done and it’s good to recall the adage that failing to plan is planning to fail. Most of the heavy lifting is done here already, for very little effort and it’s now down to choosing the right palette for the more detailed part of the exercise.
So the actual painting of the models begins.
The gradual fur areas of the Simian torsos sometimes gives way to bare flesh and I think it appealing not to have a harsh contrast between these areas, so a bit of patient dry brushing is in order. I’ve chosen a mix of Army Painter Flesh, Vallejo Deck Tan and Dark Sea Grey for the bare areas. This will give me a lighter tone with a hint of flesh warmth but slightly greyed down as in the reference pictures from Part One. This is applied to the face, hands, feet and those with bare chests.
After this, a touch of lighter tone on the fur with Vallejo Tan Earth mixed with Beige. I also use this to dry brush the base texture.
One last touch is the ends of the flint weapons with a mix of the same Deck Tan and Dark Sea Grey.
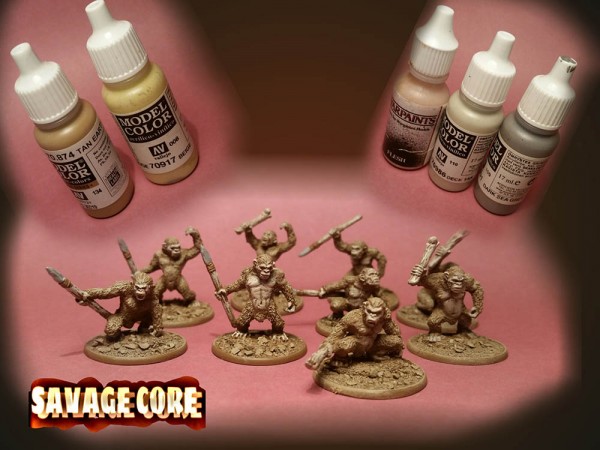
As you can see, a very limited palette! Actual painting time of the troop has been about ten minutes so far and all that’s missing is the lower register shading and a little highlight which I’ll describe next.
So, I’m no snob when it comes to washing and highlighting minis, whatever works and whatever cuts down painting time. I got out the trusty pots of Army Painter Strong and Dark Tone in order to give the mini depth and shadow. This will take the edge off the higher register which can then be enhanced with a slight reapplication of the original grey flesh mix. In turn, I’ve touched up the flint weapons with a mix of the same greys I’ve used all along, as well as a little highlight on the wooden shafts and clubs. I did the same for the bone clubs but used a little more Beige in the mix. I warmed up the lighter areas with a little Army Painter Soft Tone and that’s pretty much it! (Other than a little Vallejo Ivory to suggest the teeth). See the steps I took in the pic, from A to D. Total painting time for all nine minis would be about 45 minutes. (The washes dry fast in hot weather!)
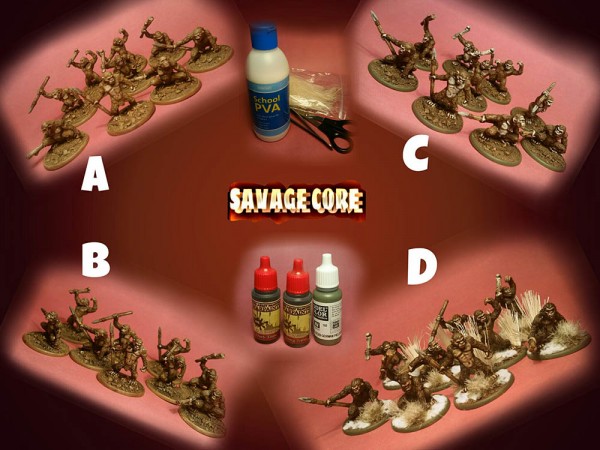
For the bases, I edged them in Vallejo Field Grey before applying PVA and snow flock, (Thinking Brow lives near the ice cold Glass Lake, after all). A few frosted tufts, some ‘long grass’, (again, from the birdcage section of good pet suppliers), and that’s it.
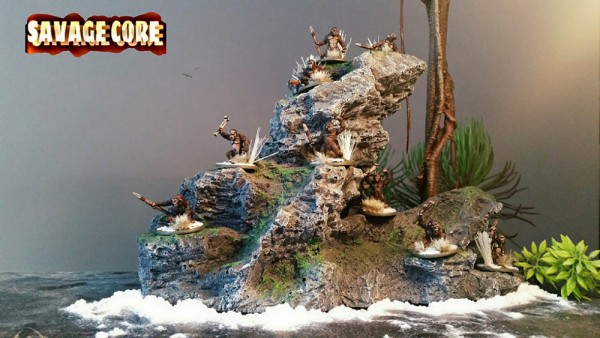
As I’ve said, not competition winners in terms of paintwork, but they’re cool enough and fit for purpose and pretty good for less than an hours work, all told. Have a look at them in the diorama picture. I think, generally, the attention to the scenic aspects of the bases always goes quite a long way when it comes to the look of your painted models and often enhances the overall appeal. In other words, don’t hold back on the rock and flock!
Find out more about the Savage core here: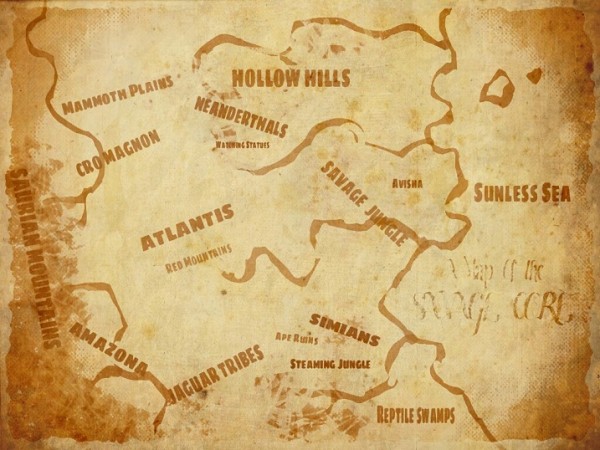
You might also like…
 Return to the Savage Core: Neanderthals!
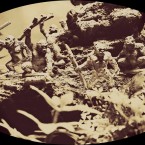 New: Savage Core Cro Magnons, Amazons and Simians
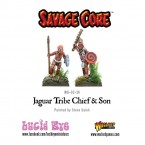 New: Savage Core Jaguar Tribe
 Hobby: Adding stowage to your Bolt Action vehicles
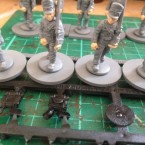 Hobby: ‘Soap Opera Painting’ the 32nd Foot with Arcane Scenery
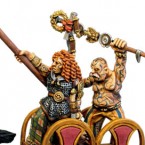 Painting Using The Army Painter System – 1: Intro
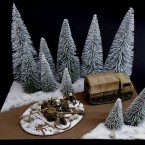 Showcase: Steve Palffy’s RSO with Winter Pak40
 How To: Diorama Top Tips