
Painting Your Tablescapes Tiles – Forgotten City
Part 1. Introduction & Materials

I decided to go with a desert look for this tile. The prosperous city, long gone from mortal memories, swept away by waves and waves of sand. Again, not having the means or time to travel to similar locations, I will not provide a reference section, but Google Images will be your friend.
My main inspiration came from scenes from Indiana Jones and the Lost Ark. When they are at the dig site, looking for that room telling them where the Ark rests, and everything is monochromatic. The sand and the stones of the buildings are one. There’s not much distinction in color. I also played a fair share of Elder Scrolls online and I vividly remembered locations in the Alik’r desert. So here are the steps of this mash-up.

(Grey Stynylrez primer from Badger.)
A coat of grey Stynylrez primer from Badger is applied. The grey will allow an easier build up of these light colors compared to the black while still allowing some modulation in light and saturation.

(First color applied.)
Using the same technique, Minitaire Ancient Bone is sprayed irregularly on the tiles. Again, I played with the transparency of the paint to let some of the primer show through for that more natural feel.

(The rest is also covered in paint.)
Minitaire Cracked Soil is applied on the stones and areas of raised dirt. In this case, I went for an opaque result to avoid the light dessaturation of the primer.

(The dirt is defined.)
The raised dirt area is airbrushed with Minitaire Bark. We now have three distinct elements: the tiles, the stones, and the raised dirt. Although each is distinct, they are very similar chromatically, and fit with the initial concept of a washed out city in the middle of the desert.

(Some definition is added.)
With Minitaire Earth, I add definition to the tiles by airbrushing thin lines along the edges of each of them. We can now see more clearly the details.

(Some saturation)
An oil wash of burnt sienna is applied across the entire tile. The goal is to make all these tiny cracks pop up while adding some saturation to the colors. The oil wash is chosen because of its simplicity. You simply need to really thin your chosen color with your paint thinner of choice and apply across your surface. Furthermore, you can remove any excess by using your paint thinner. Once the thinner is dry and you are satisfied with the result, simply apply a coat of flat varnish.

(Some dust.)
The burnt sienna wash was showing too much. I needed to tone it down. A new oil wash is applied using a light mud color. This will tone down the intensity of the burnt sienna and will also put the base for the dusting effect.

(Pigment wash.)
An alcohol wash using Slate Grey pigment is applied across the tile. A pigment wash allows you to quickly dust large areas. Simply chose your desired color, mix it with isopropyl alcohol and apply. The wash will concentrate pigments in the cracks while letting a dust layer on the surfaces.
In this case, I went a bit too heavy. Using a damped cloth, I simply wiped off the excess.

(Result after wiping off the excess.)

(The stones are enhanced with grey.)
First of, sorry for the bad picture. It would appear that I was out of focus and did not notice it. Either way, you can still see the color change. The stones were enhanced by airbrushing a light coat of Minitaire Rock. The key here is to play with the transparency again. The goal is to simply detach lightly these elements from the rest of the tile. So make sure to not overdo it.
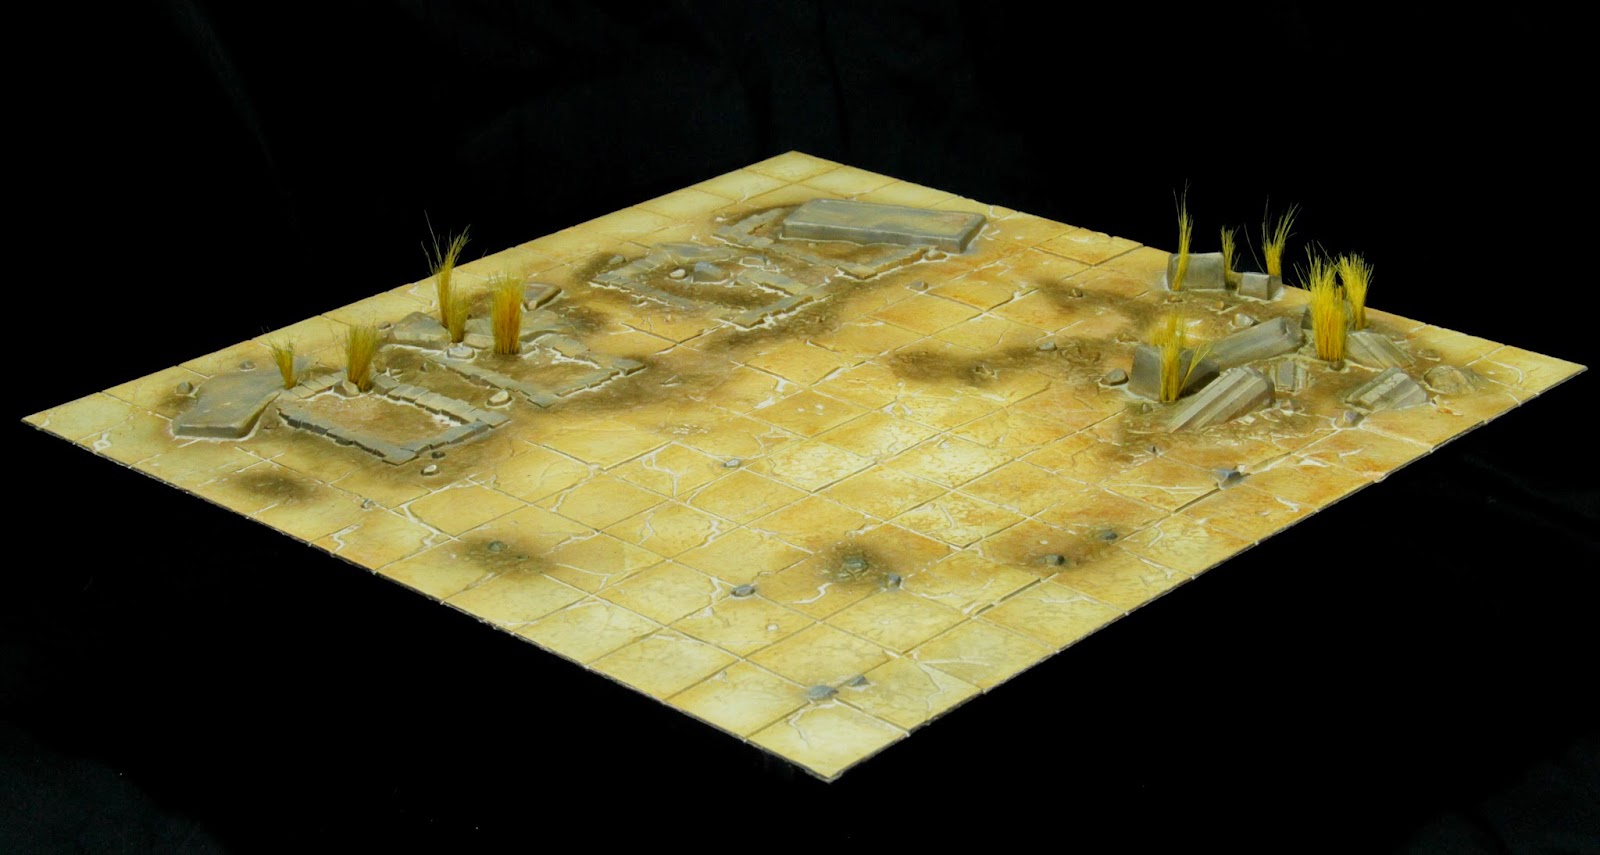
(Voilà!)
The raised dirt areas are lightly enhanced by applying Green Earth pigment on them. Finally, some tall grasses are glued along some of the rocks. The Field Grass: Harvest Yellow, from the Instant Scenery Kit – Grasses from Secret Weapon Miniatures was used in this case. Simply take a small quantity between your fingers, roll it up to bring them in a bunch, cut below your fingers where you are pinching them and with tweezers, simply glue on the surface using superglue.
So here we are with another finished tile. Once again, feel free to use or skip some of these steps. Do not be shy to make it your own either. This tutorial is not the only good way to paint this Tablescapes set. It is your table, have fun with it.